Allie Chernick’s Banana Bread Recipe in 7 Simple Steps
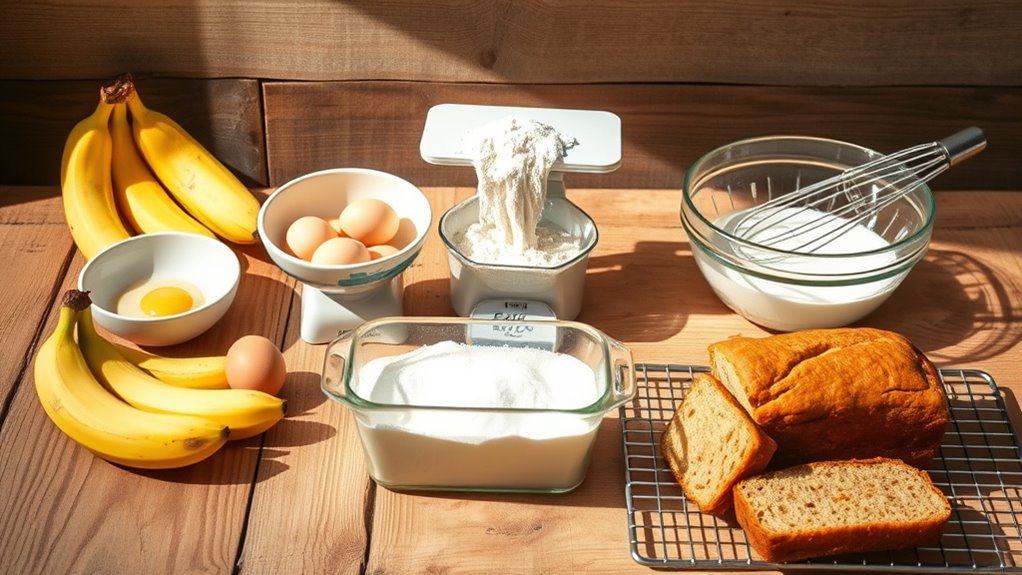
To make Allie Chernick’s banana bread, start by mashing ripe bananas until mostly smooth. This step brings out the natural sweetness and moisture that make banana bread so delicious.
Next, cream room-temperature butter and sugar together until light and fluffy.
Then, beat in eggs and vanilla to give the bread structure and flavor.
Gently fold in the dry ingredients to keep the bread tender. Be careful not to overmix; just combine everything until it looks blended.
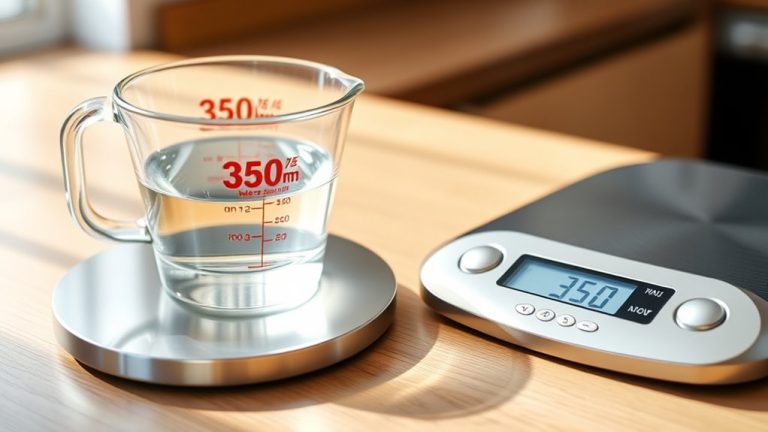
Pour the batter into a lined pan and bake at 350°F until a toothpick comes out clean. This usually takes around 50-60 minutes, but keep an eye on it.
Finally, let the bread cool fully for the best texture and flavor. Trust me, waiting is worth it—you’ll enjoy every step even more as you dive into the details of this simple, tasty recipe.
Key Takeaways
- Use very ripe bananas with brown spots and mash 3–4 to yield about 1–1¼ cups for best flavor and texture.
- Cream room-temperature unsalted butter and sugar until pale, fluffy, and ribbon-like, beating for 2–4 minutes.
- Beat in room-temperature eggs one at a time with 1–2 teaspoons pure vanilla extract until smooth but not overmixed.
- Fold dry ingredients in two parts gently, stopping when flour streaks disappear, then fold in floured mix-ins like chocolate chips.
- Bake in a greased 9×5-inch pan at 350°F for 50–70 minutes, cool on a rack, and rest loaf 4–24 hours before serving.
Mash Ripe Bananas for a Smooth Banana Bread Base
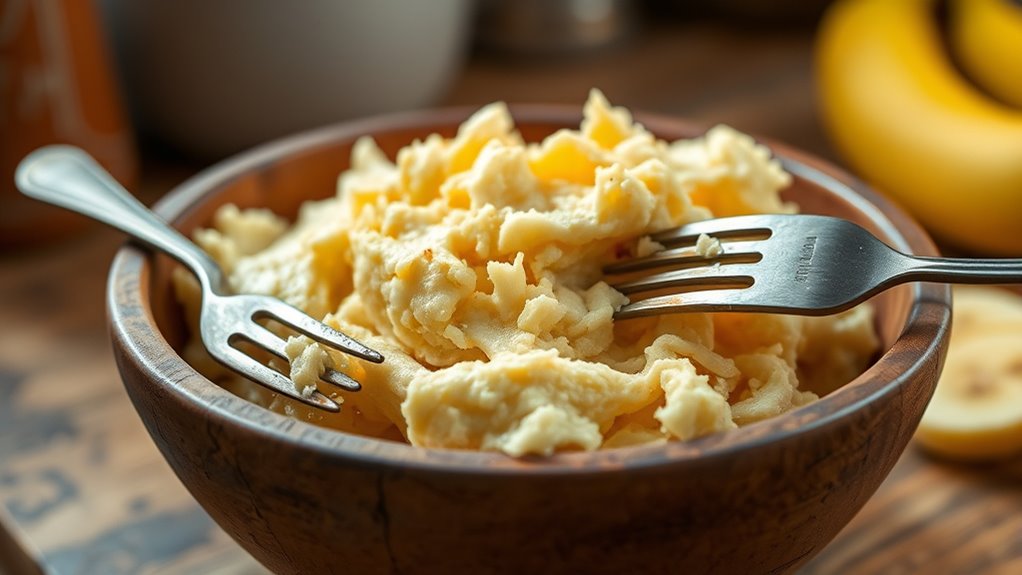
Mashing ripe bananas is the essential first step to creating a flavorful and moist banana bread base. For Allies Banana, Allie Chernick recommends using very ripe bananas with plenty of brown spots—about 3 to 4 bananas, which equals roughly 1 to 1¼ cups mashed.
You want to mash them in a large bowl with a fork or potato masher until mostly smooth, leaving small lumps to maintain texture. Bringing bananas to room temperature before mashing helps them break down easily and mix uniformly.
Avoid using a blender, as over-pureeing can thin the batter, altering your banana bread’s texture. Following these tips guarantees your banana bread base is perfectly sweet and moist, just like Allie Chernick’s signature recipe.
Cream Sugar and Butter Until Light and Fluffy
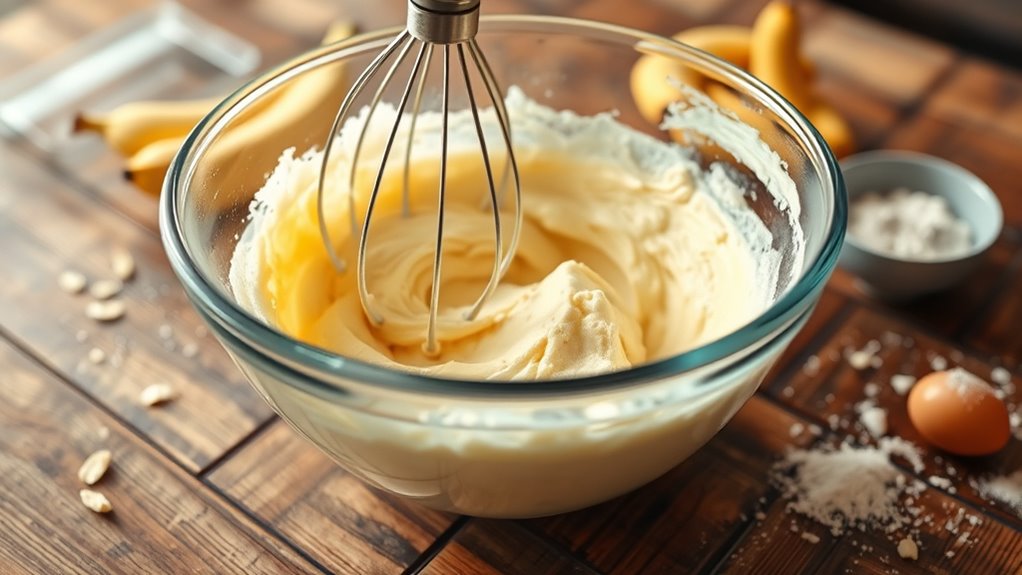
Start by creaming room-temperature unsalted butter with granulated sugar to create a light, airy base for your banana bread. Use about 113 g (1/2 cup) butter and 100–150 g (1/2–3/4 cup) sugar.
Cream room-temperature butter with sugar to form a light, airy base essential for perfect banana bread.
Beat them with a stand or hand mixer on medium speed for 2–4 minutes. Make sure to scrape the bowl and paddle every 30–45 seconds to evenly aerate and incorporate the sugar crystals.
Stop once the mixture turns pale, fluffy, and ribbon-like when lifted—this guarantees proper emulsion and structure. Avoid overbeating, though. It can make the butter oily.
This step is essential for your banana bread’s texture and flavor. You’ll notice the difference in the final result!
Beat in Eggs and Vanilla for Flavor and Structure
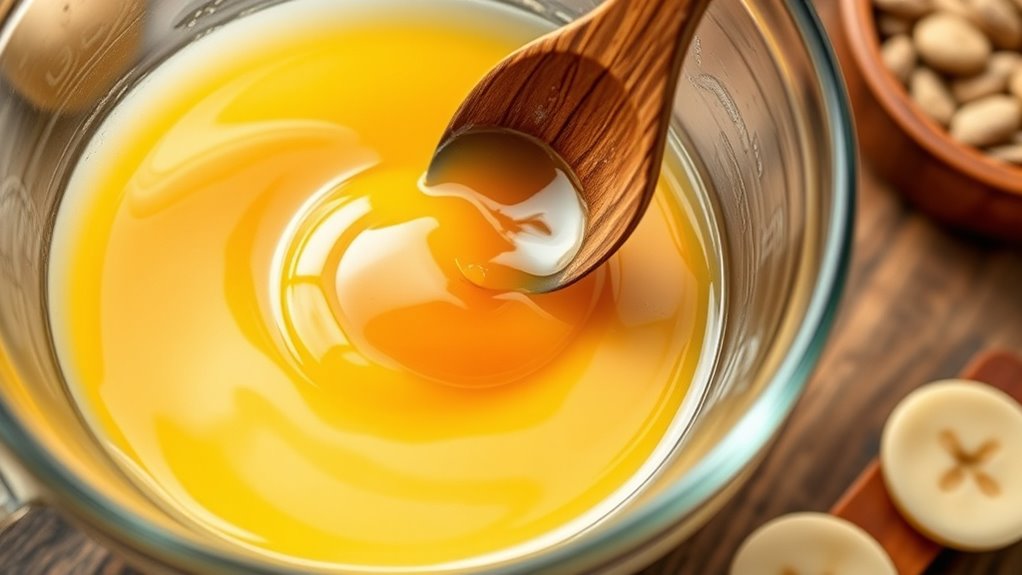
Once your butter and sugar are light and fluffy, it’s time to beat in the eggs one at a time. Crack each egg into the bowl, beating until the mixture is smooth and slightly thickened. This step helps emulsify the fats and builds the structure needed for your banana bread.
As you add the eggs, pour in 1 to 2 teaspoons of pure vanilla extract to boost the aroma and deepen the banana flavor. Make sure your eggs are at room temperature—they blend more easily and create a lighter crumb.
Beat just until everything is incorporated; overbeating here can make the bread tough once you add flour later. If you’re adding extras like chocolate chips, hold off until the eggs and vanilla are fully mixed to avoid overworking the batter.
Fold in Dry Ingredients Gently to Keep Bread Tender
When you add the dry ingredients, do it in two parts and fold them gently into the wet mixture with a rubber spatula. Use slow, sweeping motions to combine, stopping as soon as the flour streaks disappear—usually after 8 to 12 folds.
This method prevents overworking the batter, which keeps the bread tender by limiting gluten development. Make sure to scrape the sides and bottom of the bowl while folding to avoid any dry pockets.
If the batter feels stiff, fold more slowly, lifting from the bottom to the top. Once dry ingredients are incorporated, gently fold in any mix-ins like chocolate chips or nuts just once or twice to distribute them evenly without deflating the batter.
Mix Batter Gently Until Just Combined
After gently folding in the dry ingredients, you’ll want to mix the batter just until everything comes together. Use a spatula with 10–15 light strokes, folding under and over around the bowl’s edge, scraping the bottom to evenly incorporate ingredients without deflating air.
Stop as soon as you no longer see large pockets of flour—small lumps are okay and will hydrate during baking, keeping the bread tender.
If you’re adding mix-ins like chocolate chips or Oreo pieces, toss them in a tablespoon of flour first. Then fold them in gently with 4–6 turns to prevent sinking and avoid extra mixing.
Pour Batter Into Pan and Bake Until a Toothpick Comes Out Clean
Grease and line a 9×5-inch loaf pan with parchment, letting the edges hang over two sides for easy removal. Pour your banana bread batter evenly into the pan, filling it about three-quarters fullingto leave room for rising.
Smooth the top gently with a spatula, and if you want, sprinkle in mix-ins like chocolate chips evenly so they don’t sink during baking. Tap the pan once on the counter to release any large air bubbles for an even crumb.
Bake at 350°F (175°C) until a toothpick inserted into the center comes out clean or with just a few moist crumbs, usually between 50 and 70 minutes. This guarantees your bread’s perfectly baked inside without being dry or undercooked.
Cool Banana Bread Before Slicing for Best Texture and Flavor
Allowing your banana bread to cool properly guarantees the best texture and flavor. Let it cool in its pan on a wire rack for 10–15 minutes to set the crumb, then carefully loosen the edges and remove the loaf.
Place the bread on the wire rack to cool completely for 1–2 hours. Slicing while warm leads to a gummy, compressed texture you want to avoid.
For even better flavor, wrap the cooled loaf loosely in foil or plastic wrap and let it rest at room temperature for 4–24 hours. If you need to speed cooling, keep it on a wire rack in a cool, well-ventilated spot—not the fridge—to prevent drying.
When serving warm, briefly reheat slices at 300°F for 5–7 minutes to refresh texture.
Frequently Asked Questions
Can You Use Both Baking Powder and Baking Soda in Banana Bread?
Yes, you can use both baking powder and baking soda in banana bread. You’ll get better rise and browning by balancing the two, especially with acidic ingredients.
Just adjust amounts carefully to avoid off flavors or overproofing. It’s all about finding the right balance to make your bread delicious and fluffy.
What Is Martha Stewart’s Magic Ingredient for Better Banana Bread?
Martha Stewart’s magic ingredient? Browned butter. You’ll want to melt and brown it just right to release that nutty, rich flavor.
It transforms your banana bread into something irresistibly moist and deeply flavorful. Try it!
How Long to Leave Bananas for Banana Bread?
You should leave bananas to ripen 7–10 days at room temperature until they’re heavily spotted and soft.
If you’re in a hurry, bake them unpeeled at 300°F for 15–20 minutes until very soft and blackened.
This way, you get that perfect texture for your banana bread without waiting too long.
How to Make Banana Bread With 2 Bananas and No Eggs?
Imagine Sarah swapped eggs for mashed bananas in her bread. You can do the same by mixing 2 ripe bananas with applesauce, baking powder, and yogurt.
Then, bake it at 350°F for 55 minutes. That way, you get moist, fluffy banana bread every time!
Conclusion
So, you’ve mashed, creamed, beaten, folded, mixed, poured, and baked like a true kitchen warrior—congratulations! Now, resist the primal urge to slice into that golden masterpiece immediately.
Cooling your banana bread isn’t just a polite suggestion; it’s the secret handshake of serious bakers everywhere. Patience, my friend, will reward you with a texture so tender and flavor so rich.
You’ll wonder why you ever settled for store-bought banana bread. Trust me, letting it cool makes all the difference.
Now, go forth and savor your banana bread glory! Enjoy every bite of your homemade creation, knowing you followed Allie Chernick’s banana bread recipe to perfection.