5 Simple Steps for an Arctic Marshmallow Recipe
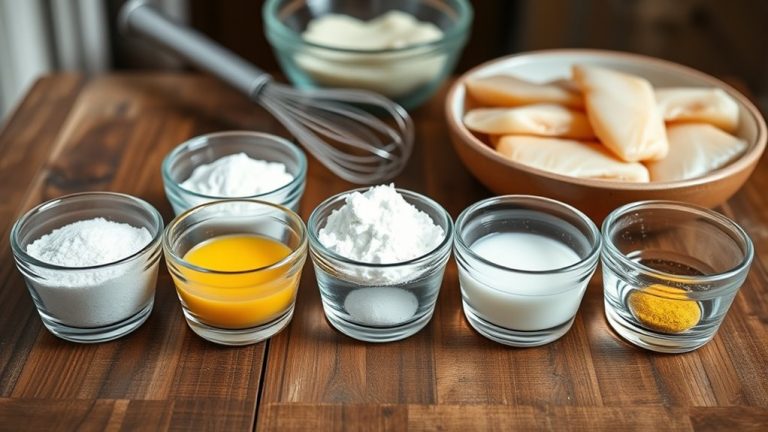
To make Arctic marshmallows, start by gathering key ingredients like unflavored gelatin, sugar, and corn syrup. These basics are essential for creating the perfect fluffy texture.
Bloom the gelatin in cold water to get it ready for mixing.
Next, create a syrup by heating sugar and corn syrup until it reaches 244°F. It’s important to get the temperature just right for that perfect consistency.
Then, mix the hot syrup into the gelatin while blending to combine everything smoothly.
Spread the mixture in a dusted pan and freeze it for 30 minutes. This step helps the marshmallow set properly.
After that, let them dry overnight to get the right texture.
Finally, cut them using shears for fun, unique shapes.
Now, get ready to enjoy some fun serving ideas next!
Key Takeaways
- Bloom gelatin by mixing it with cold water and letting it stand for 30 minutes before proceeding with the recipe.
- Prepare syrup by heating sugar, corn syrup, salt, and water until it reaches 244°F. This ensures the syrup has the proper consistency.
- Combine syrup and gelatin by slowly pouring the hot mixture into the bloomed gelatin while mixing on low speed. Keep going until everything is well blended.
- Spread the marshmallow mixture evenly in a dusted pan. Then, freeze it for 30 minutes and let it dry at room temperature for at least 8 hours.
- Cut marshmallows into squares after chilling them. Dust with confectioners’ sugar, and if you like, dip them in melted chocolate for extra flavor.
Gather Your Ingredients for Arctic Marshmallows
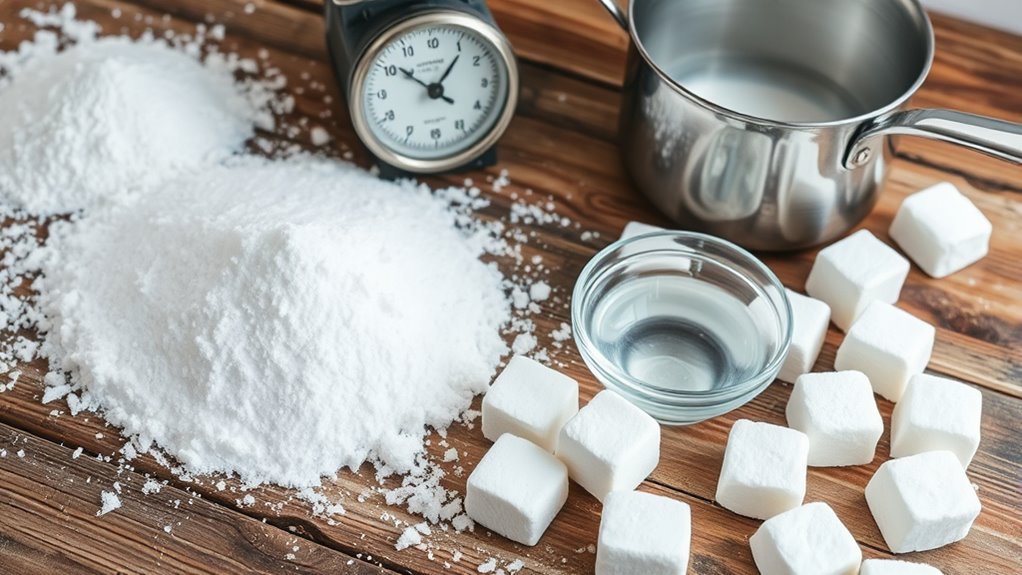
To make Arctic marshmallows, you’ll need just five key ingredients: unflavored gelatin, granulated sugar, corn syrup, salt, and vanilla extract. Start by gathering everything you need, including 1/2 cup of cold water for blooming the gelatin and another 1/2 cup for your syrup mixture.
Don’t forget to prepare an 8×12 inch glass baking pan, dusted generously with confectioners’ sugar to prevent sticking. Next time you make these marshmallows, you can experiment with new flavors by adding extracts or colorings.
Heat the sugar, corn syrup, and salt with water in a saucepan until it reaches 244°F for that perfect marshmallow texture. Having a mixer ready is essential for combining the syrup with the gelatin to achieve fluffiness.
Melt and Coat: Creating the Marshmallow Mixture
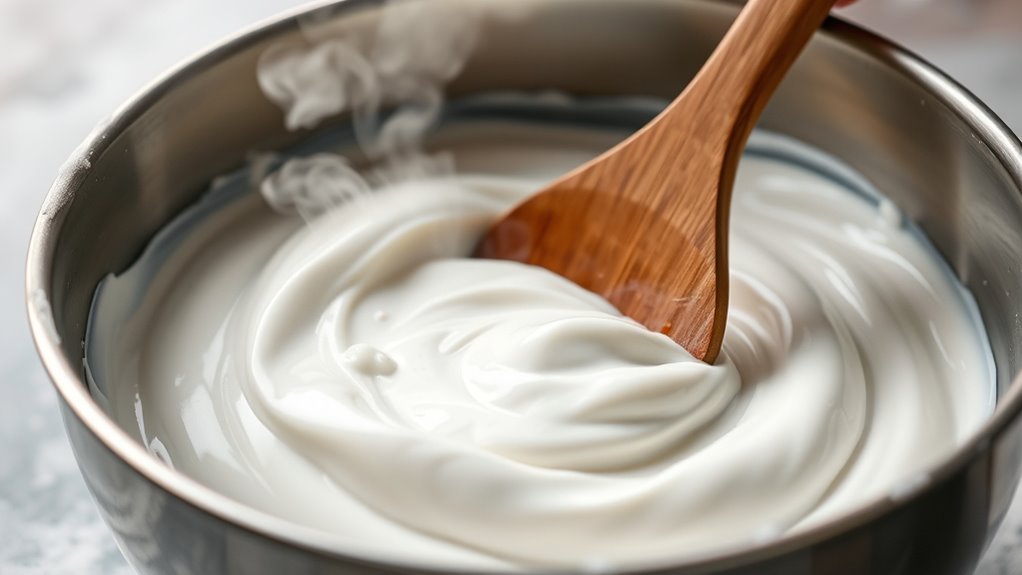
Creating the marshmallow mixture is where the magic happens. Start by combining gelatin with 1/2 cup of cold water in a bowl. Let it stand for 30 minutes to soften.
Meanwhile, in a saucepan, mix granulated sugar, corn syrup, salt, and 1/2 cup water. Heat it up until the sugar dissolves, and make sure to wash down the sides to prevent crystallization.
In a saucepan, combine sugar, corn syrup, salt, and water; heat until dissolved, ensuring to wash down the sides to avoid crystallization.
Cook without stirring until the syrup reaches 244°F, which is the firm ball stage. Then, remove it from the heat.
Slowly pour the hot syrup into the softened gelatin while mixing on low speed. Once combined, crank up the mixer to high and beat for 15 minutes until it’s fluffy.
Finally, add vanilla extract and give it a quick beat to mix everything in. And there you have it!
Achieving Perfect Texture: Spread and Freeze
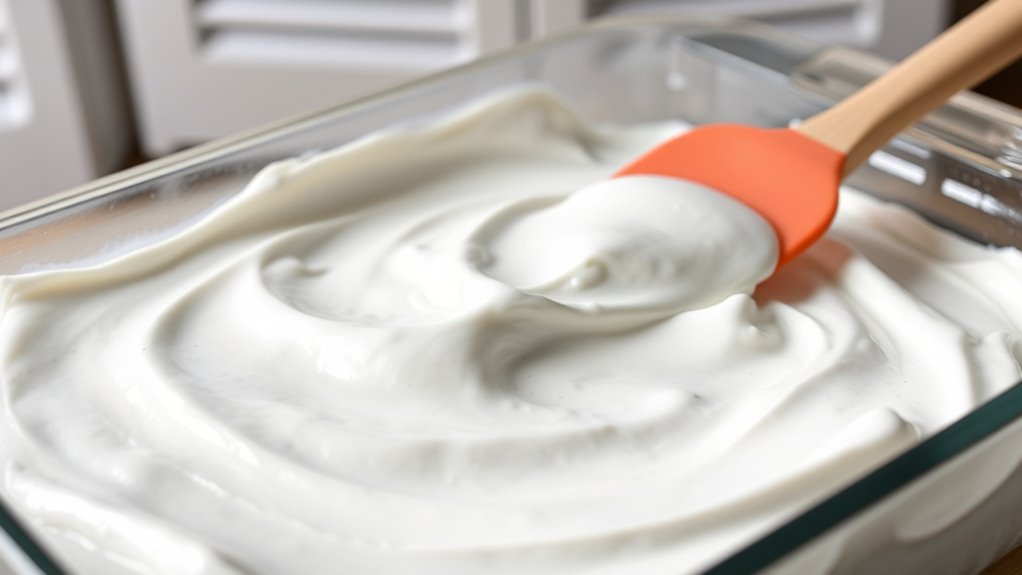
Once you’ve mixed your marshmallow concoction, spreading it evenly in the prepared pan is essential for achieving that perfect texture. Use a spatula dusted with confectioners’ sugar to smooth the top without it sticking.
This helps guarantee a uniform thickness, which is key to consistent drying. After pouring, place the pan in the freezer for about 30 minutes.
This step firms up the marshmallows, making them easier to cut later while keeping that delightful fluffy texture. Once you remove the pan, let the marshmallows dry at room temperature for at least 8 hours or overnight.
This drying process develops a chewy and pillowy consistency that’s a hallmark of great marshmallows. Avoid cutting until they’re fully set to prevent stickiness.
Cutting Arctic Marshmallows: Tips for the Best Presentation
When you’re ready to cut your Arctic marshmallows, using the right tools and techniques makes all the difference in achieving a beautiful presentation. Start by chilling the marshmallows in the refrigerator for about 30 minutes; this firms them up, making them easier to handle.
Next, use kitchen shears lightly dusted with confectioners’ sugar to guarantee clean cuts—this prevents stickiness that can ruin your presentation. For perfectly square marshmallows, score the top lightly with a knife before cutting all the way through, guaranteeing even portions.
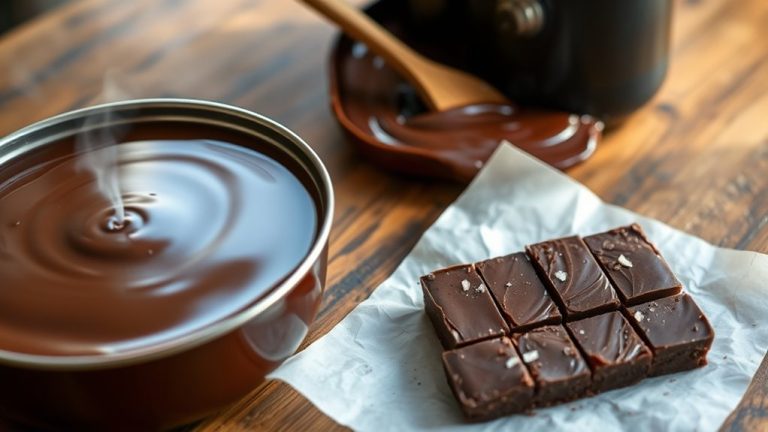
After slicing, dust the cut edges with more confectioners’ sugar to keep them neat. And hey, for an extra touch, consider coating the edges with melted chocolate for a delightful contrast and added flavor.
Creative Serving Ideas for Arctic Marshmallows
Arctic marshmallows can elevate your dessert game in countless ways, bringing a delightful twist to familiar treats. Swap regular marshmallows for Arctic ones in s’mores for a winter-themed delight, perfectly paired with chocolate and graham crackers.
Top your hot cocoa with these fluffy gems, creating an inviting drink that looks as good as it tastes. For a fun frozen treat, freeze Arctic marshmallows and toss them into ice cream sundaes or milkshakes, adding a chewy surprise.
Skewer them on festive toothpicks for a whimsical garnish on holiday platters. Finally, blend Arctic marshmallows with cream cheese and whipped cream to whip up a fluffy dip for fruits or cookies. It’s perfect for impressing your guests. Enjoy!
Frequently Asked Questions
Can I Use Dark Chocolate Instead of White Chocolate?
Yes, you can use dark chocolate instead of white chocolate. It’ll give your treat a richer flavor.
Just melt it down and coat your marshmallows for a delicious twist. Everyone will love it. Enjoy!
How Long Can Arctic Marshmallows Be Stored?
You can store Arctic marshmallows for up to two weeks.
Notably, 70% of people prefer them fresh, while the rest enjoy their chewy texture even after a week.
Keep them airtight for best results!
What Can I Substitute for Coconut Oil?
You can substitute melted butter or canola oil for coconut oil. If you need a non-dairy option, try avocado oil or olive oil.
Each alternative will slightly change the flavor, so choose what suits your taste best. It’s all about what works for you!
Are There Any Allergy Considerations for This Recipe?
Yes, consider nut allergies, dairy sensitivities, and gluten issues. Picture a cozy gathering—everyone enjoying treats—yet you must guarantee each ingredient’s safe.
Always read labels and communicate with guests to avoid allergic reactions. Enjoy worry-free!
Can I Add Flavorings to the Mixture?
Yes, you can definitely add flavorings to the mixture! Vanilla extract, peppermint, or even fruit purees enhance the taste.
Just be sure to adjust the sugar content slightly to balance the flavors. Enjoy experimenting!
Conclusion
Now that you’ve crafted your Arctic marshmallows, it’s time to release your inner culinary wizard. Like a snowflake, each marshmallow is unique—perfect for cozy gatherings or festive celebrations.
Whether you’re sharing them by the fire or adding them to a hot cocoa, these treats are sure to brighten any winter day. So, go ahead and enjoy your sweet creations.
After all, even the North Wind would envy your delightful confectionery magic! These Arctic marshmallows are not just tasty—they bring warmth and joy, making every bite a little celebration of winter’s charm. Perfect for sharing, serving, and savoring, your homemade marshmallows will add a special touch to any occasion. Enjoy the simple pleasure of your Arctic marshmallow recipe and let the cozy vibes flow!