How to Make Arctic Marshmallow Recipe: A Step-by-Step Guide
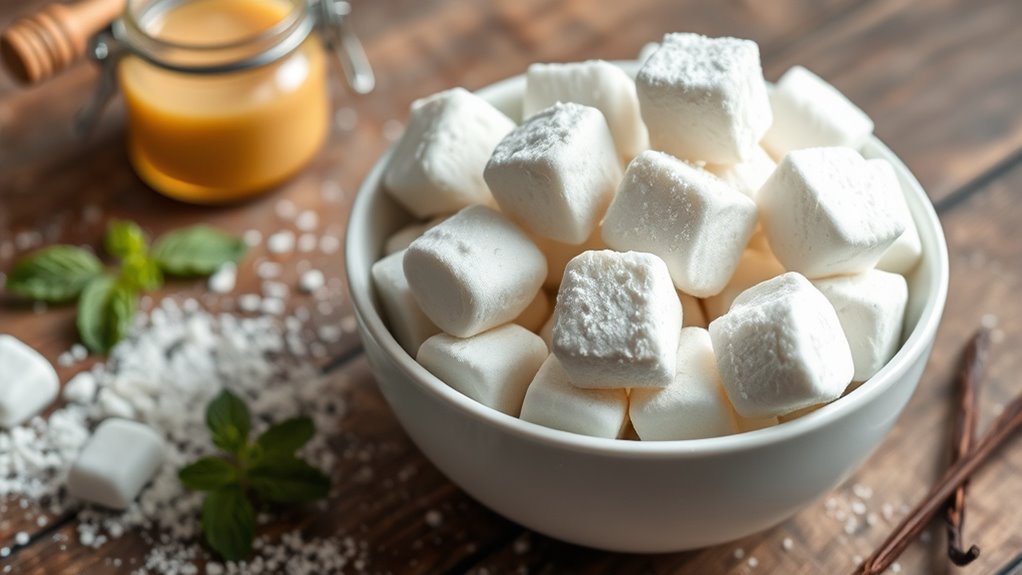
To make Arctic marshmallows, start by gathering simple ingredients like sugar, unflavored gelatin, and water. These basics will help you create soft, fluffy marshmallows that are perfect for chilly treats or cozy snacks.
Begin by combining the sugar and water in a saucepan, heating gently until the sugar dissolves completely.
Meanwhile, bloom the gelatin in cold water while your syrup cools down.
Next, whip everything together until the mixture becomes light and fluffy. Don’t forget to add a pinch of salt and your favorite flavor to make your marshmallows stand out.
Pour the fluffy mixture into a prepared pan and let it set until firm.
Once ready, you’ll have delightful, customizable Arctic marshmallows that you can enjoy in a variety of fun ways.
Stick around for tips on adding color and other creative twists to make your marshmallows even more exciting!
Key Takeaways
- Gather essential ingredients: granulated sugar, unflavored gelatin, water, corn syrup, vanilla extract, and powdered sugar for dusting.
- Prepare sugar syrup by boiling sugar and water until it reaches 240°F (115°C) without stirring.
- Bloom gelatin by soaking it in cold water for 5-10 minutes to ensure a smooth texture.
- Whip the mixture with a mixer for 5-7 minutes on medium, then increase to high for 2-3 minutes until stiff peaks form.
- Pour the mixture into a prepared pan, dust with powdered sugar, and let it set before cutting into marshmallows.
Why Make Arctic Marshmallows?
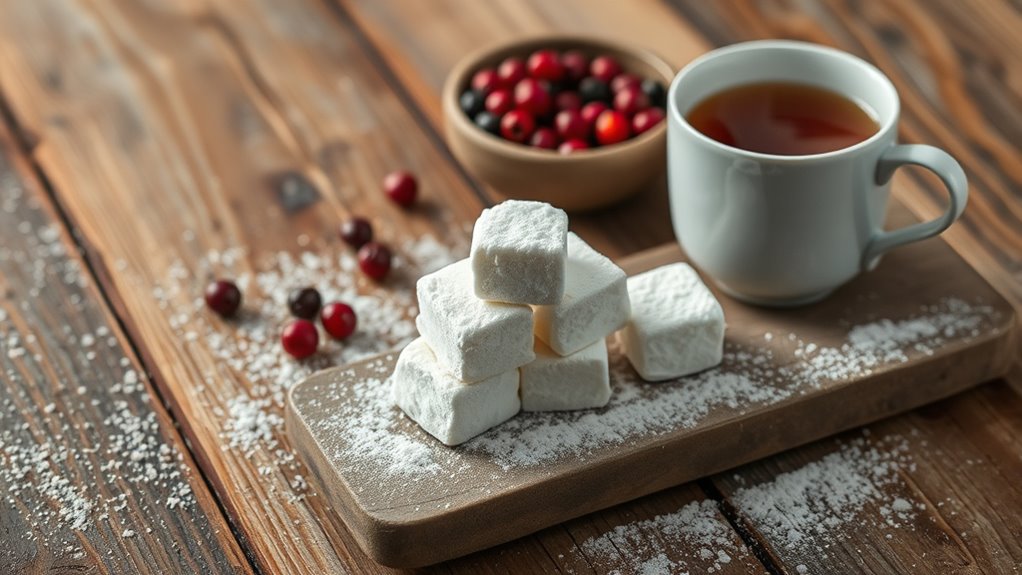
When you’re looking for a fun and versatile treat, Arctic marshmallows are a fantastic choice. They can jazz up hot chocolate or stand alone as delightful snacks, making them perfect for any occasion.
The process is simple, using accessible ingredients like gelatin, sugar, and flavoring, so even novice cooks can engage. Plus, you get to customize flavors and colors, allowing for personal flair in each batch.
Making these marshmallows can be a wonderful family activity, fostering teamwork and bonding, especially when kids join in. Their fluffy texture and sweet taste evoke nostalgia, adding a special touch to celebrations and gatherings.
Why not bring a bit of joy and creativity into your kitchen? It’s easier than you might think, and the results are deliciously rewarding!
Gather Your Ingredients for Arctic Marshmallows
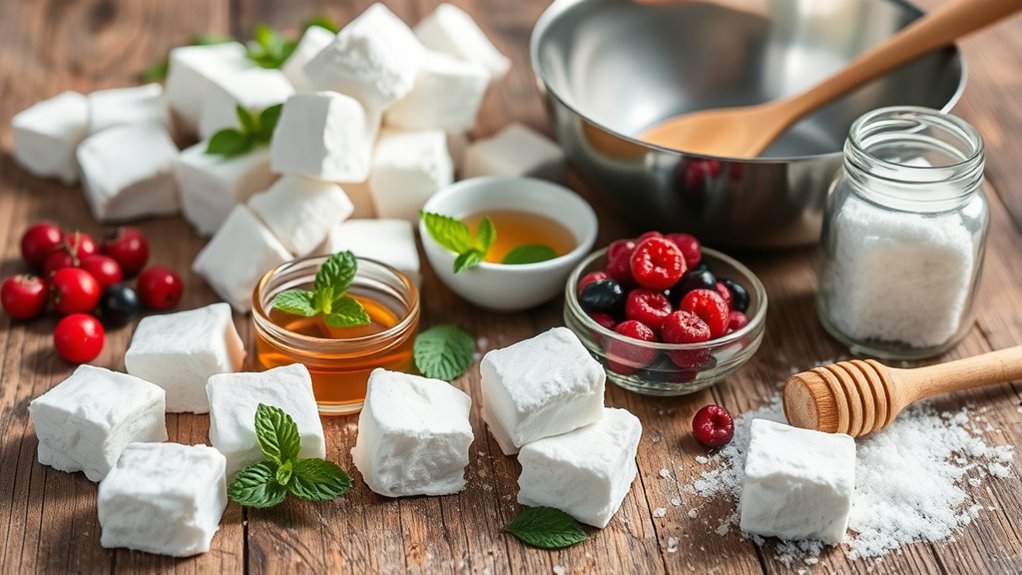
To create Arctic marshmallows, you’ll need a few essential ingredients that are both simple and easy to find. Start with granulated sugar, unflavored gelatin, and water as your base.
Don’t forget to add a splash of vanilla extract for flavor enhancement. A pinch of salt will help balance the sweetness, making each bite even more delightful.
Consider including corn syrup; it’s key to achieving that chewy texture you’ll love. To keep the marshmallows from sticking together, have some powdered sugar on hand for dusting.
Including corn syrup is essential for that perfect chewy texture, and don’t forget powdered sugar to prevent sticking!
For a fun twist, think about adding food coloring or flavored extracts to customize your treats. With these ingredients ready, you’re all set for the next steps!
Make the Sugar Syrup
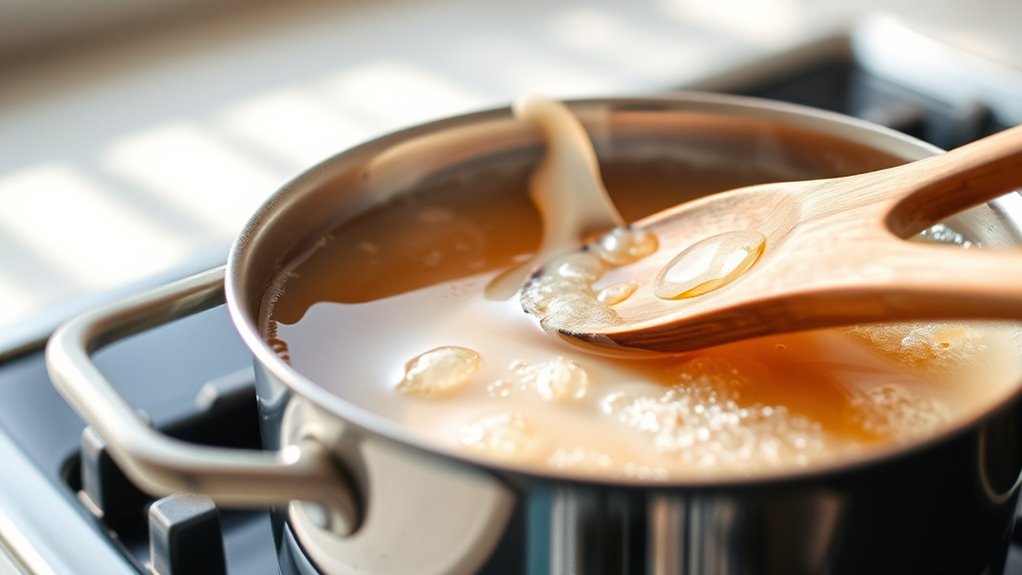
Making the sugar syrup is an essential step in crafting your Arctic marshmallows. Start by combining equal parts granulated sugar and water in a saucepan—typically, that’s 1 cup of each.
Heat the mixture over medium heat, stirring continuously until the sugar fully dissolves, which takes about 5 to 7 minutes. Once dissolved, increase the heat and bring the syrup to a gentle boil, but don’t stir; this helps prevent crystallization.
Let it boil for about 2 to 3 minutes, or until it reaches around 240°F (115°C) on a candy thermometer. That’s the soft-ball stage. Afterward, remove the syrup from heat and let it cool slightly before adding it to your marshmallow mixture.
Blooming Gelatin: Why Is It Crucial?
Blooming gelatin is essential for achieving the perfect texture in your Arctic marshmallows. By soaking it in cold water, you guarantee it hydrates properly, preventing clumps when mixed with hot ingredients.
If you skip this step, your marshmallows could end up rubbery or grainy, ruining the overall experience. So, don’t skip the bloom—it really makes all the difference!
Importance of Gelatin Blooming
When you’re preparing to make marshmallows, understanding the significance of blooming gelatin is essential. Blooming involves hydrating gelatin in cold water, which helps it dissolve evenly and prevents clumping.
This step is critical because it increases the gelatin’s gelling strength, ensuring a firmer texture in your marshmallows. Allowing the gelatin to bloom for about 5-10 minutes yields ideal results, activating its gelling properties effectively.
If you skip or rush this process, you risk a grainy texture that can ruin the taste and mouthfeel of your dessert. So, proper blooming is key to achieving the desired consistency in your marshmallows. Don’t overlook this important step in your recipe!
Ensuring Proper Texture
Achieving the perfect texture in your Arctic marshmallows relies heavily on the proper blooming of gelatin. This step is vital for a smooth, consistent result.
Here’s how to do it right:
- Hydrate: Dissolve 1 tablespoon of gelatin in 2-3 tablespoons of cold water. Let it sit for 5-10 minutes to absorb moisture.
- Heat: After blooming, gently heat the mixture to guarantee even dissolution. This prevents clumping.
- Incorporate: Add the bloomed gelatin to your other ingredients, ensuring a light, airy texture.
Skipping the blooming step can lead to grainy marshmallows, ruining that desired fluffiness. So, take your time with this vital process, and enjoy the perfect Arctic marshmallows!
Whip the Mixture for a Fluffy Texture
To create a light and fluffy texture for your marshmallows, you’ll want to whip the mixture thoroughly. Start by using a stand mixer or hand mixer on medium speed. Whip for about 5-7 minutes until soft peaks form.
This process incorporates air, which is essential for that airy consistency. Once you see those soft peaks, gradually increase the speed to high and continue whipping for an additional 2-3 minutes until stiff peaks form.
This guarantees your marshmallow fluff holds its shape. For added flavor and texture, consider adding a pinch of salt while whipping.
Finally, make sure your mixing bowl and beaters are completely clean and grease-free to achieve the best whipping results.
How to Add Flavor and Color to Your Marshmallows
To make your marshmallows truly stand out, you can infuse them with exciting flavors and vibrant colors. Try adding extracts like vanilla or peppermint, and don’t forget to experiment with natural fruit purees for a fruity twist.
For a pop of color, use gel-based food coloring to enhance their visual appeal without changing the texture. It’s a simple way to make your marshmallows look as good as they taste!
Flavor Infusion Techniques
When you want your marshmallows to burst with flavor and color, infusing them is the way to go. Here are some techniques to elevate your marshmallow game:
- Extracts: Use 1 teaspoon of extracts like vanilla, almond, or peppermint per cup of sugar syrup for a balanced taste.
- Fruit Purees: Incorporate about 1/4 cup of fruit purees or juices, like raspberry or orange, for enhanced flavor and vibrant color.
- Gel Food Coloring: Add gel food coloring to achieve a vivid hue without changing the consistency of your marshmallows.
You can also consider adding spices like cinnamon or chocolate for unique flavor twists. Give these a try! Experimenting with these techniques will make your marshmallows truly stand out!
Natural Color Options
If you’re looking to add a pop of color and flavor to your marshmallows, natural options can be both vibrant and delicious. For a stunning pink hue, try using beet juice; it not only colors your marshmallows but adds a hint of sweetness.
If you want a unique twist, matcha powder gives a beautiful green shade and an earthy flavor. Turmeric can brighten them up with a sunny yellow, and it has added anti-inflammatory benefits.
For a striking blue, blue spirulina is perfect—it’s packed with antioxidants and free from artificial dyes. Finally, pureed fruits like raspberries or strawberries can infuse both color and a fruity taste into your marshmallows, making them truly irresistible.
Pouring, Setting, and Enjoying Your Arctic Marshmallows
After blending your marshmallow mixture to perfection, pour it into a greased or lined pan to keep it from sticking. Let it set at room temperature for at least 4 hours, or until it’s fully firm.
Once set, dust the top with powdered sugar to prevent sticking when you cut it. Here’s how to finish your Arctic marshmallows:
- Use a sharp knife or kitchen scissors to cut the marshmallows into your desired shapes and sizes for clean edges.
- Enjoy them as a delightful treat on their own.
- Use them to top hot cocoa or desserts for an extra special touch.
Now, dig in and savor your sweet creations!
Frequently Asked Questions
Can I Use a Sugar Substitute in This Recipe?
Yes, you can use a sugar substitute in this recipe. Just make sure it’s suitable for cooking and has a similar sweetness level.
Also, adjust any liquid ingredients accordingly. That way, you’ll still enjoy delicious Arctic marshmallows!
How Long Do Arctic Marshmallows Last?
Arctic marshmallows can last up to three weeks when stored properly.
Curiously, marshmallows have a shelf life of around two to six months, depending on how you keep them.
Just seal ’em tight for freshness!
What Are Some Alternative Flavorings to Use?
You can use vanilla extract, peppermint oil, or almond extract for alternative flavorings. Try adding fruit purees or spices like cinnamon for a unique twist.
Experimenting will help you discover your favorite combinations! Don’t be afraid to mix and match to find what you like best.
Can I Use Different Food Coloring Types?
Yes, you can use different food coloring types! Gel, liquid, or powder options all work well.
Just remember to adjust the amount for your desired shade. That way, your marshmallows turn out vibrant and eye-catching.
How Do I Store Leftover Marshmallows?
You’ve crafted marshmallows fit for a snowman’s dessert table, but don’t panic!
Store leftovers in an airtight container at room temperature.
If they last that long, you deserve an award for restraint! Enjoy!
Conclusion
Now that you’ve mastered the art of making Arctic marshmallows, you can enjoy their fluffy texture, delightful flavors, and endless possibilities.
Share them with friends, use them to elevate your favorite desserts, or simply savor them on their own. Experiment with colors, try new flavors, and make this treat your own.
Whether it’s a cozy night in or a festive gathering, these marshmallows will add a touch of magic to any occasion. Get ready to indulge in the sweet, airy goodness of homemade Arctic marshmallows and make every moment a little sweeter!