
Nana’s anise biscotti recipe is a delicious, traditional italian treat that is easy to make. Full of aromatic anise flavor, these biscotti have a satisfying crunch and pair perfectly with a cup of coffee or tea.
With just a few simple ingredients and straightforward instructions, you can create these delightful cookies in no time. Get ready to impress your friends and family with this classic recipe that will leave them wanting more.
Ingredients And Equipment
When it comes to baking delicious nana’s anise biscotti, using the right ingredients and equipment is essential. The flavors and texture of these delectable treats depend on the quality of what goes into them. In this section, we will explore the key ingredients and recommended equipment needed to make these mouthwatering biscotti.
A List Of Essential Ingredients:
- 2 cups all-purpose flour: The base of nana’s anise biscotti, this flour provides structure and texture.
- 1 cup granulated sugar: Sweetness to balance the anise flavor and add a delightful crunch.
- 3 large eggs: These act as binders and provide moisture to the dough.
- 1 tablespoon anise extract: The star ingredient that imparts that distinct anise flavor.
- 1 teaspoon baking powder: Helps the biscotti rise and gives it a light, airy texture.
- 1/4 teaspoon salt: Enhances the flavors and balances the sweetness.
- 1/2 cup whole almonds, toasted and roughly chopped: Adds a delightful crunch and nutty flavor.
- 1 tablespoon anise seeds: Optional, but they enhance the anise flavor even more.
The Importance Of Using High-Quality Ingredients:
Using high-quality ingredients elevates the taste and overall experience of nana’s anise biscotti. Here’s why it matters:
- Flavor: High-quality ingredients intensify the taste of the anise and bring out the best flavors in the biscotti.
- Texture: Quality ingredients ensure a tender inside with a satisfying crunch on the outside.
- Aesthetics: When you use top-notch ingredients, the biscotti will have a visually appealing appearance, making them even more enticing.
Recommended Equipment For Making Biscotti:
To create perfect nana’s anise biscotti, the following equipment is recommended:
- Stand mixer or hand mixer: A stand or hand mixer makes it easier to cream the ingredients together, resulting in a smooth and well-incorporated dough.
- Mixing bowls: Have a couple of bowls on hand for organizing and mixing the dry and wet ingredients separately.
- Baking sheet: A sturdy baking sheet ensures even heat distribution for uniform baking.
- Parchment paper or silicone baking mat: These prevent the biscotti from sticking to the baking sheet.
- Wire cooling rack: Essential for proper cooling, allowing the biscotti to firm up and develop its characteristic texture.
With these key ingredients and recommended equipment in your arsenal, you’re ready to create delicious nana’s anise biscotti that will impress everyone lucky enough to sample them. So gather your supplies and let’s get baking!
Step-By-Step Instructions
Preparing The Dough:
In order to make nana’s delicious anise biscotti, follow these step-by-step instructions to ensure perfect results every time:
Mixing The Dry Ingredients:
Start by gathering all the necessary dry ingredients. Remember to measure them accurately for the best-tasting biscotti. Here’s how to mix the dry ingredients:
- In a large mixing bowl, combine the all-purpose flour, baking powder, and a pinch of salt.
- Use a whisk to thoroughly blend the dry ingredients together, ensuring even distribution.
Incorporating The Wet Ingredients:
After you have mixed the dry ingredients, it’s time to incorporate the wet ingredients. This will help bind the dough together and add moisture for a delightful texture. Follow these steps:
- In a separate bowl, beat the eggs and sugar together until well combined.
- Add the anise extract and melted butter to the egg mixture, and whisk until smooth.
- Slowly pour the wet ingredients into the dry ingredients, stirring gently with a spatula until a sticky dough forms.
Kneading The Dough Until Smooth:
Now that the wet and dry ingredients have been combined, it’s time to get hands-on with the dough. Kneading the dough will help develop gluten and create a smooth consistency. Here’s how to do it:
- Transfer the sticky dough onto a floured surface.
- Sprinkle some additional flour on top of the dough to prevent sticking.
- Begin kneading the dough, using the heel of your hand to push it away from you.
- Continue kneading for about 5-7 minutes, or until the dough becomes smooth and elastic.
Shaping And Baking The Biscotti:
Once the dough is smooth, it’s time to shape and bake the biscotti. Follow these steps to achieve perfectly-shaped, golden-brown biscotti:
Dividing The Dough Into Equal Parts:
- Divide the dough into two equal parts, using a sharp knife or a bench scraper.
- Place each portion of dough onto a separate baking sheet lined with parchment paper.
Shaping The Dough Into Logs:
- Gently shape each portion of dough into a log shape, about 12 inches long and 2 inches wide.
- Smooth out any cracks or unevenness in the dough using your fingertips.
Baking The Logs Until Golden Brown:
- Preheat the oven to the specified temperature.
- Place the baking sheets with the dough logs into the oven and bake for approximately 25-30 minutes, or until the logs turn golden brown.
Cooling And Cutting The Biscotti:
Once the logs are baked to perfection, it’s time to cool and cut them into individual biscotti. Follow these steps for flawless biscotti:
Allowing The Logs To Cool Completely:
- Remove the baking sheets from the oven and place them on wire racks.
- Allow the logs to cool completely, approximately 1 hour, before proceeding to the cutting step.
Cutting The Logs Into Individual Biscotti:
- Using a sharp serrated knife, carefully slice the cooled logs into individual biscotti.
- Aim for slices that are about 1/2 inch thick.
Arranging The Biscotti On A Baking Sheet For The Second Bake:
- Place the sliced biscotti back onto the baking sheets, arranging them in a single layer.
- Make sure to leave a small amount of space between each biscotti for proper air circulation.
Second Bake And Final Touches:
The second bake is essential for achieving the perfect biscotti texture. Follow these steps to complete the process:
Baking The Biscotti To Achieve The Perfect Texture:
- Preheat the oven to the specified temperature for the second bake.
- Return the baking sheets with the sliced biscotti to the oven.
- Bake for an additional 10-15 minutes per side, flipping the biscotti halfway through, until they are slightly crispy and lightly golden.
Optional Toppings Or Drizzles To Enhance The Flavor:
- If desired, you can add a personal touch to your biscotti by adding optional toppings such as melted chocolate, powdered sugar, or a drizzle of icing.
- Get creative and experiment with different flavor combinations to suit your taste preferences.
Cooling And Storing The Biscotti For Later Enjoyment:
- Allow the biscotti to cool completely on wire racks before storing them in an airtight container.
- Stored properly, the biscotti can be enjoyed for up to two weeks.
Now that you have mastered nana’s anise biscotti recipe, you can enjoy these delightful treats with your favorite hot beverage or share them with your loved ones. Enjoy!
Tips And Variations
Expert Tips For Achieving The Ideal Texture And Flavor In Nana’S Anise Biscotti:
Nana’s anise biscotti is a classic italian treat beloved for its crunchy texture and distinctive anise flavor. To help you perfect your biscotti baking skills, here are some expert tips:
- Use almond extract: Adding a few drops of almond extract to the biscotti dough enhances the overall flavor and complements the anise taste. It adds a subtle nuttiness that pairs beautifully with the other ingredients.
- Toast the almonds: Toasting the almonds before incorporating them into the biscotti dough brings out their natural oils and deepens their flavor. Make sure to cool them completely before adding to the mix.
- Don’t rush the double-bake process: Biscotti gets its signature crunch from the double-bake method. After the initial bake, allow the biscotti logs to cool completely before slicing them. Then, bake the individual slices on a lower temperature until they become crisp and golden brown.
- Experiment with baking times: Biscotti texture can vary depending on personal preference. For a slightly softer biscotti, reduce the baking time during the second bake. If you prefer yours extra crunchy, extend the baking time a bit longer. The key is to find the perfect balance that suits your taste.
Substitutions For Anise Flavor For Those Who Prefer Different Flavors:
While traditional anise flavor is delightful, not everyone enjoys it. Here are some alternatives you can try to infuse your biscotti with different flavors:
- Lemon zest: Replace the anise extract with lemon zest for a refreshing, citrusy twist. The bright notes of lemon will add a lovely tang to the biscotti, perfect for those who prefer a lighter flavor.
- Vanilla bean: Swap out the anise extract for pure vanilla bean paste or extract. The sweet and aromatic taste of vanilla will lend a comforting and familiar flavor to your biscotti.
- Almond extract: If you’re partial to the nutty taste of almonds, substitute the anise extract with almond extract. This will give your biscotti a rich and indulgent flavor that pairs well with the crunchy texture.
Creative Variations Of The Classic Recipe, Such As Adding Nuts Or Dried Fruits:
While nana’s anise biscotti is delicious on its own, you can get creative and add extra ingredients to elevate the recipe. Here are a few creative variations to consider:
- Crunchy almond biscotti: Incorporate chopped toasted almonds into the dough for an extra crunch. Their nuttiness complements the anise flavor beautifully and adds a delightful texture to every bite.
- Apricot and pistachio biscotti: Chop dried apricots and roasted pistachios and add them to the biscotti dough. The sweetness of the apricots and the vibrant green color of the pistachios create a visually appealing and flavorful combination.
- Cranberry and white chocolate biscotti: Mix in dried cranberries and white chocolate chunks into the dough. The tartness of the cranberries balances the sweetness of the white chocolate, resulting in a harmonious blend of flavors.
Get creative and experiment with different combinations of nuts, dried fruits, and even chocolate to personalize your nana’s anise biscotti. The possibilities are endless, so let your taste buds and imagination guide you!
Serving And Pairing Suggestions
Nana’S Anise Biscotti Recipe: Serving And Pairing Suggestions
Are you ready to take your enjoyment of nana’s anise biscotti to the next level? In this section, we’ll explore some fantastic serving and pairing ideas that will elevate your biscotti experience. From beverage pairings to presentation tips and packaging suggestions for gifting, we’ve got you covered.
Let’s dive in!
Ideas For Serving Nana’S Anise Biscotti, Including Beverage Pairings:
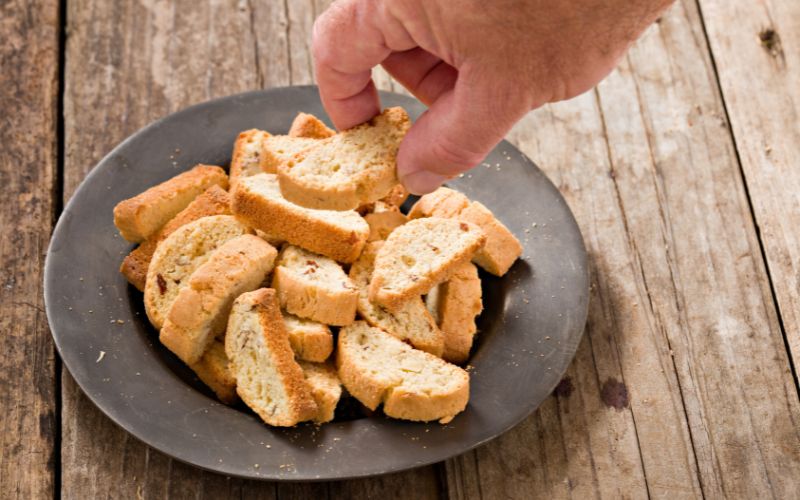
- Enjoy nana’s anise biscotti on its own as a delightful snack or dessert.
- Dip the biscotti into a piping hot cup of coffee to experience the perfect balance of flavors.
- Try pairing nana’s anise biscotti with a steaming cup of tea for a relaxing and aromatic treat.
- For a unique twist, savor the biscotti alongside a cold glass of italian dessert wine, such as vin santo or moscato.
- Don’t forget to serve nana’s anise biscotti during special occasions or gatherings – it’s sure to impress your guests.
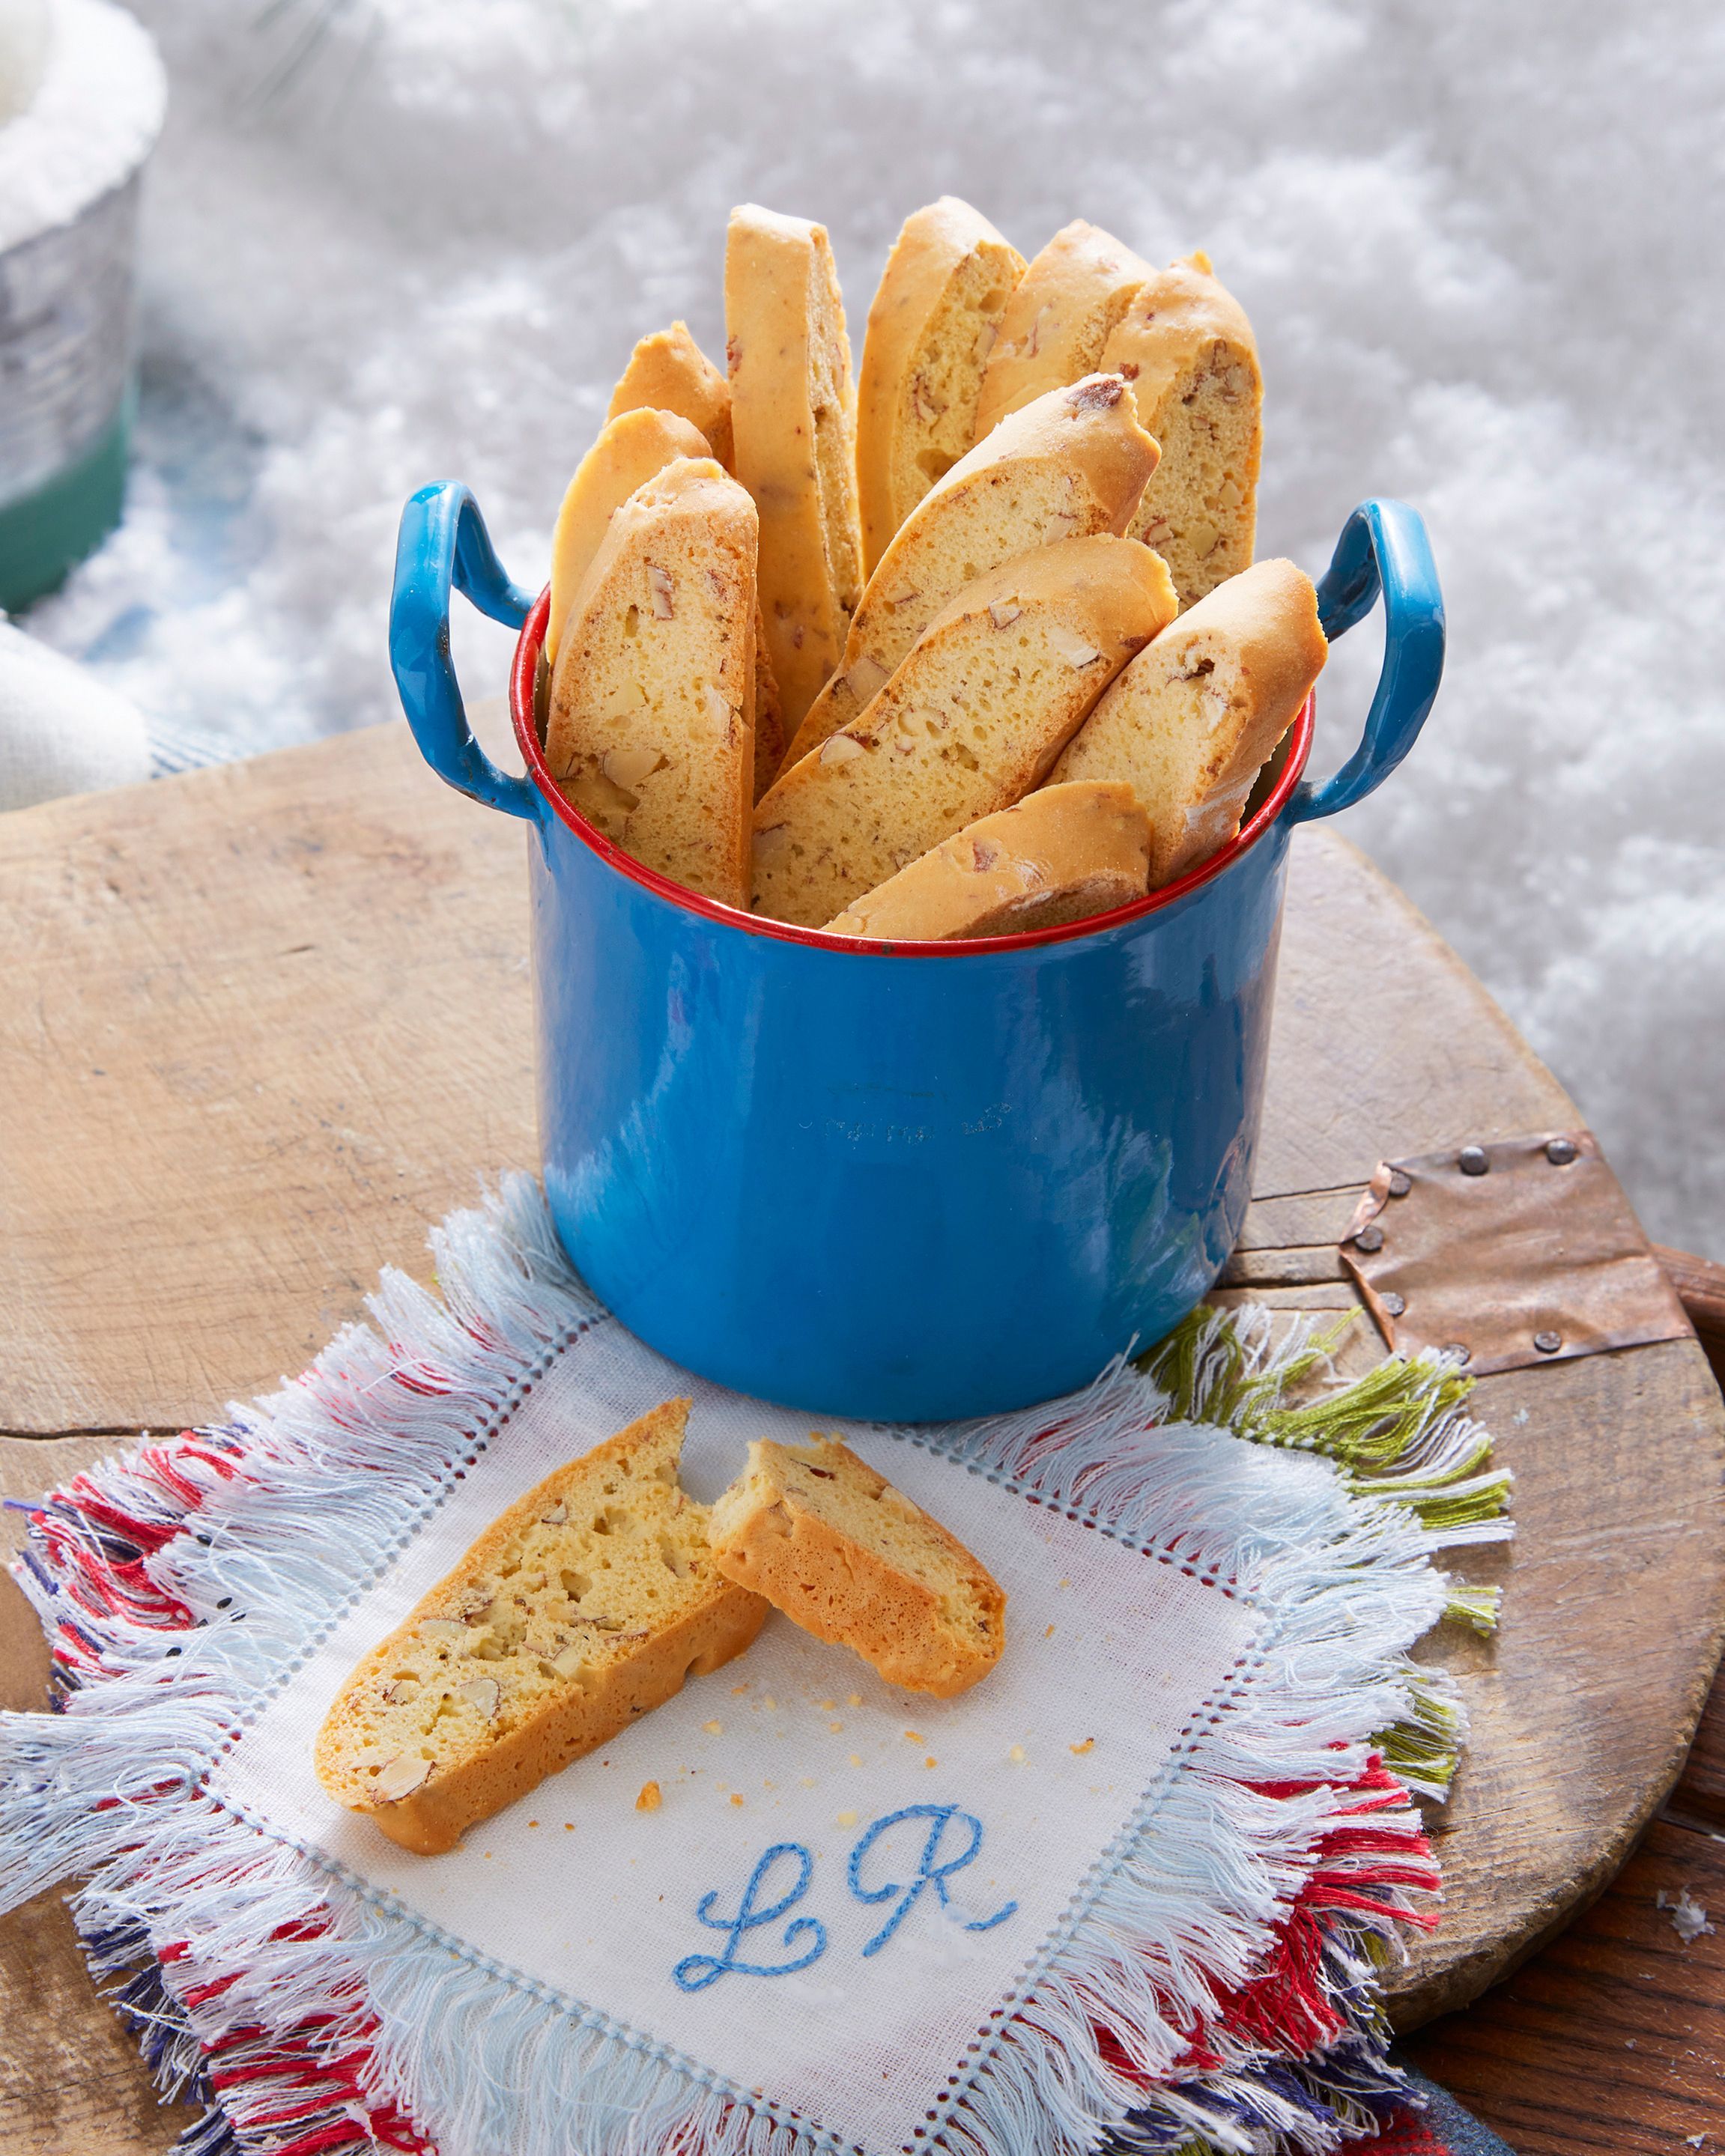
Presentation Tips To Make The Biscotti Visually Appealing:
- Arrange the biscotti in a beautiful and eye-catching pattern on a serving dish.
- Consider dusting the biscotti with a light sprinkle of powdered sugar to add an elegant touch.
- Chocolates, berries, or even edible flowers can be used as garnishes to enhance the presentation further.
- Serve the biscotti on a decorative tray or place individual pieces in colorful cupcake liners for a charming display.
- Don’t be afraid to get creative and experiment with different plating styles – the possibilities are endless!
How To Store And Package Biscotti For Gifting Or Sharing:
- Once cooled, store nana’s anise biscotti in an airtight container to keep them fresh and crispy.
- If planning to share or gift the biscotti, consider wrapping them in clear cellophane bags tied with a pretty ribbon.
- Personalize your biscotti gifts by attaching a homemade tag with the recipe or a heartfelt message.
- For longer shelf life, store the biscotti in a cool, dry place away from any direct sunlight or heat sources.
- Remember, freshly baked biscotti make the perfect homemade gift for any occasion.
With these brilliant ideas for serving, beverage pairings, presentation tips, and storage suggestions, you can elevate your enjoyment of nana’s anise biscotti. Whether you’re indulging in a relaxing moment alone with a cup of coffee or sharing these delicious treats with loved ones, nana’s anise biscotti is sure to impress.
Frequently Asked Questions (Faqs)
Nana’S Anise Biscotti Recipe
Making nana’s anise biscotti is a delightful experience, but like any recipe, you may have a few questions along the way. Here, we have compiled a list of common questions to provide you with helpful tips and suggestions to ensure your biscotti turns out perfect every time.
Common Questions About Making Nana’S Anise Biscotti Answered Concisely:
- How long should i bake the biscotti?
- Bake the biscotti for about 25-30 minutes, or until they are golden brown and crisp. Remember to let them cool completely before enjoying!
- Can i substitute anise flavoring for another extract?
- Yes, if you are not a fan of anise flavor, you can substitute it with almond or vanilla extract. Just keep in mind that it will alter the taste of the biscotti.
- What is the purpose of double baking biscotti?
- Double baking biscotti gives them their characteristic crispness. The first baking helps them hold their shape, and the second baking dries them out, resulting in the perfect crunchy texture.
Troubleshooting Tips For Common Issues That May Arise During The Baking Process:
- My biscotti are too soft. What went wrong?
- If your biscotti are too soft, it could be due to underbaking. Make sure to bake them for the recommended time and let them cool completely before storing them.
- Why did my biscotti crumble when i sliced them?
- Crumbling can happen if the biscotti dough is too dry. Ensure that you measure the ingredients correctly and use the specified amount of liquid in the recipe. If the dough still seems dry, you can add a tablespoon of milk or water to bring it together.
- Help! My biscotti are burnt on the edges.
- If your biscotti are browning too quickly, try lowering the oven temperature by 25 degrees fahrenheit. This will allow the biscotti to bake evenly without getting burnt.
Suggestions For Adapting The Recipe To Suit Dietary Restrictions Or Preferences:
- Can i make these biscotti gluten-free?
- Absolutely! You can replace the all-purpose flour with a gluten-free flour blend. Keep in mind that the texture and taste may vary slightly, but they will still be delicious.
- I’m watching my sugar intake. Can i reduce the amount of sugar?
- Yes, you can reduce the sugar in this recipe. You can try using a sugar substitute like stevia or cutting the sugar amount in half. Keep in mind that the sweetness and texture may be affected.
- Can i add mix-ins like chocolate chips or nuts to the biscotti?
- Of course! Adding mix-ins like chocolate chips, nuts, or dried fruits can take your biscotti to the next level. Just make sure to chop larger mix-ins into smaller pieces to ensure even distribution in the dough.
Now that you have the answers to frequently asked questions, troubleshooting tips, and suggestions for adapting the recipe, you are ready to embark on your biscotti-making adventure. Enjoy the process and savor the deliciousness of nana’s anise biscotti!
Frequently Asked Questions Of Nana’S Anise Biscotti Recipe
How To Make Nana’S Anise Biscotti?
To make nana’s anise biscotti, follow these steps: 1. Preheat the oven and gather the ingredients. 2. Cream together butter and sugar, then add eggs and vanilla extract. 3. In a separate bowl, combine flour, baking powder, anise seeds, and salt.
4. Gradually add the dry ingredients to the wet mixture. 5. Divide the dough in half, shape into logs, and bake. 6. Once cool, slice the logs and bake again to get crispy biscotti.
How Long Does Nana’S Anise Biscotti Stay Fresh?
Nana’s anise biscotti can stay fresh for up to two weeks when stored in an airtight container. Make sure to keep them in a cool, dry place away from direct sunlight to preserve their texture and flavor.
Can I Replace Anise Seeds In Nana’S Biscotti Recipe?
Yes, you can replace anise seeds with other ingredients like almond extract, fennel seeds, or even chocolate chips. These substitutions will give a different flavor profile to the biscotti while still maintaining its deliciousness. Experiment and find your favorite variation!
Can I Add Nuts To Nana’S Anise Biscotti Recipe?
Absolutely! Adding chopped almonds, walnuts, or pistachios to nana’s anise biscotti recipe will add a delightful crunch and enhance the overall flavor. Consider toasting the nuts before adding them to the dough for a more intense aroma.
Are There Any Variations To Nana’S Anise Biscotti?
Yes, you can customize nana’s anise biscotti by adding ingredients like dried cranberries, lemon zest, or even a drizzle of dark chocolate. These variations will provide different taste experiences and allow you to tailor the biscotti to your personal preferences.
Enjoy experimenting with different combinations of flavors!
Conclusion
Nana’s anise biscotti recipe is a delightful treat that combines the perfect balance of flavors, texture, and aroma. The anise adds a distinct and refreshing twist to the classic biscotti, making it a favorite among both young and old. Whether you are an experienced baker or a baking enthusiast, this recipe is easy to follow and guarantees a delicious outcome every time.
The step-by-step instructions guide you through the process, ensuring that you achieve the desired crunchiness without compromising on the tender center. The beauty of nana’s anise biscotti recipe lies in its versatility. You can enjoy these delectable cookies on their own or pair them with your favorite hot beverage for a truly indulgent experience.
They also make fantastic gifts for friends and loved ones, showcasing your baking skills and thoughtfulness. Lastly, by using high-quality ingredients and incorporating anise, nana’s anise biscotti recipe brings a sense of joy and nostalgia with every bite. So, give it a try and let these biscotti become a treasured recipe in your kitchen.
Happy baking!