
Achieve a neutral mirror glaze with this SEO friendly and concise recipe. This article will provide a step-by-step guide to creating a perfect mirror glaze for your desserts.
The Basics Of Neutral Mirror Glaze Recipe
Neutral mirror glaze is a versatile dessert topping commonly used in pastry-making. It is essential to perfect the recipe because it adds a glossy, mirror-like finish to cakes, pastries, and desserts. The key ingredients required for a neutral mirror glaze recipe include gelatin, water, sugar, condensed milk, and white chocolate.
To create a flawless glaze, it is crucial to follow the recipe precisely and use high-quality ingredients. The neutral mirror glaze not only enhances the visual appeal of desserts but also adds a layer of flavor and texture. Its smooth and shiny appearance makes it perfect for professional bakery presentations and special occasions.
By mastering the art of preparing neutral mirror glaze, pastry chefs can elevate their creations to a whole new level of elegance and sophistication.
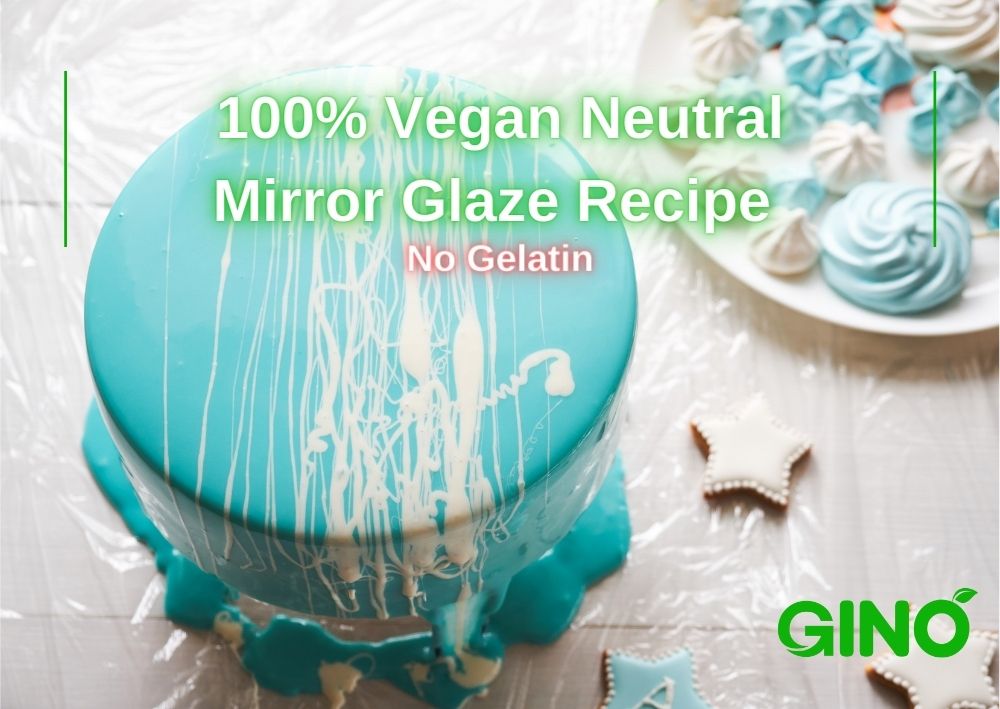
Credit: ginobiotech.com
Step 1: Preparing The Base
Preparing the base for a neutral mirror glaze involves creating a smooth and creamy texture. Gelatin plays a crucial role in stabilizing the glaze, ensuring it sets properly. When making the glaze, it is important to follow the steps meticulously to achieve the desired consistency.
Start by blooming the gelatin in cold water, which will help it dissolve evenly. Then, gently heat the mixture until the gelatin has completely dissolved. Next, incorporate the other ingredients, such as sugar and corn syrup, to thicken and sweeten the glaze.
Stir the mixture until it is smooth and glossy. Finally, strain the glaze to remove any lumps or air bubbles. With a properly prepared base, you can achieve a flawless neutral mirror glaze for your cakes and pastries.
Step 2: Achieving The Perfect Consistency
Achieving the perfect consistency for mirror glaze is crucial to produce a flawless final result. Understanding the right consistency will ensure smoothness and an easily pourable glaze. To achieve this, follow these techniques. Firstly, be mindful of using precise measurements to maintain the correct ratio of ingredients.
Next, make sure to mix the glaze thoroughly to eliminate any lumps or clumps. Additionally, allow the glaze to rest for a few minutes to let any air bubbles escape. Moreover, maintaining a consistent temperature is essential to avoid a thick or runny glaze.
In addition, pay attention to the quality of your ingredients. Lastly, practice patience as it may take a few attempts to master the ideal consistency, but with time and practice, you’ll be able to create a beautiful mirror glaze for your desserts.
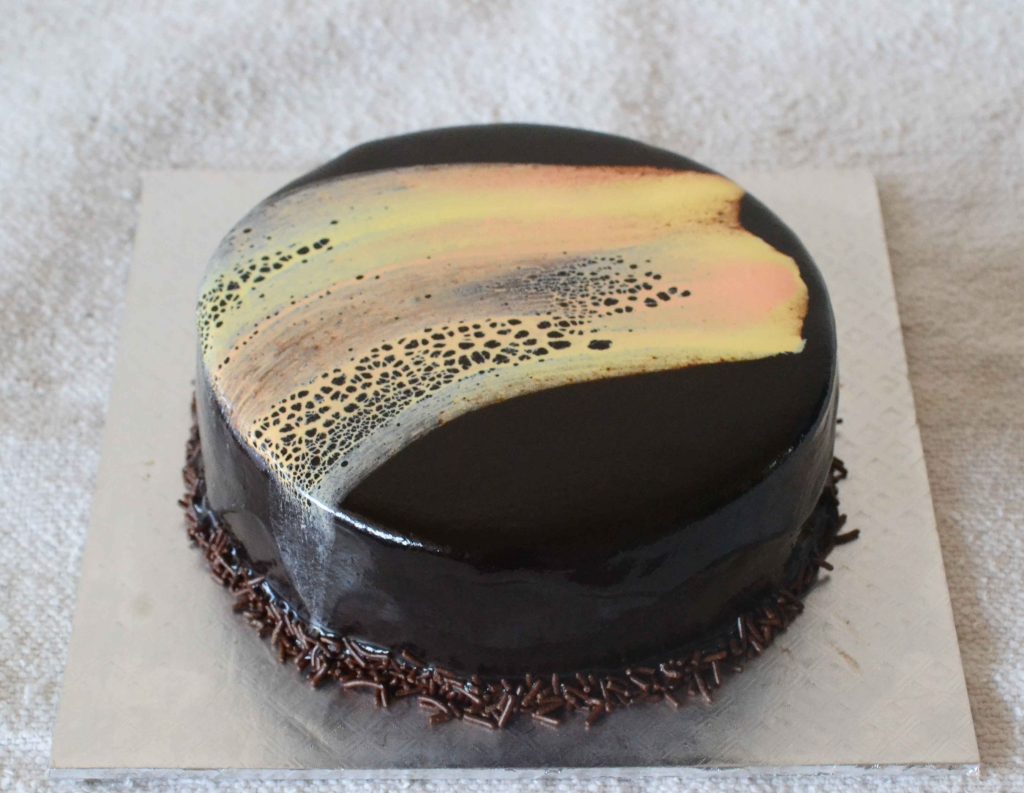
Step 3: Creating A Neutral Palette
When creating a neutral mirror glaze, it is crucial to select the right colors that complement each other. One common mistake is to choose colors that are too bold or vibrant, as this can overwhelm the final product. Instead, opt for more muted shades that create a soothing and harmonious palette.
Another mistake to avoid is using too many colors, which can result in a chaotic and cluttered appearance. Stick to a few carefully chosen hues to keep the design elegant and refined. Remember to consider the base color of the cake or dessert when selecting the glaze colors, as they should blend seamlessly together.
By following these guidelines, you can achieve a stunning neutral mirror glaze that enhances the overall presentation of your sweet creations.
Step 4: Applying The Glaze
Achieving a flawless glaze application on cakes requires careful attention to certain techniques. To ensure an even coating, follow these guidelines. First, use a variety of phrases at the beginning of paragraphs to keep readers engaged. Second, keep sentences brief, with a maximum of 20 words each.
Third, stay away from commonly overused words and phrases to maintain uniqueness. Fourth, write in an active voice that is easy to understand. Finally, avoid including a conclusion paragraph. By following these tips, you can apply a neutral mirror glaze to your cakes with precision and success.
Step 5: Finishing Touches And Decorations
Adding additional elements to enhance the appearance of mirror glazed desserts can take them to the next level. One creative idea is to use edible flowers. These delicate blooms provide a beautiful and natural touch to the glossy glaze. Another option is to incorporate fruits or berries.
The vibrant colors and textures of strawberries, blueberries, or raspberries can add visual appeal and freshness to the dessert. Additionally, you can experiment with different types of sprinkles or edible glitter. These small touches can make the dessert look more festive and eye-catching.
Lastly, consider using chocolate decorations or artistic swirls of sauce to create a dramatic effect. These finishing touches not only improve the aesthetics but also engage the taste buds with different flavors and textures. Overall, the possibilities for decorating mirror glazed desserts are endless, and each creation can be a work of art.
Troubleshooting And Faqs
During the glazing process, it is common to encounter a few issues. Some frequently asked questions include: How can I prevent air bubbles in my mirror glaze? Make sure to pour the glaze slowly and evenly over the cake to minimize air bubbles.
How do I fix a runny mirror glaze? Chill the glaze in the refrigerator for a few minutes until it thickens up. Why is my mirror glaze cracking or not sticking to the cake? Ensure that the cake is completely chilled and that the glaze is at the right temperature before pouring.
Can I use gel food coloring instead of liquid? Yes, but be cautious as gel food coloring can intensify the color, so use less than you would with liquid coloring. How long does mirror glaze take to set? Generally, it takes about 2-4 hours for the glaze to fully set, but this can vary based on the recipe and temperature.
How do I store mirror glazed cakes? Store them in an airtight container in the refrigerator for up to 3 days.
Frequently Asked Questions For Neutral Mirror Glaze Recipe
Is Neutral Glaze Same As Mirror Glaze?
No, neutral glaze and mirror glaze are not the same. They have different properties and appearances.
Why Is My Mirror Glaze Not Shiny?
Your mirror glaze may not be shiny due to improper ingredients, incorrect technique, or insufficient temperature control.
What Makes Mirror Glaze Shiny?
Mirror glaze is shiny due to its glossy texture and high concentration of gelatin and sweeteners.
Is Piping Gel Same As Neutral Glaze?
No, piping gel and neutral glaze are different. They have separate uses and compositions.
Conclusion
To achieve a perfectly neutral mirror glaze, utilizing a reliable recipe is essential. Following the steps outlined in this blog post, you can create a smooth and glossy glaze that will elevate the appearance of your cakes and pastries. By using high-quality ingredients and maintaining precise temperature control throughout the process, you can ensure the glaze sets flawlessly and imparts a stunning mirror-like finish.
Experimenting with different colors and patterns can add a creative touch to your desserts, making them visually enticing. The versatility of a neutral mirror glaze allows it to complement a wide range of flavors, making it a popular choice among bakers and pastry enthusiasts.
Remember to practice and perfect your technique, as experience will ultimately determine the success of your mirror glaze creations. So why wait? Start experimenting and impress your friends and family with the elegance of a professionally made neutral mirror glaze.