5 Easy Steps for a Bacon Lollipop Recipe at Home
Start by trimming and drying chicken drumettes, seasoning them well with salt and pepper.
Next, wrap each with thin bacon slices brushed lightly with mustard or oil to help it stick.
Secure with toothpicks, sprinkle a brown sugar and smoked paprika mix, then chill briefly. This simple step helps the flavors meld beautifully.
Cook your lollipops by baking or grilling until crisp and 165°F inside.
Adding a glaze near the end gives them a sticky, sweet flavor that’s irresistible.
Keep them hot and garnish before serving—you’ll find plenty of tips to perfect this crowd-pleaser.
These bacon-wrapped chicken lollipops are perfect for game day or any party!
Key Takeaways
- Trim and clean chicken drumettes, season with salt and pepper, and optionally marinate for up to 4 hours.
- Wrap each drumette with half a slice of bacon, securing with a toothpick and brushing with mustard or oil to bind.
- Sprinkle a mix of brown sugar and smoked paprika over the bacon, then chill for 15–30 minutes to set.
- Bake at 400°F on a wire rack for 25–30 minutes, flipping once, and apply glaze during the last 8–10 minutes.
- Let lollipops rest 3–5 minutes after cooking, then serve hot with optional garnishes and dipping sauces.
Preparing the Chicken Drumettes
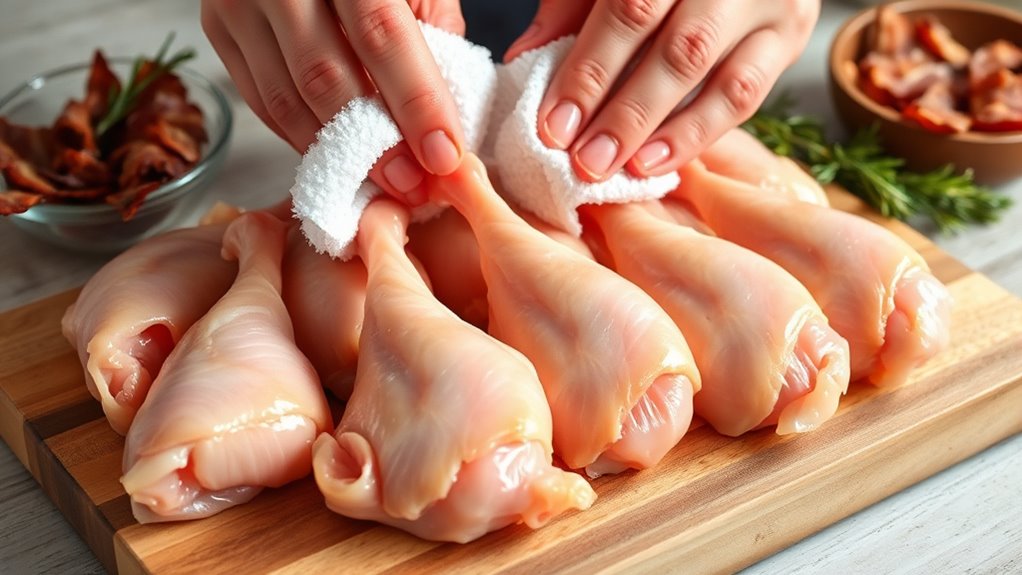
Start by trimming excess skin and fat from each chicken drumette, then use a small knife to scrape the meat down toward the base. This creates the classic “lollipop” exposed bone handle.
Next, pat the drumettes thoroughly dry with paper towels to guarantee a crisp finish. Season them inside and out with kosher salt and freshly ground black pepper—about 1/2 teaspoon of salt per pound of chicken works well.
If you’re planning to use a marinade or glaze, marinate the drumettes in the refrigerator for 30 minutes to 4 hours for the best flavor absorption. But if you’re short on time, no worries—you can just brush on the sauce during the last 10 to 15 minutes of cooking.
This preparation guarantees your drumettes are flavorful and ready for the next step.
Seasoning and Wrapping With Bacon
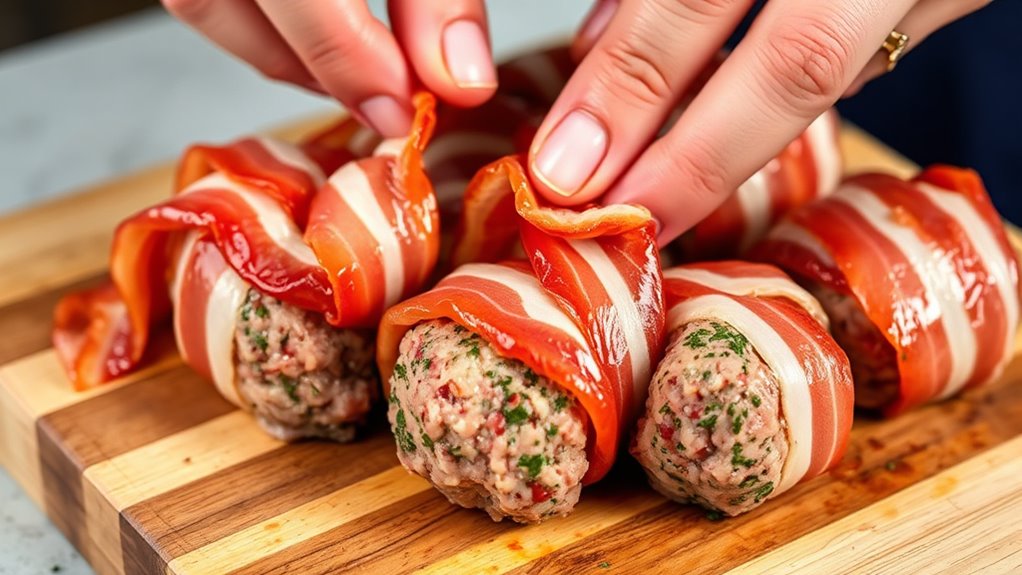
Pat the chicken drumettes dry once more and season them evenly with kosher salt and freshly ground black pepper. This helps the bacon stick well and ensures the meat crisps up nicely.
Dry and season chicken drumettes to help bacon adhere and achieve a crispy, flavorful finish.
Next, apply a thin layer of mustard or lightly brush oil over each drumette. This acts as a binder for the bacon.
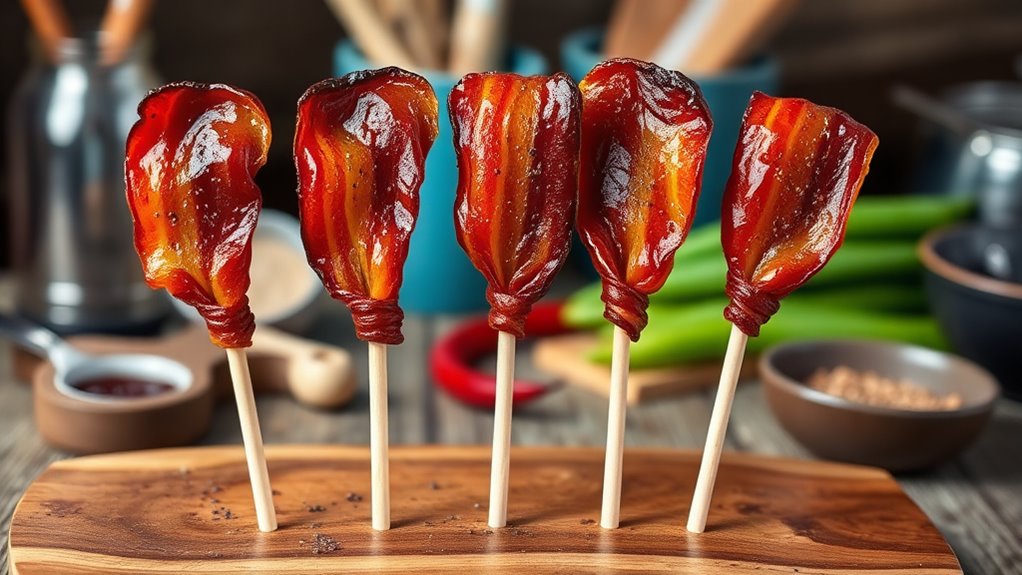
Wrap each drumette with half a slice of thin-cut bacon, overlapping slightly and tucking the ends underneath to create a neat lollipop shape. For extra flavor, sprinkle a 1:1 mix of brown sugar and smoked paprika over the bacon—about half a teaspoon per piece.
You can also save the sugar for later if you want to prevent burning. Finally, secure the bacon with a toothpick through the bone end.
Chill the wrapped drumettes uncovered for 15–30 minutes to set the bacon before cooking. This little step really helps keep everything in place while you cook.
Securing and Glazing the Lollipops
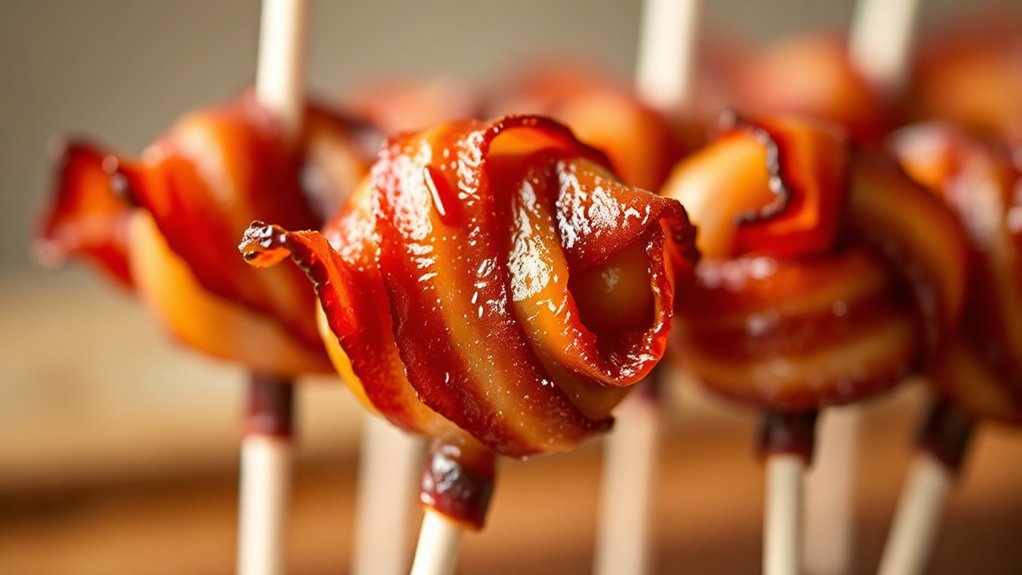
Once you’ve securely wrapped the bacon around each drumette, make sure to fasten it tightly with a toothpick about an inch from the bone. This helps prevent the bacon from unwrapping during cooking.
Tuck the bacon’s end underneath or pin it firmly so it stays put. When it’s time to glaze, use a high-heat tolerant basting brush and warm your glaze slightly to around 95–105°F (35–40°C). This temperature helps with smooth, even application.
Brush a thin coat of glaze during the last 8–10 minutes of baking. Repeat once or twice to build a sticky sheen without burning the sugars.
After glazing, let the lollipops rest for 3–5 minutes so the glaze sets and the juices redistribute. This ensures a lacquered finish that holds beautifully when served.
Cooking Techniques: Baking or Grilling
Choosing between baking and grilling your bacon-wrapped chicken lollipops depends on the flavor and texture you want. Baking at 400°F on a wire rack for 25–30 minutes cooks them evenly while crisping bacon nicely; just flip once and check that the chicken hits 165°F.
Grilling adds smoky flavor—start by searing each side over direct medium heat for 1–2 minutes to render fat, then move lollipops to indirect heat, cover, and cook until done. To avoid flare-ups and make certain crisp bacon, partially cook it beforehand by baking or microwaving briefly.
Use a meat thermometer to confirm doneness, and brush on your glaze in the last few minutes to get that caramelized finish without burning. Rest lollipops 5 minutes before serving to keep them juicy and firm.
Serving and Garnishing Suggestions
When you serve bacon-wrapped chicken lollipops hot from the oven or grill, their bacon stays crisp while the meat remains juicy, making every bite satisfying. Plate them upright in a shallow glass or on a wooden board lined with parchment for an eye-catching, easy-to-grab display.
Brush each lollipop with a warm glaze and sprinkle flaky sea salt to boost the flavor balance. Garnish with finely sliced green onions and toasted sesame seeds for color, crunch, and a nutty aroma that pairs perfectly with a sweet-spicy glaze.
Offer dipping sauces like honey-sriracha, garlic-aioli, or tangy barbecue in small ramekins, about 1–2 tablespoons per guest, to let everyone customize their taste. This thoughtful presentation will impress at any gathering.
Frequently Asked Questions
Can I Use Turkey Drumettes Instead of Chicken?
Yes, you can use turkey drumettes instead of chicken. They’ll take a bit longer to cook due to their size.
But don’t worry, you’ll still get a delicious, smoky, and crispy bacon lollipop that everyone will love. It’s a great twist if you want to switch things up!
What Type of Bacon Works Best for Wrapping?
You’ll want to use thick-cut bacon because it holds up well when wrapping and crisps nicely without burning.
Avoid super thin slices—they cook too fast and can become too brittle or greasy during cooking.
Thick-cut bacon just gives you that perfect balance of texture and flavor when you’re wrapping your food. Plus, it stays intact better, making your dish look and taste amazing!
How Long Can I Store Uncooked Bacon Lollipops?
You can store uncooked bacon lollipops in the fridge for up to 2 days, like a fresh bouquet waiting to bloom.
Just wrap them tightly to keep flavors locked in and prevent drying out.
Are Bacon Lollipops Freezer-Friendly After Cooking?
Yes, you can freeze cooked bacon lollipops. Just let them cool completely first.
Then, wrap them tightly in foil or plastic wrap. After that, store them in an airtight container or freezer bag.
They’ll keep well for up to three months. So, you can enjoy them later without any worry!
What Dipping Sauces Pair Well With Bacon Lollipops?
Variety is the spice of life, so try pairing your bacon lollipops with maple syrup, spicy mustard, or barbecue sauce. You’ll love how sweet, tangy, and smoky flavors perfectly complement that crispy bacon bite.
Give them a shot and see which combo you like best. Trust me, these dipping sauces will take your bacon lollipop game to the next level!
Conclusion
Now that you’ve mastered these bacon lollipops, you’re ready to impress at any gathering. Each bite is like a flavorful fireworks show, bursting with smoky, savory goodness wrapped around tender chicken.
Whether you bake or grill, these treats turn simple drumettes into a party favorite. So go ahead, serve them up with your favorite garnish and watch everyone’s faces light up with delight.
You’ve just made snack time unforgettable! These easy bacon lollipops are the perfect appetizer for any occasion. Give them a try and enjoy the delicious combination of crispy bacon and juicy chicken in every bite.