Alton Brown Popover Recipe in 10 Easy Steps to Perfect Popovers
You’ll start by gathering room-temperature ingredients—flour, eggs, milk, and butter. Then whisk them into a smooth batter and let it rest 30–60 minutes to hydrate and aerate. This resting step is key to getting those perfect popovers with their signature puff and light texture.
Meanwhile, preheat your oven and popover pan to a scorching 450°F. Grease each cup with butter and add a cold pat for crispness. Pour batter evenly, bake high for 15–20 minutes, then lower the heat to finish cooking. Finally, cool on a wire rack to keep them from getting soggy.
Ready for perfect popovers? Keep going to uncover every essential trick and tip for making Alton Brown’s famous popovers come out beautifully golden and airy every time.
Key Takeaways
- Use room temperature ingredients and whisk eggs with milk until frothy for better rise and texture.
- Preheat oven to 450°F and heat a greased metal popover pan until sizzling hot before filling.
- Fill each cup two-thirds full with batter, avoiding smoothing, then bake at high heat for 15–20 minutes.
- Reduce oven temperature to 300–325°F after initial rise to finish cooking gently and prevent over-browning.
- Rest batter 30–60 minutes before baking, then strain and gently stir to maintain light, airy consistency.
Gather All Ingredients
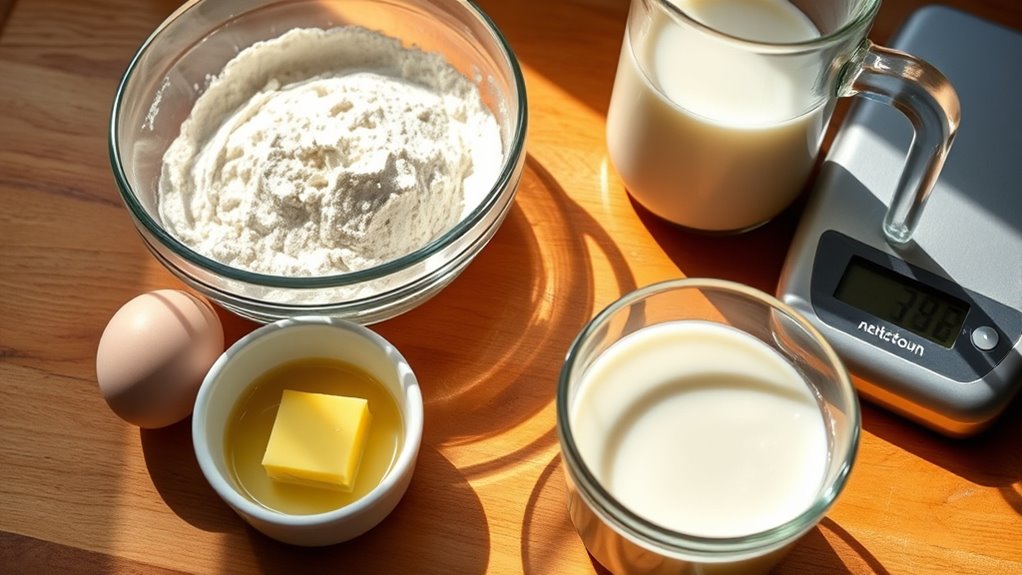
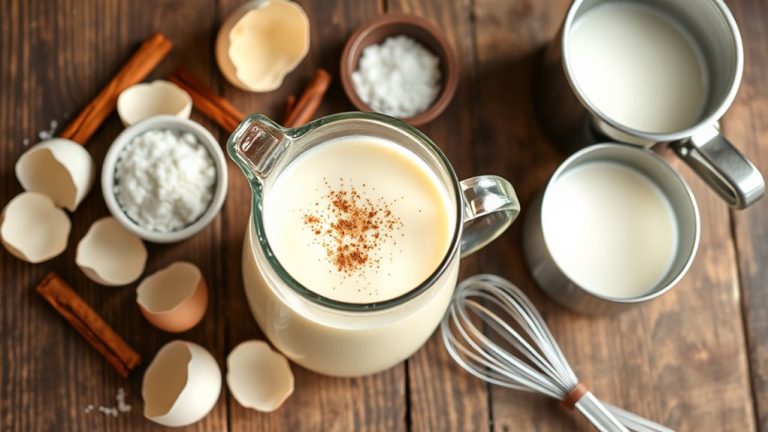
Before you start mixing, gather all your ingredients and have them at room temperature. This helps the batter emulsify properly and rise well.
Measure 1 1/4 cups of all-purpose flour and 1/2 teaspoon salt into a small bowl. In another bowl, crack and lightly beat 3 large eggs.
Then add 1 1/2 cups milk and 4 tablespoons of melted butter that’s slightly cooled. Having everything ready makes this recipe easy to make and guarantees a smooth process.
Don’t forget to cut 2 tablespoons of cold butter into small pieces. You’ll place these in each popover cup just before filling the hot pan.
This step helps achieve that perfect golden brown crust you’re aiming for in your popovers.
Prepare the Batter
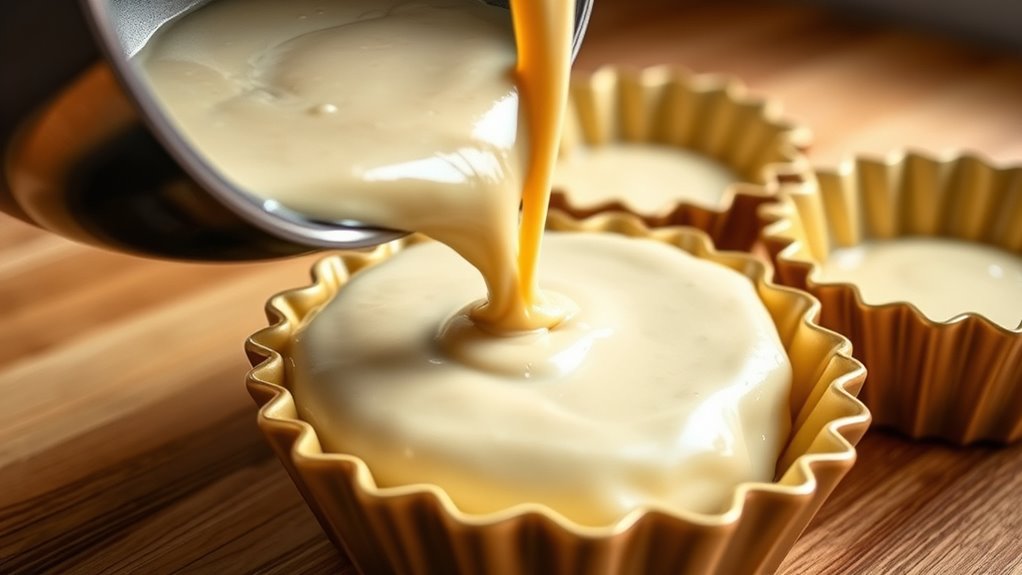
Start by combining your key ingredients carefully, whisking the dry and wet components separately before blending them together.
You’ll want to achieve a smooth batter with the consistency of heavy cream to make certain your popovers rise properly.
Key Ingredients Overview
Although popovers look intricate, you’ll find their batter surprisingly simple, relying on a balanced mix of eggs and milk in equal volumes to create a thin, pourable consistency. Alton Brown’s recipe calls for large eggs at room temperature whisked with real milk, ensuring a smooth batter that puffs perfectly.
You’ll use about one cup of sifted all-purpose flour to keep the texture light and airy. While some might suggest mayonnaise for moisture, the real secret here is a small amount of melted butter added for flavor and a crisp crust.
Salt seasons the batter just right—skip baking powder since popovers rise from steam and egg structure alone. This straightforward ingredient list makes your popovers both simple and impressive.
Mixing Techniques
When you whisk together the flour and salt, you’re not just mixing ingredients—you’re aerating the dry components to create a lighter batter.
In a separate bowl, beat the eggs with milk and melted butter until smooth and slightly frothy. Slowly pour this liquid into the flour mixture while stirring gently. Keep mixing just until the batter is completely smooth, resembling heavy cream with no lumps.
Resist the urge to overmix, as this can toughen your popovers. After combining, let the batter rest for 20 to 30 minutes at room temperature.
This resting period hydrates the flour and enhances the popovers’ rise and oven spring. Just before filling the hot, buttered pan, give the batter a quick gentle stir to keep it light and airy.
Batter Consistency Tips
After letting your batter rest, you’ll want to check its consistency to make sure your popovers puff up perfectly. Aim for a batter that flows like heavy cream—pourable but still thick enough to hold structure.
If it feels too thick, thin it out by adding a tablespoon of milk at a time, whisking gently. If it’s too thin, add a spoonful of flour and mix lightly.
Before resting, whisk eggs and milk until frothy to incorporate air and guarantee a smooth texture. After resting for 20–30 minutes, strain the batter through a fine-mesh sieve to remove lumps, which helps achieve an even rise.
This careful balance of viscosity and aeration is key to light, airy popovers with a beautifully puffed interior. You’ll see the difference when you bite into that perfect popover!
Let the Batter Rest
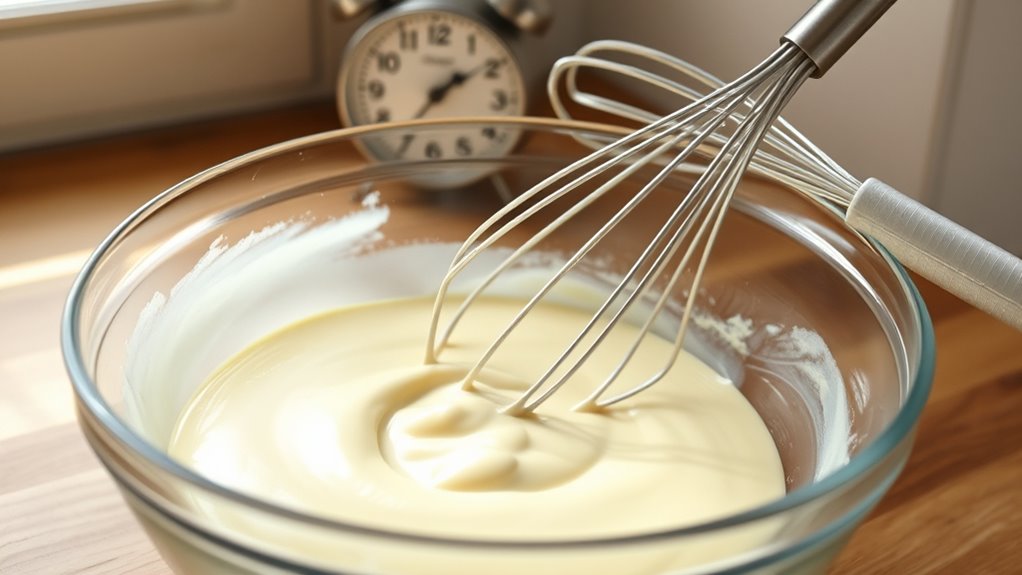
Let your batter rest for 30 to 60 minutes at room temperature to help the flour hydrate and the gluten relax. This step boosts the batter’s rise and creates tender, airy popovers.
Batter Resting Benefits
Although it might be tempting to pour your popover batter immediately, resting it for 30 to 60 minutes at room temperature greatly improves your results. This pause hydrates the flour and relaxes gluten, creating a smoother, more elastic batter that rises taller and more evenly.
It also stabilizes air bubbles and helps proteins bind with liquids, preventing large holes or tunnels. Rested batter heats evenly in your hot pan, triggering rapid steam for maximum puff.
| Benefit | Why It Matters |
|---|---|
| Smoother texture | Easier to pour and shapes better |
| Taller rise | Impressively puffy, bakery-quality popovers |
| Even heat & steam | Perfect crust and soft, airy inside |
Trust the rest—your popovers will thank you!
Ideal Resting Duration
When you give your Alton Brown–style popover batter 30 to 60 minutes to rest at room temperature, you release its full potential for rise and tenderness. This resting period allows the flour to fully hydrate and the gluten to relax, resulting in a lighter, more tender interior.
It also lets trapped air expand during baking, giving you taller, crisper popovers. While shorter rests of 10 to 15 minutes work, they produce slightly denser results.
If you need to rest longer, cover and refrigerate the batter for up to 24 hours. Then, bring it back to room temperature for about 30 minutes before baking.
Remember to gently stir any separated liquid after resting without overmixing. And keep the batter in a warm, draft-free spot between 65 and 75°F for best results.
Preheat the Oven and Pan
Because a super hot oven creates the steam needed for popovers to rise perfectly, you should preheat your oven to 450°F (232°C) and place your empty popover or muffin pan inside for 5 to 10 minutes to get it thoroughly hot. Heating the pan guarantees the batter sizzles on contact, producing that essential burst of steam.
Once hot, add a small knob of butter or spray each well just before filling, then return the pan to the oven for 1 to 2 minutes so the fat melts and the wells are sizzling. Remove the pan quickly, fill each cup halfway with batter to trap steam, and immediately return it to the oven at 450°F to maintain temperature and encourage a strong oven spring.
Grease the Popover Pan
You’ll want to choose the right grease to assure your popovers don’t stick and develop a crisp, golden edge. Using softened butter or nonstick spray works well, but placing a small pat of cold butter in each cup gives the best results.
Make sure to prepare the pan properly by greasing every cup thoroughly before preheating it in the oven. This little step really helps your popovers come out perfect every time.
Choosing the Right Grease
Choose unsalted or clarified butter at room temperature to grease your popover pan. These fats brown cleanly without burning and help form a crisp rim.
Brush or rub about 1/2 teaspoon of fat into each cup, or place a small pat (2–3 grams). This makes sure the batter slides easily up the sides and releases without sticking.
After greasing, preheat the pan in the oven for 2–5 minutes so the fat is hot and sizzling when you add the batter. This jumpstarts oven spring.
If you’re using nonstick or silicone pans, go for a light coating of vegetable oil spray or a neutral oil with a high smoke point like canola or avocado oil instead of butter.
Avoid flouring cups; it can hinder rise and cause uneven browning. Proper greasing alone gives the best crisp exterior.
Preparing Pan Properly
Start by preheating your oven to 450°F (232°C). You want your popover pan to be scorching hot when you add the butter and batter.
Place about 1/2 teaspoon of butter in each cup—roughly 2 tablespoons total for a 6-cup pan or 4 tablespoons for a 12-cup pan. Pop the buttered pan into the oven for 2 to 3 minutes until the butter melts and sizzles.
Then, take it out immediately. Work fast when filling each cup with batter while the butter’s still hot. This helps generate the steam needed for a great rise.
For easier release and extra browning, consider spraying the cups lightly with neutral oil before butter. Or, you can use parchment-lined inserts designed for popover pans.
Fill the Pan With Batter
Ladle the batter swiftly into each preheated, buttered cup, filling them about two-thirds to three-quarters full. This means roughly 1/3 to 1/2 cup of batter in a standard 12-cup pan. Leave enough room for the popovers’ dramatic rise without overflow.
Use a ladle or large measuring spoon to pour the batter quickly. Let the heat shock from the hot cups help generate steam that lifts the batter.
Don’t tap or smooth the batter afterward; keep the surface slightly uneven. That way, the rising steam forms those crisp edges and hollow centers.
Fill all cups evenly and swiftly to assure uniform rising. If your batter has rested, give it a gentle stir to reincorporate any separated liquid. This will help maintain the heavy-cream consistency needed for the best expansion.
Start Baking at High Temperature
Because a scorching oven is key to popovers’ dramatic rise, preheat yours to 425–450°F (220–230°C) for at least 15 minutes. Use a heavy-duty metal popover or muffin pan and heat it for an additional 2–5 minutes so the cups are uniformly scorching-hot.
Right before filling, place a small knob or brush of butter into each cup—this melts and sizzles, helping create crisp edges and lift. Fill each cup only halfway to two-thirds full, then put the pan straight into the fully preheated oven.
The intense initial heat triggers rapid steam formation, setting the structure and producing that signature puff. Maintain this high temperature for about 20 minutes to lock in the rise and texture before moving on to the next step in baking.
Reduce Heat for Even Cooking
You’ll usually want to reduce the oven temperature after the popovers have puffed fully at high heat. Typically, you start at 400–425°F for 15–20 minutes to achieve maximum height, then lower it to 300–325°F for the final 10–15 minutes.
This prevents over-browning on the outside while allowing the centers to steam-cook gently, creating a tender, custardy crumb rather than a gummy one. Don’t drop the temperature too soon, or your popovers might deflate.
Use an oven thermometer to make certain your temperature shift is accurate and stable. If you notice the popovers darkening too quickly near the end, lower the heat by 10–20°F and extend baking time slightly to finish cooking evenly without burning.
Remove and Cool Popovers
Once the popovers finish baking, remove them from the hot pan immediately to prevent unwanted steaming that softens their crisp exteriors. Use a thin spatula or tongs to gently lift each one out of its cup, then place them on a wire cooling rack.
This allows air to circulate, keeping the bottoms crisp as they cool. Let the popovers cool for about 5 minutes to let the interior set; they’ll deflate slightly but stay light and airy.
If you’re not serving right away, cool them completely on the rack, then store them in a paper bag at room temperature for up to 24 hours to maintain crispness. To refresh, just reheat in a 350°F oven for 3–5 minutes to bring back that warmth and those crisp edges.
Serve With Your Favorite Toppings
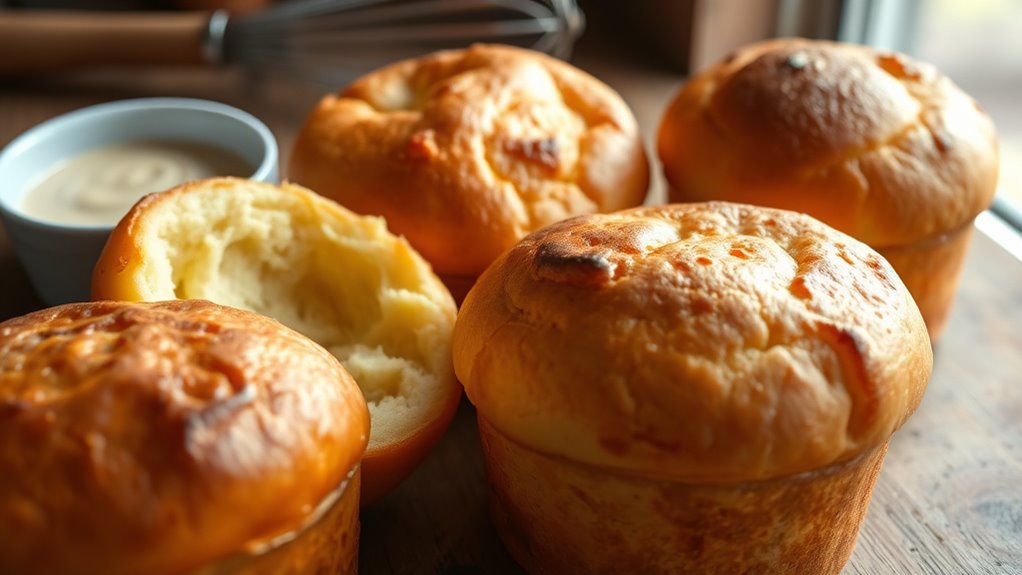
Bring out the best in your popovers by topping them with your favorite sweet or savory additions. Serve them warm, split open immediately to let the steam escape.
Enhance your popovers by adding sweet or savory toppings and serve them warm, split to release steam.
Brush with butter, then add jam, honey, or marmalade for a sweet touch. For savory lovers, fill popovers with softened herb butter, sharp cheddar, or smoked ham paired with Dijon mustard.
Transform popovers into a light dessert by spooning whipped cream or vanilla pastry cream into their hollow centers just before serving. If you’re using them as dinner rolls, serve alongside soups or stews topped with compound butters like garlic-herb or chive-bacon, which melt beautifully.
To keep them crisp when serving large batches, hold popovers in a single layer on a wire rack in a warm 200°F oven for up to 20 minutes before topping. Easy, right? Enjoy!
Frequently Asked Questions
What Ingredients Do You Need to Make Popovers?
You’ll need all-purpose flour, kosher salt, whole milk, large eggs, and unsalted butter.
Make sure your eggs and milk are at room temperature to help the popovers rise beautifully in the oven’s high heat.
This little tip really makes a difference! It helps the batter puff up perfectly every time.
What Are Some of Alton Brown’s Best Recipes?
You’ll love Alton Brown’s pan-roasted chicken for crispy skin and that amazing flavor. His “Serious Steak” recipe nails perfect doneness every time.
Then there’s the bourbon-glazed salmon, which has this fantastic sweet-savory balance that just works. Plus, his make-ahead mashed potatoes? They stay fluffy and delicious, no matter what.
What really sets Alton apart is his science-based approach. It honestly upgrades your whole cooking game. Give these recipes a try—you won’t regret it!
What Is Martha Stewart’s Recipe for Perfect Popovers?
Imagine golden clouds puffing from your oven—Martha Stewart’s perfect popovers blend flour, salt, milk, and eggs.
You preheat, butter pans, bake high then low, and serve warm for airy, irresistible delight you’ll crave again.
What Causes Popovers Not to Rise?
Popovers don’t rise when your oven’s not hot enough, you overfill the cups, or your batter’s too thick or cold.
Also, using old eggs, under-mixing, or opening the oven door early kills their lift.
So, keep your oven nice and hot, fill those cups just right, and make sure your batter is smooth and at room temp.
Oh, and don’t open the oven door too soon—popovers need that heat to puff up perfectly!
Conclusion
Just like a sunrise unfolds its golden light, your popovers rise with warmth and promise. Each step you take—from mixing to baking—is a brushstroke painting joy on your kitchen canvas.
As you pull those perfect, airy clouds from the oven, remember: patience and care transform simple ingredients into something magical.
So, savor every bite, let flavors dance, and know that with each popover, you’re crafting more than food—you’re creating moments that rise and linger. Perfect popovers aren’t just about technique; they’re about enjoying the process and sharing the delicious results. With Alton Brown’s popover recipe, you’re well on your way to baking popovers that are light, crispy, and wonderfully golden every time. Keep practicing, and watch your popovers become the highlight of your breakfast or brunch table.