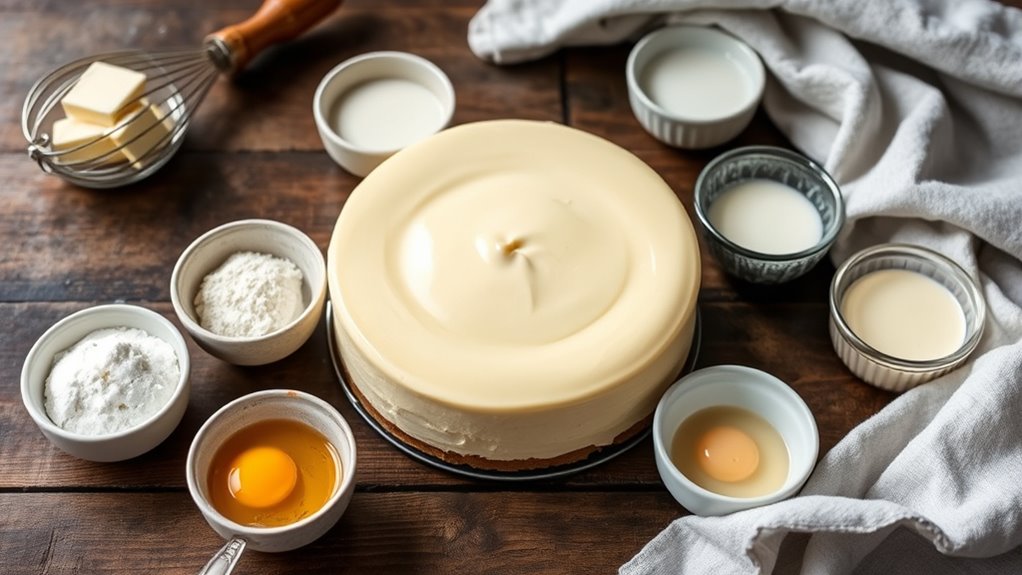
7 Simple Steps for an Argo Cheesecake Recipe
To make an Argo cheesecake, start by gathering your ingredients: softened cream cheese, sugar, cornstarch, corn syrup, eggs, and lemon juice. These key ingredients will help you create a rich and creamy cheesecake that’s simply irresistible.
Next, mix graham cracker crumbs, melted butter, and sugar to create a crust, and bake at 325°F for 10 minutes. This forms the perfect crunchy base for your delicious dessert.
Then, combine the cheesecake filling and pour it over the crust, baking for 45-50 minutes.
After baking, cool it in the oven and chill for an hour before decorating with fresh fruits.
There’s more to perfecting your dessert, so let’s get into the details! You’ll love how simple and tasty this Argo cheesecake recipe is.
Key Takeaways
- Gather all ingredients, including cream cheese, sugar, cornstarch, corn syrup, eggs, lemon juice, graham cracker crumbs, and butter.
- Prepare the graham cracker crust by mixing crumbs, melted butter, and sugar. Then, bake it at 325°F for 10 minutes.
- Mix softened cream cheese with sugar and cornstarch. Gradually add corn syrup, eggs, and lemon juice until smooth.
- Pour the cheesecake filling over the baked crust. Bake at 325°F for 45 to 50 minutes until set.
- Let the cheesecake cool in the oven. After that, chill it in the refrigerator for at least one hour before serving.
Gather Your Ingredients for Cheesecake
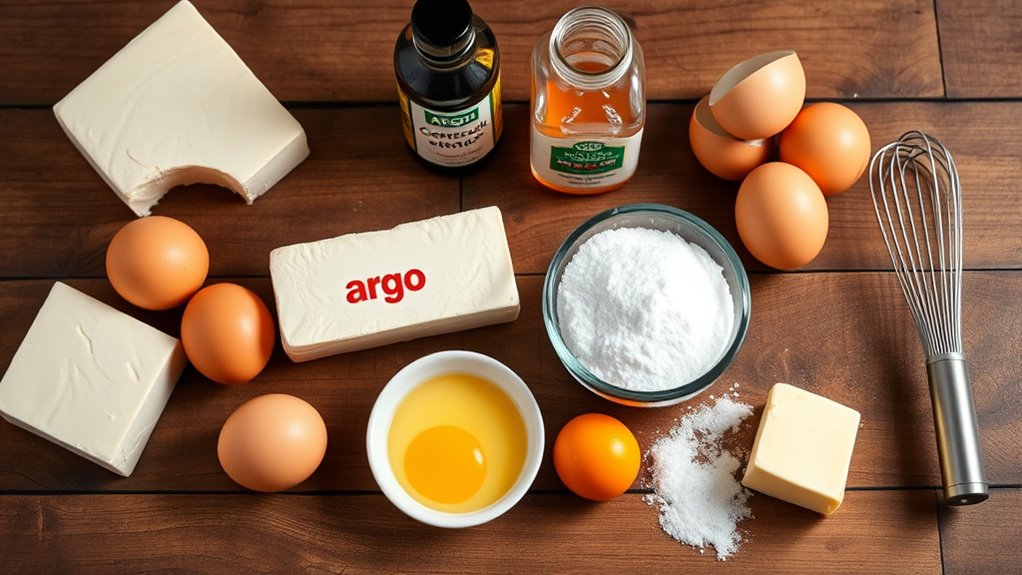
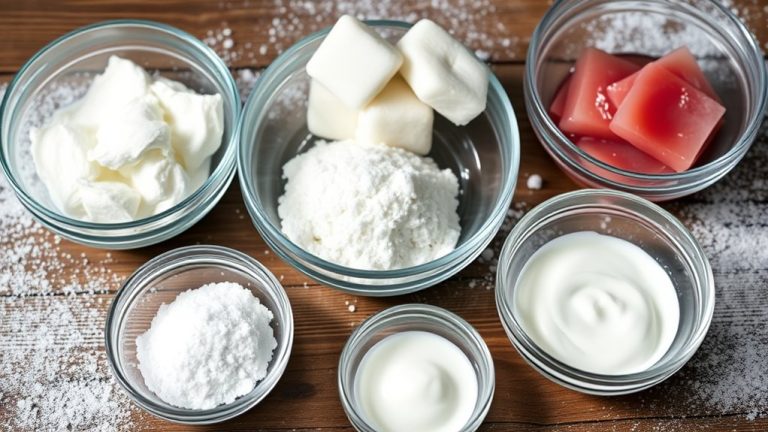
To make a delicious Argo cheesecake, you’ll need to gather a few key ingredients. Start with three packages of softened cream cheese, each weighing eight ounces, to guarantee a rich and creamy texture.
Measure out 1/3 cup of sugar to sweeten the filling perfectly. Next, grab two tablespoons of cornstarch; this enhances the smoothness of your cheesecake.
Don’t forget to prepare one cup of light corn syrup, which adds moisture and sweetness to the mix. Finally, you’ll need three eggs and two tablespoons of lemon juice.
The eggs provide stability, while the lemon juice brightens the flavor. With these ingredients in hand, you’re ready to create a scrumptious Argo cheesecake everyone will love!
Let’s Make the Graham Cracker Crust Together
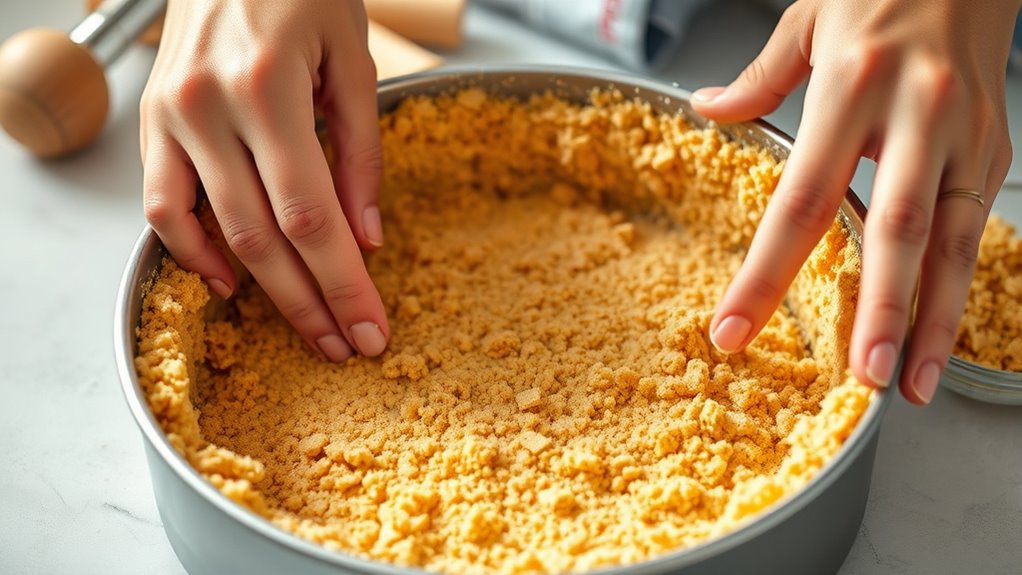
Let’s get started on that delicious graham cracker crust! You’ll need just a few simple ingredients, and mixing them is a breeze.
With a few tips, you’ll create a perfect base that adds sweetness and crunch to your cheesecake. Ready to dive in?
Essential Ingredients Needed
Creating the perfect graham cracker crust is the foundation of a delicious cheesecake. To get started, you’ll need just a few essential ingredients: graham cracker crumbs, butter, and sugar.
Here’s a quick breakdown:
| Ingredient | Amount | Purpose |
|---|---|---|
| Graham cracker crumbs | 1 cup | Base flavor |
| Melted butter | 3 tablespoons | Binds the crumbs |
| Sugar | 2 tablespoons | Adds sweetness |
Combine all these ingredients in a bowl until well mixed. Then, press the mixture into the bottom of a 9- by 13-inch baking dish for a solid base.
This crust not only adds flavor but also enhances the overall cheesecake experience. Don’t forget to bake it briefly to set the crust before adding your cheesecake filling!
Mixing Instructions Simplified
With your graham cracker crust ingredients ready, it’s time to mix everything together. Start by preheating your oven to 325°F to prepare for baking.
In a mixing bowl, combine 1 cup of graham cracker crumbs, 3 tablespoons of melted butter or margarine, and 2 tablespoons of sugar. Stir the mixture until all ingredients are evenly blended and the crumbs are fully coated with butter.
Once mixed, press the crumb mixture firmly into the bottom of a 9- by 13-inch baking dish. Make sure to create a solid crust base, as this sets the stage for your cheesecake.
Finally, bake the crust in the preheated oven for about 10 minutes to set it before adding your cheesecake filling. Enjoy!
Tips for Perfect Crust
A perfect graham cracker crust starts with the right ingredients and technique. Combine 1 cup of finely crushed graham cracker crumbs with 3 tablespoons of melted butter and 2 tablespoons of sugar.
Make sure the mixture is well-mixed and evenly distributed. Press it firmly into the bottom of a 9- by 13-inch baking dish for a sturdy base.
For the best texture, using a food processor helps achieve a consistent crumb size. Bake the crust at 325°F for about 10 minutes to set it slightly, which enhances its structural integrity.
Once baked, let the crust cool completely before pouring your cheesecake mixture over it. This way, you’ll get a smooth layer and avoid sogginess, giving you a perfect foundation for your dessert.
Mix the Cheesecake Filling for Smoothness
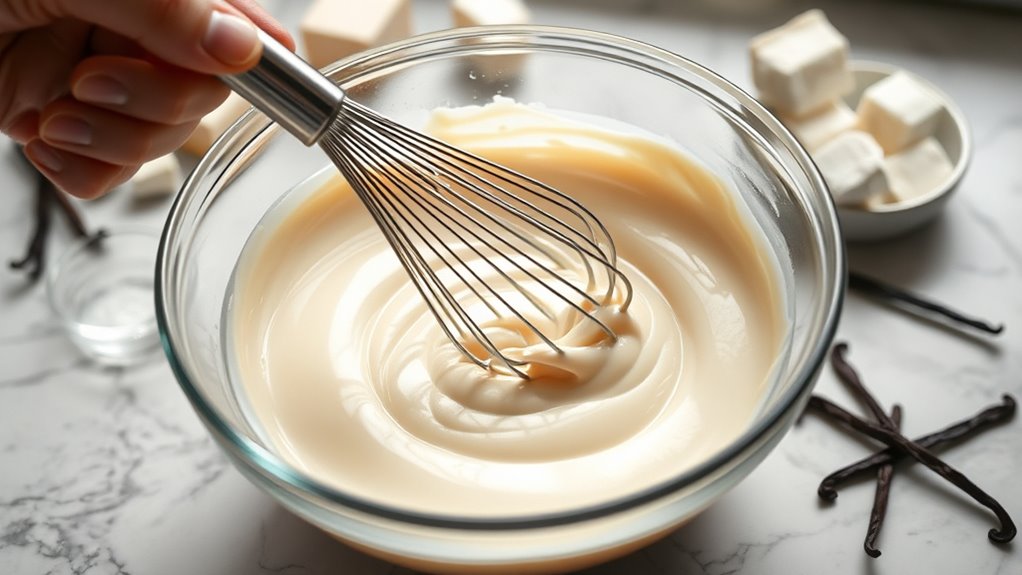
To create a perfectly smooth cheesecake filling, start with softened cream cheese and essential ingredients like sugar and cornstarch. Use proper mixing techniques, adding each ingredient gradually to avoid lumps and maintain that creamy texture.
It’s all about getting the right consistency. When you do, your cheesecake will be rich and delicious!
Essential Ingredients Needed
For a perfectly smooth cheesecake filling, you’ll need five essential ingredients that work together to create a rich and creamy texture. Start with three packages of softened cream cheese, each 8 ounces, as your base.
Then, add 1/3 cup of sugar to enhance the sweetness and balance the cream cheese’s tanginess. Next, incorporate 2 tablespoons of cornstarch; this is vital for improving the smoothness and overall texture.
Pour in 1 cup of light corn syrup for extra moisture and sweetness, ensuring your filling is luscious. Finally, include three eggs to help bind everything together, contributing to the cheesecake’s creaminess and stability.
With these ingredients, you’re well on your way to a delicious cheesecake!
Mixing Techniques Explained
While mixing the cheesecake filling, achieving a smooth and creamy texture is essential for the perfect bite. Follow these steps to guarantee your filling is just right:
- Beat Cream Cheese: Start by beating softened cream cheese on medium speed until smooth. This helps eliminate any lumps for a creamy base.
- Add Sugar and Cornstarch: Gradually mix in sugar and cornstarch until fully combined. Just be careful not to overmix.
- Incorporate Corn Syrup: Slowly add light corn syrup while continuing to beat. It adds moisture and sweetness without sacrificing smoothness.
- Add Eggs: Add eggs one at a time, mixing just until blended after each addition. This keeps the batter nice and light.
Finish off by gently mixing in lemon juice. It enhances the flavor while preserving that smooth texture you want.
Achieving Perfect Consistency
Achieving the perfect consistency in your cheesecake filling is essential for that velvety texture everyone loves. Start by ensuring your cream cheese is fully softened at room temperature; this helps create a smooth, creamy texture.
Use a mixer on medium speed to beat the cream cheese, sugar, and cornstarch until completely lump-free. Gradually add the light corn syrup while mixing to maintain consistency.
Incorporate eggs one at a time, mixing thoroughly after each addition. Finally, add lemon juice for an enhanced flavor and silky texture.
| Step | Action |
|---|---|
| 1. Soften Cream Cheese | Leave at room temperature |
| 2. Beat Mixture | Use medium speed until smooth |
| 3. Add Corn Syrup | Gradually to prevent clumping |
| 4. Incorporate Eggs | One at a time, mix well |
Bake the Cheesecake to Perfection
Baking the cheesecake to perfection requires attention to detail and the right techniques. Follow these steps to achieve a creamy, delicious result:
- Preheat your oven to 325°F. This guarantees even baking throughout the cheesecake.
- Prepare the crust by combining the graham cracker ingredients and evenly sprinkling them in a 9- by 13-inch baking dish.
- Beat the filling: Mix softened cream cheese, sugar, and cornstarch until smooth to create a creamy cheesecake mixture.
- Pour and bake: Pour the mixture into the crust and bake for 45 to 50 minutes, or until the center is set.
After baking, turn off the oven and let the cheesecake cool inside to prevent cracking. This step is essential for a perfect texture!
Let the cheesecake cool in the oven after baking to prevent cracks and ensure a silky, smooth texture.
Trust me, letting it cool slowly like that really makes a difference. Your cheesecake will come out silky and smooth every time!
Cool and Chill for Best Texture
To guarantee your cheesecake has the best texture, cooling and chilling are essential steps you shouldn’t skip. After baking your cheesecake at 325°F for 45 to 50 minutes, turn off the oven and let it cool inside. This prevents cracking and helps maintain its smooth surface.
Once it’s at room temperature, transfer it to the refrigerator for at least an hour. This chilling period is significant; it allows the cheesecake to set properly, enhancing both its rich texture and flavor.
The cold environment helps the cheesecake achieve that creamy consistency you love, so resist the urge to cut into it too soon. Trust me, the wait will be worth it when you finally serve a perfectly textured cheesecake!
Decorate Your Cheesecake With Fresh Fruits
While your cheesecake cools, it’s the perfect time to think about how to decorate it with fresh fruits. Here’s a fun way to create a festive look that’s sure to impress:
First, arrange fresh blueberries in a rectangle in the upper left corner to represent the stars on a flag. Then, slice fresh strawberries and position them in rows to mimic the stripes of the American flag.
Next, use whipped cream to pipe decorative lines between the rows of strawberries for added visual appeal. You can also sprinkle edible glitter or add mint leaves around the fruit for an extra flair.
Just make sure the fruits are well-washed and dried before decorating to keep everything looking clean. Enjoy your beautiful creation!
Present Your Cheesecake for Festive Occasions
When you want to impress your guests with a festive cheesecake, presentation is key. Start by arranging fresh blueberries in a rectangle at the upper left corner, creating a design reminiscent of the American flag.
Slice strawberries and lay them in rows across the cheesecake to mimic the flag’s stripes, enhancing that patriotic theme. To add texture and visual interest, pipe whipped cream borders between the strawberry rows.
Remember to chill your cheesecake for at least one hour after baking; this guarantees a creamy, smooth texture that’s perfect for showcasing. Finally, serve your masterpiece on a festive plate, making it the ideal centerpiece for your celebrations and gatherings.
Your guests won’t be able to resist!
Frequently Asked Questions
Can I Use Low-Fat Cream Cheese for This Recipe?
Yes, you can use low-fat cream cheese for this recipe. It’ll still yield a delicious cheesecake, though the texture might be slightly different.
Just keep an eye on the mixing to guarantee smoothness. Enjoy!
How Do I Prevent My Cheesecake From Cracking?
To prevent cracking, you’ll want to bake your cheesecake slowly in a water bath. It keeps things moist, contrasting the potential dryness of overbaking.
What Alternative Sweeteners Can I Use Instead of Sugar?
You can use alternatives like honey, maple syrup, agave nectar, or stevia. Each sweetener brings a unique flavor, so experiment to find your favorite.
Just remember to adjust the quantity based on sweetness levels! It’s all about finding what works best for you.
Can I Freeze Leftover Cheesecake, and How?
Absolutely, you can freeze leftover cheesecake! Just wrap it tightly in plastic wrap, then aluminum foil.
When you’re ready to indulge again, let it thaw in the fridge for the most delicious treat ever!
How Long Does Cheesecake Last in the Refrigerator?
Cheesecake typically lasts about five to seven days in the refrigerator. Make sure you store it in an airtight container to maintain freshness.
If you notice any off smells, it’s best to discard it. Better safe than sorry, right?
Conclusion
Now that you’ve crafted your creamy cheesecake, imagine slicing into its velvety texture, revealing a luscious filling cradled by a golden crust. The vibrant burst of fresh fruits atop adds a pop of color, inviting everyone to indulge.
As you present this masterpiece at your next gathering, the sweet aroma wafts through the air, promising smiles and satisfied sighs. You’ve turned simple ingredients into a delightful treat that’ll steal the show—enjoy every delicious bite!
This Argo cheesecake recipe is truly a winner, combining ease and flavor in seven simple steps. Whether it’s a special occasion or just a craving for something sweet, this cheesecake delivers creamy perfection every time. So go ahead, slice up a piece, share with friends, and savor the rich, smooth taste that only a homemade cheesecake can offer!