You are probably someone who owns a Kitchenaid oven or someone who is looking to buy one. That is why you are looking for information about it and its uses. And keeping an oven clean is one of the most important things to know while using one.
If you use an oven regularly, then it is bound to get dirty, filled with pieces or droplets of greasy foods. You will see that no specific area gets dirty in an oven; rather, the filth spreads all over the place.
Now, you can be clueless about cleaning an oven, and it is okay. Here we will tell you how to clean the Kitchenaid oven as simply as possible so that the task becomes a piece of cake for you!
Step by Step Process of Cleaning a Kitchenaid Oven
Whatever model of Kitchenaid oven you use, this step-by-step process of cleaning will be applicable. So, you can follow this guide without thinking about anything!
Here goes the step by step guide:
Step 1: Preparing the Oven
At first, you have to ensure the oven is at room temperature before starting the cleaning procedure. If you plan to clean the appliance right after using it, it will take a few hours to reach room temperature. So, you have to wait till then.

You have to take everything out from the oven like racks, pans, grids, foils, etc. Basically, empty it completely. Place everything in warm soapy water.
Step 2: Cleaning the Interior
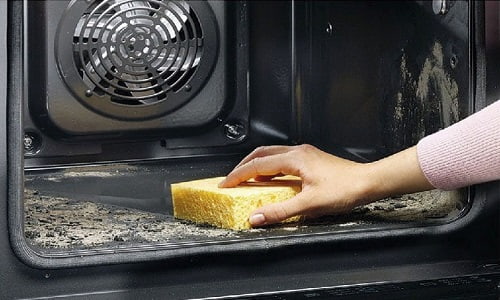
Now, you have to clean the interior region of the oven thoroughly. Here you can use a scrub and soapy water to clean. It will help you to take out the greasy or oily wastes easily. But be careful not to cause permanent damage to any part while cleaning. You will be fine if you do this slowly and carefully.
Step 3: Cleaning the Door & Its Parts
After cleaning the interior region, you can move on to the door and the parts relevant to it. Here you will find the hinges of the door at the bottom.
You should make sure to clean them thoroughly so that they don’t get clogged with greasy bits of food. Use a toothbrush soaked in warm soapy water to wipe the corners.
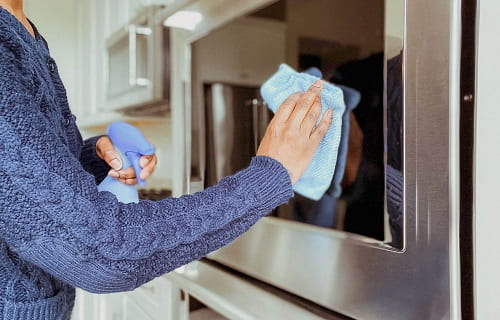
It’s best to clean the door by simply using a cotton cloth dipped in warm soapy water. If you spilled some dirt onto the interior, then wipe it clean with the cotton cloth. We recommend you do this once a month whether you clean the whole oven or not.
Step 4: Cleaning the Racks or Grids
Remember we told you to keep the racks, grids, etc., soaked in warm soapy water in the first step? We told you to do that to allow them to prepare them for cleaning while you are doing the other steps.
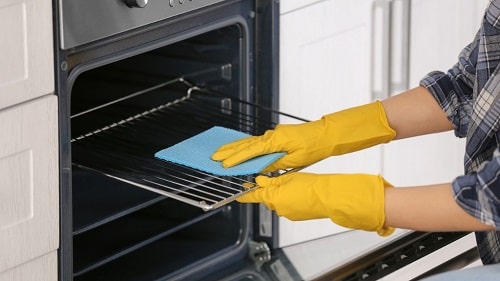
Now, you have to take them out and clean them by scrubbing and washing the waste away. After that, let all of these things dry in a clean place.
Step 5: Drying the Oven
Lastly, after cleaning everything, you have to make sure that the oven is completely dry before using it. You can wipe the whole thing with a dry cotton cloth to make the drying process faster.
Additionally, you can also make sure the kitchen or where your oven is kept is well ventilated. Once it dries, you can use it again, and it will be as new as it can be!
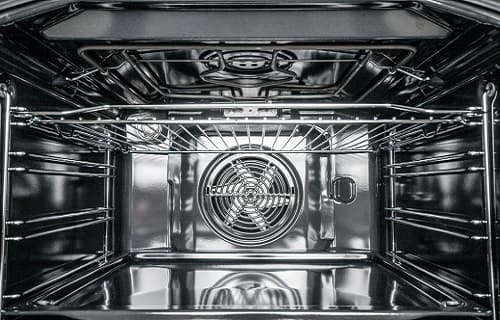
In Case of Having Self-Cleaning Feature
Many Kitchenaid ovens come with the feature called ‘Self-Cleaning.’ Don’t worry; most of the steps are still the same even if your device has this feature.
Just keep in mind you can skip the second step if you don’t have that much waste in the interior part of your oven. Except that you can follow everything as it is.
Here is what else you have to do:
Step 1: Starting the ‘Self-Cleaning’ Feature
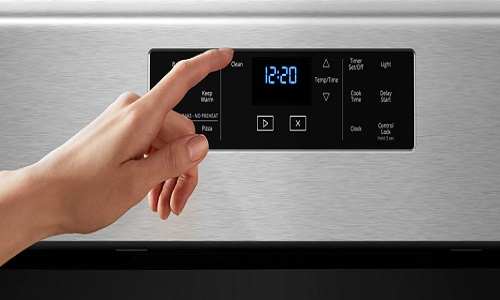
To start the process, you have to press the ‘self-clean button, which you can find with the other buttons you have on your oven.
Step 2: Cancelling the ‘Self-Cleaning’ Feature
Once you press the button, a cycle will begin. It takes around 40 minutes for a cycle to finish. When a cycle finishes, it lets you know by beeping. Then you have to press ‘cancel’ to end the process.
Step 3: Cleaning the Residue
Lastly, you have to clean up the ashes that remain after the self-cleaning process. You can use a cotton cloth soaked in warm soapy water to wipe off the dirt and ashes. After that, let the oven dry for as long as it takes to cool down.
We are almost done with the guide, but we have saved something for last that is really important. That is, precautions! You can never be too safe, so it’s better to know them.
Precautions
- Make sure the vents of the oven are open during the ‘Self-Cleaning’ process.
- Clean the door carefully so that the gasket isn’t damaged. Otherwise, it won’t close.
- Birds can be sensitive to the fumes produced during the process. So, keep them away.
- Take away any plastic items from the oven to avoid melting.
- Ensure the door is locked during the Self-Cleaning process of Kitchenaid oven.
- Keep in mind that the door will lock itself around 6 seconds after ‘Self-Cleaning’ starts.
Also Read:
Conclusion
If you read this carefully and follow every step accurately, you will be able to clean your Kitchenaid oven without any issue. Even if it seems like a huge task initially, after reading our guide on how to clean kitchenaid oven, it should become so easy for you that you won’t even have to come here twice!
We are confident that you will be able to clean your oven properly and keep cooking delicious food with your oven.

