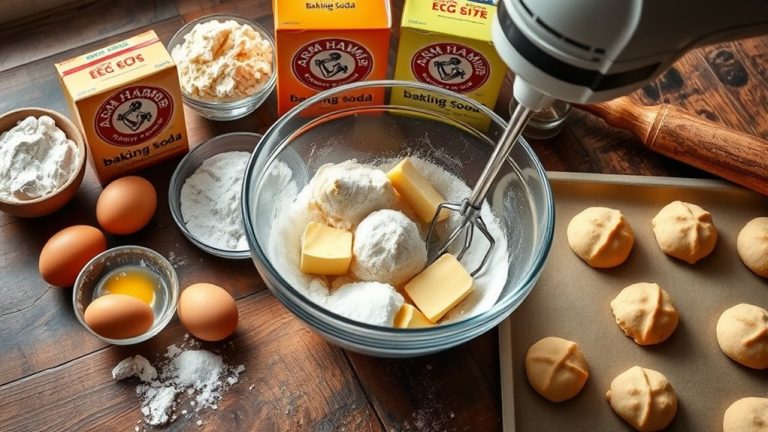
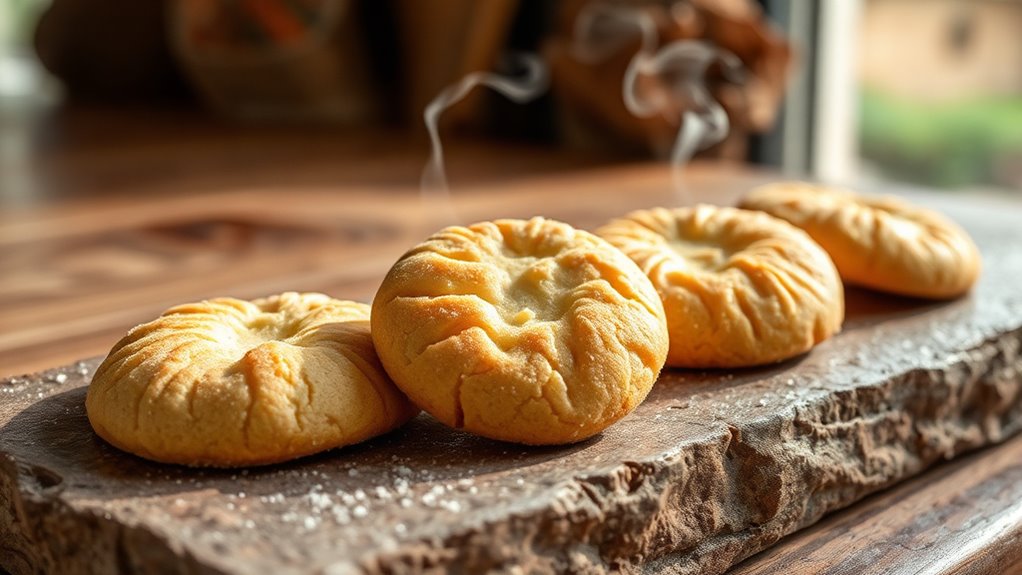
Mastering Baking Cookies on a Stone
To master baking cookies on a stone, you first need to preheat your oven and stone at 425–450°F for at least 45 minutes.
This step is crucial because it ensures the stone heats evenly, which makes a big difference in how your cookies turn out.
Using a rectangular stone is great if you’re baking multiple batches.
Just dust it lightly with semolina or use parchment paper to prevent your cookies from sticking.
Make sure to space the cookies about 1–2 inches apart so they don’t merge while baking.
Since the stone radiates intense heat, you might need to adjust your baking times a little.
This method gives your cookies crisp bottoms and perfectly browned edges every time.
Lastly, keeping your stone well-maintained is key to consistent results.
With these tips, you’ll soon be baking cookies like a pro, with flawless texture and amazing flavor.
Key Takeaways
- Preheat the baking stone at 425–450°F for 45–60 minutes on the lowest oven rack. This helps make sure the heat is even and consistent for baking your cookies.
- Use rectangular stones if you’re baking sheet-cookie batches. Space the cookies about 1–2 inches apart so they don’t merge together and bake evenly.
- Lightly dust the stone with fine cornmeal or semolina before you start baking. This keeps the cookies from sticking. Just don’t use oil or butter on the stone surface—that can cause problems.
- Chill and portion the dough evenly. Flatten the dough balls slightly, too, so your cookies bake evenly and stay the same thickness throughout.
- Halfway through baking, rotate the stone 180°. Also, move the batches around on cooler spots. This helps avoid hot spots and uneven browning.
Benefits of Using a Baking Stone for Cookies
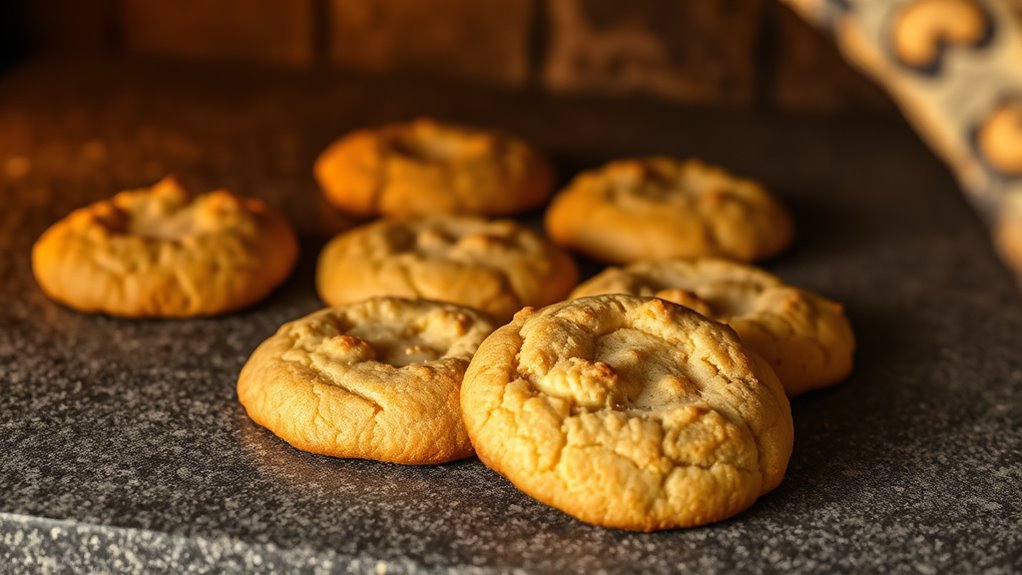
When you bake cookies on a preheated stone, you get even heat distribution that helps avoid burnt bottoms and promotes uniform browning. Heating the stone at 450°F for 30–45 minutes guarantees it stores enough thermal mass, giving your cookies a crisp, perfectly cooked bottom.
Because the stone delivers intense direct heat from below, you’ll notice cookies bake faster or need a lower rack position compared to metal sheets. To prevent sticking, use parchment paper or lightly dust flour or sugar between the dough and the stone. You shouldn’t season the stone with oil or clean it with soap.
Over time, the stone darkens and develops a natural seasoning from baked-on sugars and fats. This improves its nonstick surface without altering your cookies’ flavor. It’s like the stone gets better with age!
Choosing the Right Baking Stone Shape and Size
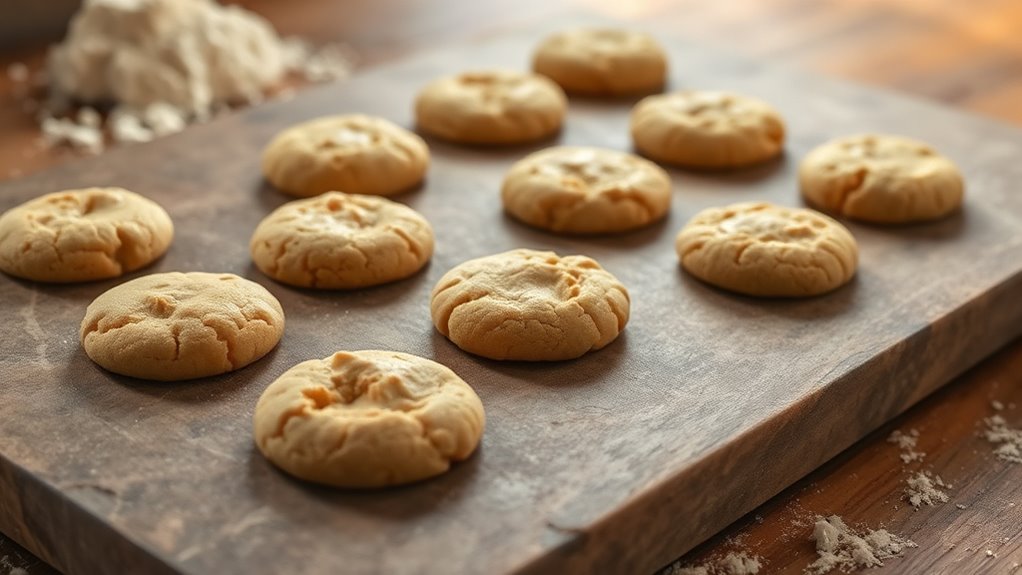
Although selecting the right baking stone shape and size depends on your baking habits, choosing one that fits your oven and cookie preferences guarantees better results.
For sheet-cookie batches or multiple trays, pick a rectangular stone around 14×16 to 18×20 inches to match standard baking sheets and maximize space.
If you bake single large round cookies or small artisan batches, a 12–16 inch circular stone provides even heat and fits most ovens easily.
Match the stone’s thickness to your needs: 3/8–1/2 inch heats faster, ideal for quick runs, while 3/4–1 inch holds heat longer for consistent browning.
Always measure your oven’s interior to leave at least 1–2 inches clearance, and make certain the stone fits on the lowest rack without touching the walls.
Preparing and Preheating Your Baking Stone
Place your baking stone on the lowest oven rack and preheat the oven to 450°F (232°C) for at least 45 minutes to guarantee even heat.
Never put a cold stone into a hot oven to avoid cracking. It’s a good idea to use an oven thermometer to check the stone’s temperature.
For cookies, consider a slightly lower temperature around 425°F (218°C). This helps prevent scorching and gives you the best results.
Optimal Heating Temperature
Start by setting your baking stone on the lowest oven rack while the oven is cold, then preheat both together to 425–450°F (218–232°C) for at least 45–60 minutes. This guarantees even, steady heat.
For thinner, crispier cookies, use the higher end of the range. Thicker, chewier cookies do better at 375–400°F (190–204°C) with longer preheat.
Use an oven thermometer to check; if the stone is cooler by 25–50°F (14–28°C), extend preheat by 10–15 minutes. Here’s a quick guide:
| Cookie Type | Temperature (°F/°C) |
|---|---|
| Thin & Crispy | 450 / 232 |
| Thick & Chewy | 375–400 / 190–204 |
| Preheat Duration | 45–60 minutes |
| Oven Rack | Lowest |
| Thermometer Tip | Add 10–15 min if cool |
Stone Placement Tips
When you set your baking stone on the lowest oven rack before preheating, you make certain maximum heat reaches the cookie bottoms for a crispier finish. Place the stone centered front-to-back to prevent uneven hot spots and assure consistent baking across your cookies.
Preheat the oven with the stone inside at 450°F (232°C) for 30–45 minutes so it reaches steady, even heat. When transferring dough, use a rimless baking sheet or peel to slide cookies onto the hot stone quickly, minimizing heat loss and maintaining the stone’s temperature.
After baking, let the stone cool completely inside the oven before cleaning or moving it to avoid thermal shock, which can cause cracking. These simple placement steps guarantee better, evenly baked cookies every time.
Dough Preparation Tips for Stone Baking
Although baking on a hot stone can yield perfectly crisp bottoms, you’ll want to chill your cookie dough for at least 30 minutes to prevent excessive spreading and help the cookies keep their shape.
Portion your dough uniformly—using a 1–2 tablespoon scoop for small cookies or 3–4 tablespoons for larger ones—to guarantee even baking. Slightly flatten dough balls by 1–2 mm if you prefer thinner, evenly baked cookies.
Lightly dust parchment or silicone liners with flour or cornstarch before placing dough on them. Also, reduce your oven temperature by 15–25°F from sheet-baking recipes and preheat your stone at 450°F for 30 minutes to avoid over-browning.
| Tip | Reason |
|---|---|
| Chill dough 30–60 mins | Controls spreading, maintains shape |
| Uniform scoops | Guarantees even baking |
| Flatten dough slightly | Promotes even, thin cookies |
| Dust liners lightly | Prevents sticking during transfer |
| Lower oven temp slightly | Avoids over-browning on stone |
Preventing Cookies From Sticking to the Stone
To keep your cookies from sticking, start by seasoning your stone properly with a light dusting of flour or semolina.
You’ll also want to use parchment paper or silicone mats to create a non-stick surface between the dough and stone. These simple steps help guarantee your cookies lift off easily without damage.
Proper Stone Seasoning
Start by gradually heating your baking stone before its first use to drive off moisture and begin the seasoning process, which helps prevent cookies from sticking. Begin at 250°F and increase to 450°F over 30–45 minutes.
Once preheated, lightly dust the stone with 1–2 teaspoons of fine-grain cornmeal or semolina across a 12-inch area to create a dry barrier between your dough and the stone. Avoid using oil or butter for seasoning, as these can cause uneven polymerization and off-flavors.
After baking, let the stone cool, scrape off residue with a plastic scraper, rinse with hot water only, and dry the stone fully in a warm oven. Repeating this bake-clean cycle builds a natural, nonstick patina, making your cookies release easily every time.
Use Parchment Paper
Seasoning your baking stone creates a natural nonstick surface, but using parchment paper adds an extra layer of protection to prevent cookies from sticking. Use unbleached parchment paper rated for at least 425°F (218°C) to avoid browning or ignition.
Cut liners slightly smaller than the stone to assure airflow and prevent contact with oven walls or heating elements. If you bake at low temperatures, place parchment on the cold stone before preheating; otherwise, preheat first and quickly lay the parchment with dough to avoid burning.
Since parchment insulates, weigh or flatten cookies slightly and add 1–2 minutes to baking time, checking bottoms for doneness. After baking, let cookies cool on the parchment for 1–2 minutes before transferring to a wire rack to prevent over-browning.
Light Flour Dusting
You’ll often find that lightly dusting your baking stone helps prevent cookies from sticking without compromising the stone’s heat retention. Use 1–2 tablespoons of fine semolina or finely ground cornmeal per 12-inch stone to create a thin, heat-resistant barrier.
If you prefer flour, apply sparingly—about 1 teaspoon per cookie area—and tap off any excess to avoid burning and bitterness. For sticky doughs with high butter or sugar, dust lightly with flour, then place cookies on small parchment rounds or a silicone mat. This helps minimize sticking while preserving the stone’s seasoning.
Reapply dusting only to the active baking area between batches; piling flour at edges causes blackening and uneven heat. After baking, scrape off baked-on dust once cooled and wipe with a damp cloth—skip soap to maintain the stone’s seasoning.
Optimal Cookie Placement and Spacing on the Stone
When placing cookies on the stone, you need to space them at least 2 inches apart to prevent spreading and merging. For recipes high in butter or sugar, increase spacing to 2.5–3 inches to accommodate extra spread.
Arrange cookies in staggered rows rather than a straight grid to improve oven airflow and guarantee even browning. Keep a 1–2 inch gap between cookie edges and the stone’s rim to avoid overbrowning from hotter outer zones.
Place cookies in staggered rows with a 1–2 inch edge gap for even browning and airflow.
If baking multiple batches, center the first batch on the stone, then shift subsequent batches toward cooler spots to counteract hot zones. When baking different sizes, group similar-sized cookies together to maintain consistent spacing and baking conditions across the stone.
This careful placement helps you achieve perfectly baked, evenly browned cookies every time.
Baking Time and Temperature Adjustments
Because the baking stone holds and radiates heat differently than a sheet pan, you’ll need to adjust both the oven temperature and baking time for your cookies. Preheat the stone for 45–60 minutes at 375–450°F to guarantee even heat.
Then, reduce your sheet-pan recipe temperature by 25°F since the stone cooks faster from the bottom. Start checking standard drop cookies after 6–8 minutes.
Thin cookies bake well at 350–375°F for 6–10 minutes, while thicker ones need 9–14 minutes—watch for golden edges. To avoid overly dark bottoms, place the stone on a middle rack or use parchment between cookies and stone, rotating halfway through baking.
Let the stone fully recover heat between batches to keep baking consistent. It really makes a difference!
Cleaning and Maintaining Your Baking Stone
Adjusting your baking technique is only part of the process; keeping your baking stone in good shape guarantees it performs well over time.
Never use soap on your unglazed stone—just scrape off stuck bits with the plastic scraper and rinse with hot water only.
Avoid soap; simply scrape and rinse your unglazed stone with hot water for best care.
After cleaning, let the stone air-dry completely for several hours or overnight. This helps prevent cracking from trapped moisture.
If residue is stubborn, soak the stone briefly with hot water and scrub gently with a stiff brush or scraper. Avoid metal pads since they can damage it.
Expect natural darkening and oil stains; they actually signal proper seasoning and don’t affect safety or performance.
Always place the stone in a cold oven before preheating to avoid thermal shock and cracking. This little step goes a long way in keeping your stone intact.
Troubleshooting Common Baking Stone Issues
Though baking stones can greatly improve your cookies, you might face issues like uneven baking, sticking, or burning. Here’s how to troubleshoot common problems:
If cookies burn on the bottom but stay raw inside, try moving the stone higher in the oven or lowering the oven temperature by 25–50°F. Baking a bit longer can also help.
Rotate the stone 180° midway through baking to fix uneven browning. Also, avoid crowding cookies on the stone to allow better airflow.
To prevent excessive spreading, make sure you preheat the stone and oven to the recipe’s temperature—not too hot. Give the stone about 30 minutes to stabilize before baking.
Use parchment paper, a silicone baking mat, or lightly dust the stone with flour to stop sticking. Just remember, never oil the stone or clean it with soap.
Follow these tips, and you’ll be baking perfect cookies every time!
Frequently Asked Questions
Can I Use a Baking Stone for Other Baked Goods Besides Cookies?
Yes, you can use a baking stone for bread, pizza, and even pastries. It helps distribute heat evenly, giving your baked goods a crisp crust and better texture.
Just make sure to preheat it properly before baking. That way, you get the best results every time.
How Does Humidity Affect Baking Cookies on a Stone?
Humidity can make your cookies spread more and turn out softer when baking on a stone.
You’ll want to adjust dough moisture or baking time to get that perfect crispness and texture despite the extra moisture in the air.
Is It Safe to Use a Baking Stone in a Convection Oven?
Yes, you can safely use a baking stone in a convection oven. Just make sure the stone is oven-safe and place it in a cold oven to avoid thermal shock.
You’ll enjoy even baking with it! It really helps distribute heat evenly, which is great for getting that perfect crust.
Can I Store Cookie Dough on the Baking Stone Before Baking?
No, you shouldn’t store cookie dough on the baking stone before baking. The stone stays dry and hot for even baking, so placing dough on it beforehand can cause sticking and uneven chilling.
That will end up ruining your cookies. It’s better to chill your dough in the fridge or on a separate tray until you’re ready to bake. This way, your cookies will bake evenly and come out just right.
Do Baking Stones Emit Any Odors During the First Few Uses?
You might notice a faint odor during the first few uses, but don’t worry—it’s just your baking stone burning off manufacturing residues.
After a couple of bakes, that smell disappears, leaving you ready for perfect cookies!
Conclusion
Mastering cookie baking on a stone will transform your kitchen into the ultimate dessert arena! You’ll never look at cookies the same way again—each batch bursting with perfect crisp edges and gooey centers, as if the stone itself is a magical cookie whisperer.
With the right prep, spacing, and care, your cookies will rise to legendary status. So grab that baking stone, and get ready to bake like a cookie superhero!
Using a baking stone ensures even heat distribution, which helps achieve that perfect texture everyone craves. Plus, it absorbs moisture, giving your cookies a delightful crispness on the outside while keeping the inside soft and chewy.
If you want to elevate your cookie game, mastering baking cookies on a stone is the way to go. It’s a simple tool that makes a huge difference, turning ordinary cookies into extraordinary treats every time you bake.