Beef Dippers School Lunch Recipe: Easy Steps and Healthy Tips Kids Love
Beef dippers school lunch recipe offers a quick, protein-rich meal perfect for busy mornings. Preparing beef dippers takes just minutes and provides a tasty, nutritious option kids enjoy. Start with thinly sliced roast beef and pair it with flavorful dips for a simple, filling lunch.
Key Takeaways
- Use 1/2 to 1 pound of deli-sliced roast beef for easy portioning and quick preparation.
- Bake beef dippers at 350°F in a conventional oven for 7-9 minutes for crispy texture.
- Microwaving for 1-2 minutes works well when time is tight but may yield softer dippers.
- Consider glazing beef dippers with teriyaki sauce to add flavor and moisture.
- Pair beef dippers with low-fat milk options to boost calcium intake in school lunches.
- Include fresh veggies or fruit sides to balance the meal and increase fiber intake.
What Are Beef Dippers and Why Are They Popular for School Lunches?
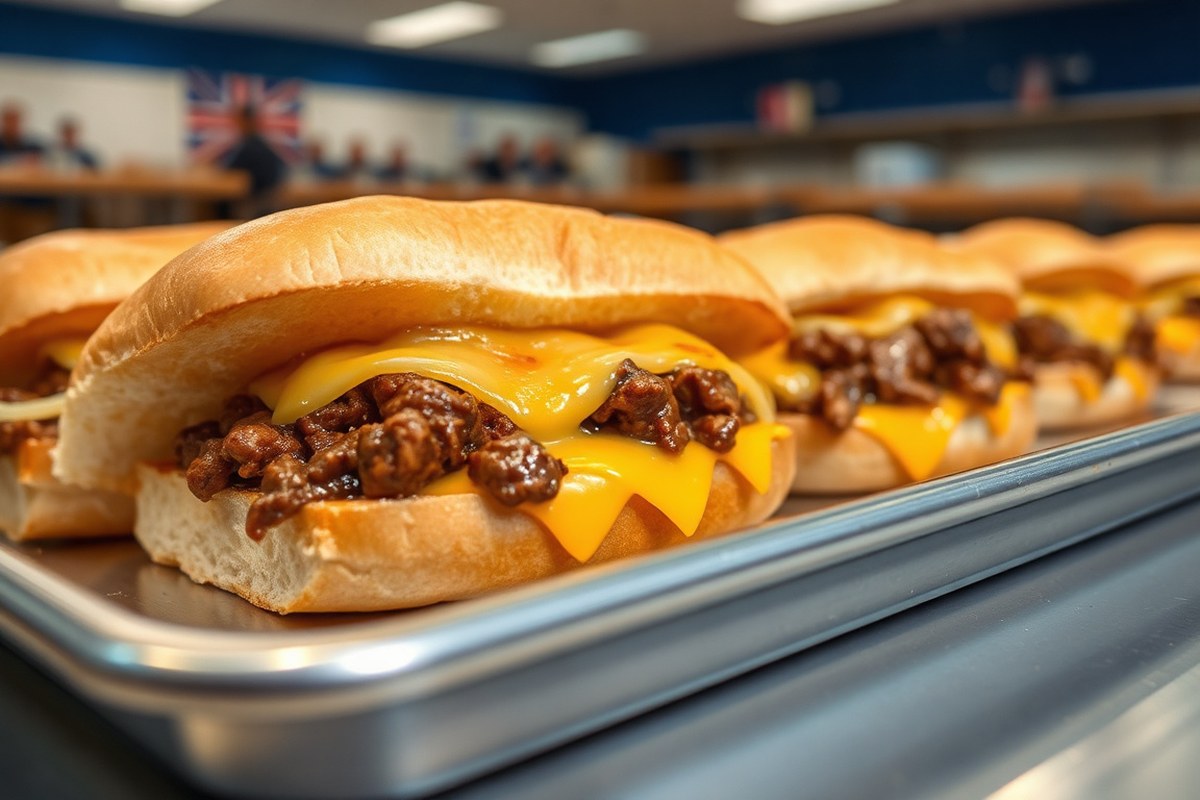
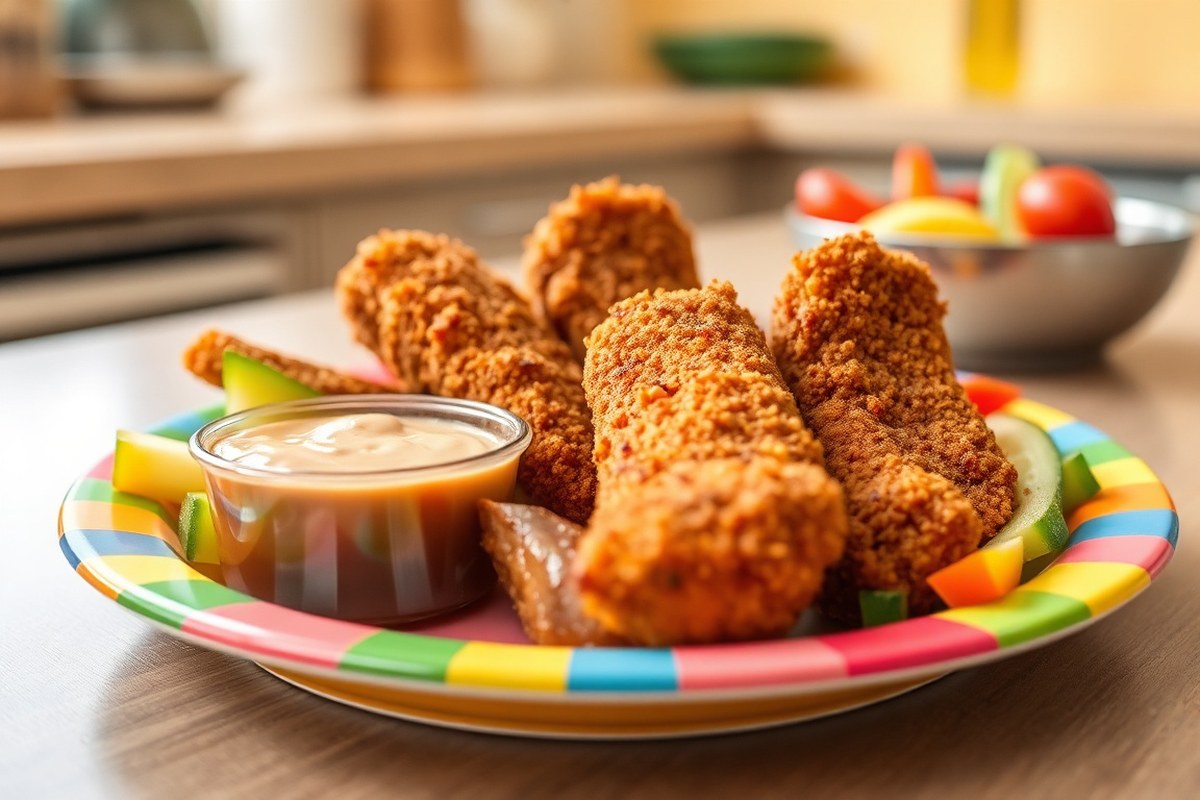
Beef dippers are bite-sized pieces of beef, usually breaded and cooked until crispy, making them easy for kids to hold and dip into their favorite sauces. In a school lunch context, these dippers serve as a quick and convenient protein option that fits into the typical lunchbox or cafeteria tray. Their size and shape are ideal for fun, interactive eating, which adds to their popularity among children.
The appeal of beef dippers in school lunches comes from more than just convenience, they offer a balance of flavor and nutrition that ensures kids enjoy their meal while getting essential nutrients. Pairing beef dippers with dipping sauces like ketchup, BBQ, or honey mustard improve taste without complicated preparation. Schools often pair these with healthy sides such as carrot sticks, apple slices, or whole-grain rice, boosting the overall nutritional value of the meal.
From a nutrition standpoint, beef dippers are a protein-packed option that supports growing bodies. Protein is important for muscle development and energy, and the portion sizes of beef dippers generally provide a good amount without overwhelming younger eaters. Choosing lean cuts and preparing them in ways that limit excess fat can help make them a nutritious choice. Parents can feel confident including beef dippers in lunches, especially when balanced with fruits, vegetables, and whole grains to round out the meal.
How to Make Beef Dippers Quickly: Step-by-Step Preparation Guide
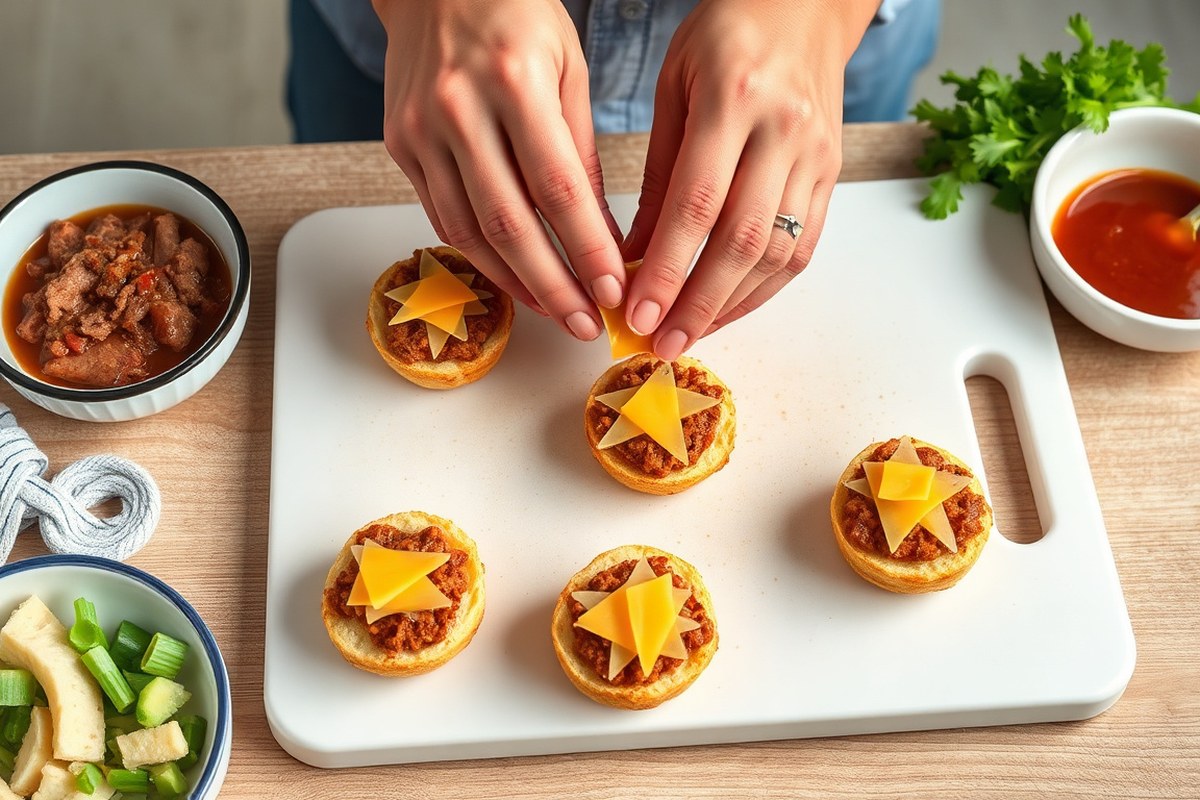
Preparing Beef dippers quickly at home for school lunches requires a simple, efficient process paired with kid-friendly ingredients. Start with lean beef cut into small, even strips about 2 to 3 inches long. Using lean cuts helps reduce fat while maintaining iron and protein, essential for growing children. Season the beef lightly with salt, pepper, and optional garlic powder for flavor. For breading, dip the strips in flour seasoned with a pinch of salt, then beaten eggs, and finally coat evenly with whole grain breadcrumbs to keep the meal nutritious.
Cooking time varies depending on the method. Pan-frying takes about 4 to 5 minutes per batch over medium-high heat until golden brown. Baking offers a healthier option and requires about 15 to 20 minutes in a preheated oven at 400°F, flipping halfway for even cooking. Air frying cuts the cooking time to roughly 10 to 12 minutes at 380°F and yields a crispy texture with less oil. Choose the method that fits your schedule and dietary preferences.
- Cut 1 pound of lean beef into small dippable strips.
- Prepare a breading station with three bowls: one with ½ cup flour, one with 2 beaten eggs, and one with 1 cup of whole grain breadcrumbs.
- Season the flour lightly with ½ teaspoon salt and ¼ teaspoon pepper for flavor.
- Coat each beef strip by dipping first in flour, then egg, and finally breadcrumbs, pressing gently to adhere.
- Cook using your preferred method: pan-fry in a nonstick skillet for 4-5 minutes per batch, bake on a lined tray at 400°F for 15-20 minutes, or air fry at 380°F for 10-12 minutes, shaking basket halfway.
- Cool the dippers slightly before packing to avoid condensation in lunch containers.
- Pack with a container of low-sugar dipping sauce and colorful raw veggies for balance.
Best Cooking Methods for Beef Dippers: Oven, Air Fryer, and Microwave Compared
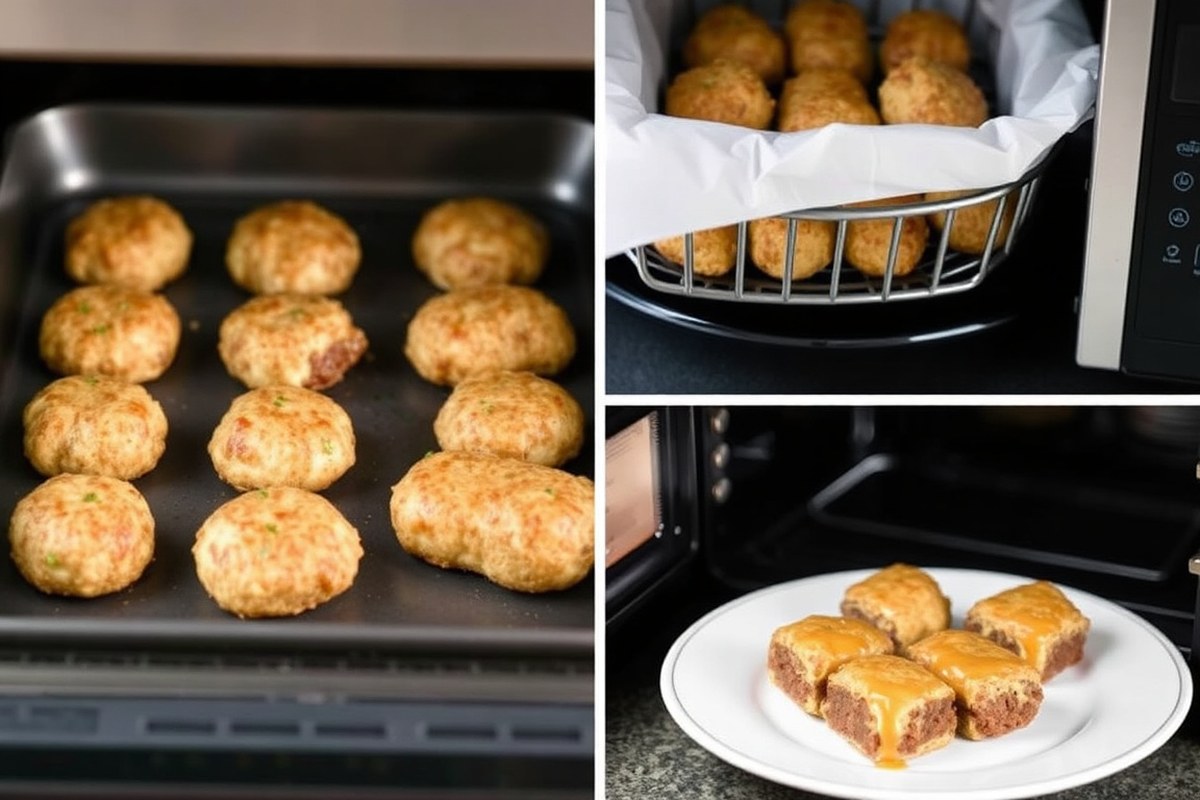
The texture and flavor of beef dippers depend heavily on the cooking method you choose. The oven and air fryer tend to deliver a crispier exterior, which many kids enjoy chewing. The microwave, while fastest, often leaves the dippers softer and sometimes soggy, which may appeal to younger children or when convenience is the priority. Cooking times and energy use vary and can influence your choice, especially on busy school mornings. Below is a breakdown of each method with clear cooking times, typical outcomes, ease of use, and energy considerations:
| Cooking Method | Temperature/Power | Cooking Time | Texture & Flavor Outcome | Ease for Busy Mornings | Energy Use |
|---|---|---|---|---|---|
| Air Fryer | 400°F | 3 minutes | Crisp outside, juicy inside | Quick and simple; minimal monitoring | Low to moderate (efficient appliance) |
| Oven | 350-400°F | 10-15 minutes | Evenly cooked, slightly crisp | Moderate; requires preheating and timing | Higher (longer runtime, larger appliance) |
| Microwave | High power | 1-2 minutes | Soft, moist but less crispy | Fastest; ideal for last-minute reheating | Low (short duration) |
For the best textural results, the air fryer stands out. It crisps the outside quickly without drying the beef dippers inside. Set the air fryer to 400°F and cook for 3 minutes, checking once to avoid overcooking. The oven works well if you have more time; preheat to at least 350°F and bake for 10 to 15 minutes to achieve a mild crisp. Microwaving is best reserved for reheating already cooked beef dippers since it softens the texture and cooks unevenly if used from raw.
How to Customize and improve Beef Dippers for Nutrition and Taste
Customizing Beef dippers makes school lunches more appealing and nutritious while fitting various dietary needs. Offering a selection of dipping sauces allows kids to enjoy flavors they prefer. Classic choices like ketchup or barbecue sauce are always popular, but you can also add options like honey mustard, ranch, or a mild teriyaki glaze to introduce different tastes without overwhelming sensitive palates.
Adapting beef dippers for allergies or picky eaters often means swapping ingredients. For example, choose gluten-free soy sauce in the glaze if gluten is a concern. Use dairy-free dips or sauces if your child avoids milk products. If your child is sensitive to spicy flavors, keep sauces mild and sweet to encourage trying new flavors.
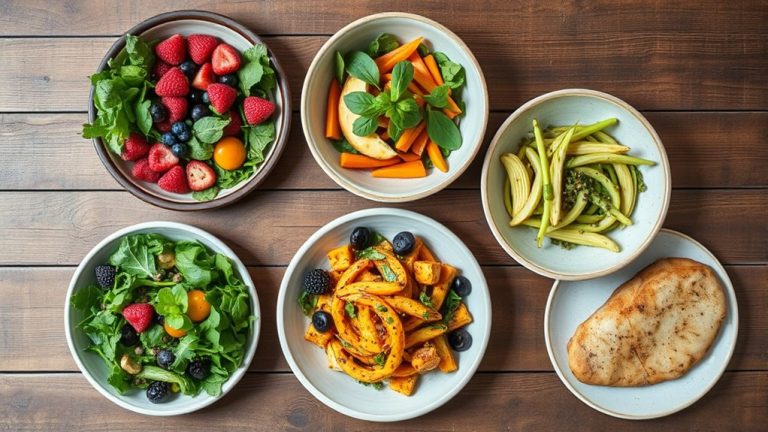
You can also add nutrition without changing the core dish by pairing beef dippers with easy-to-eat veggies or nutrient boosts. Finely chopped or grated vegetables can be mixed into the sauce or served on the side. Offering carrot sticks, cucumber slices, or cherry tomatoes alongside adds vitamins and crunch that kids enjoy.
- Rotate dipping sauces each day to keep lunches exciting
- Swap breadcrumbs for crushed gluten-free cereal for allergen-free coating
- Add pureed veggies like spinach or pumpkin to burger-style dippers for stealth nutrition
- Include a small container of guacamole or hummus for a creamy dip alternative
- Pack veggie sticks such as bell peppers or snap peas as side snacks
- Use natural sweeteners like honey or maple syrup in glazes instead of refined sugar
- For picky eaters, serve dippers with a mild cheese sauce or plain yogurt dip
These changes typically require just a few minutes more prep and cost little extra, often less than a dollar per serving for sauces or veggies. Take care to check ingredient labels to avoid allergens. Offering variety helps kids stay interested without overwhelming them, making it easier to build balanced school lunches that support healthy eating habits.
Meal Prep and Storage Tips for Safe, Ready-to-Go Beef Dippers Lunches
Storing beef dippers properly helps keep them fresh and safe for school lunches. Cool cooked beef dippers to room temperature within two hours before refrigerating. Place them in an airtight container to prevent moisture loss and odors from other foods. Refrigerated beef dippers stay good for up to 3 to 4 days. For longer storage, freeze them in single-serving portions to make thawing easier. Defrost in the fridge overnight for safest results.
Reheating beef dippers without losing taste or texture works best with an oven or air fryer. Heat them at 350°F for 10 to 15 minutes until internal temperature reaches 165°F to kill bacteria. Avoid microwaving for too long, which can dry them out or make them rubbery. If you must microwave, use short bursts and cover with a damp paper towel.
Common mistakes include packing beef dippers while still warm, which promotes bacterial growth, and reheating them multiple times, which lowers quality and safety. Don’t leave lunch boxes unrefrigerated for more than two hours. Use an insulated bag with a cold pack to keep beef dippers safe until lunchtime.
- Cool beef dippers completely before packing
- Store in airtight containers in the fridge, use within 3-4 days
- Freeze in individual portions for longer storage
- Reheat in oven or air fryer at 350°F until 165°F inside
- Use insulated lunch boxes with cold packs to keep cool
- Avoid reheating more than once to maintain safety and taste
- Do not leave unrefrigerated for over two hours
Meal prep for school lunches can take a few minutes more if you pack each component separately, especially sauces, which maintain crispy texture when added last. Paying attention to temperature and packaging ensures your child enjoys tasty, safe beef dippers every time.
Step-by-Step Action Plan for Your Beef Dippers School Lunches
Follow these steps to prepare tasty and nutritious beef dippers school lunches efficiently throughout the week.
- Day Before: Thaw frozen beef dippers in the refrigerator overnight to ensure even cooking; check they are fully thawed before cooking.
- Morning Prep: Quickly cook beef dippers using your preferred method, oven, air fryer, or microwave; confirm they reach an internal temperature of 165°F for safety.
- Customize During Cooking: Add spices or dip options, like low-sodium ketchup or Greek yogurt-based sauce; taste a sample to adjust flavor.
- After Cooking: Let the beef dippers cool slightly before packing to prevent sogginess, then portion into lunch containers with colorful veggies and whole-grain crackers.
- Before School: Store the packed lunch in the fridge or thermal bag to keep it fresh; check you have included an ice pack if needed.
- Following Day: Use leftover cooked beef dippers for wrap or salad additions to reduce prep time; verify freshness and proper storage from the previous day.
- Weekly Review: Note which cooking method and flavor combinations your child enjoyed most to refine your plan for the next week.
Frequently Asked Questions
What Makes Beef Dippers a Nutritious Choice for School Lunches?
Beef dippers provide a good source of protein essential for growing kids, which helps keep them full and focused through school. They also offer a versatile base for adding vegetables or whole grains to boost nutrition.
Can You Prepare Beef Dippers the Night Before School?
Yes, beef dippers can be cooked and stored overnight in the fridge, making morning prep faster. Keep them in an airtight container to maintain freshness.
Are Beef Dippers Suitable for Kids with Food Allergies?
It depends on the recipe and ingredients, especially if breaded with wheat or cooked with soy sauce. Always check labels and notify the school’s allergy policy to ensure safety.
How Can I Make Beef Dippers More Appealing to Picky Eaters?
Pair beef dippers with familiar dipping sauces or mild-flavored sides to encourage kids to try them. Cutting them into bite-sized pieces makes them easier and more fun to eat.
What Are Easy Side Dishes to Serve with Beef Dippers for School Lunch?
Simple sides like carrot sticks, apple slices, or a small salad complement beef dippers well. These sides add freshness and fiber to balance the protein.
Final Thoughts
Beef dippers make a practical, protein-rich option for school lunches that kids enjoy. Start by trying your preferred cooking method and simple seasoning today. Keep experimenting with sauces and sides you know your child likes, and you’ll have a reliable and tasty lunch option ready in no time.