How to Make Banana Pudding IV Recipe
To make Banana Pudding IV, start by softening 8 oz of cream cheese and beating it until fluffy. Then, whisk in a 14 oz can of sweetened condensed milk.
Next, gradually add a 3.4 oz package of instant vanilla pudding, which you’ve mixed with about 2 cups of cold milk and a teaspoon of vanilla extract. This creates that smooth, creamy base everyone loves.
Now, gently fold in half of a 12 oz container of whipped topping. This keeps the pudding light and airy, perfect for layering.
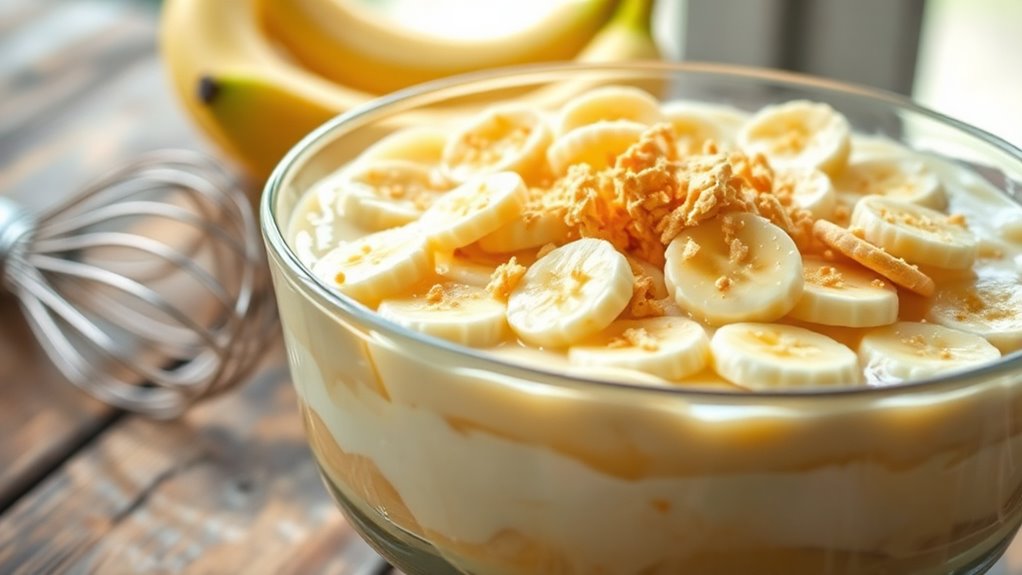
Speaking of layering, grab a 9×13 dish and start by arranging vanilla wafers and sliced bananas. Spread a layer of your delicious pudding over this, then top it with the remaining whipped cream.
Finally, chill your banana pudding to let the flavors meld together. Keep practicing the layering and chilling techniques to really master this classic dessert!
Key Takeaways
- Soften 8 oz cream cheese, then beat with 14 oz sweetened condensed milk to create a smooth base without lumps.
- Whisk 3.4 oz instant vanilla pudding mix into about 2 cups cold milk and vanilla extract until thickened and smooth.
- Fold half of 12 oz whipped topping gently into the cream cheese and pudding mixture to maintain lightness.
- Layer vanilla wafers, sliced bananas brushed with lemon juice, and pudding mixture evenly in a 9×13-inch pan.
- Top with remaining whipped topping, chill 2–4 hours or overnight, then serve chilled in 12 portions.
Ingredients Needed for Banana Pudding IV
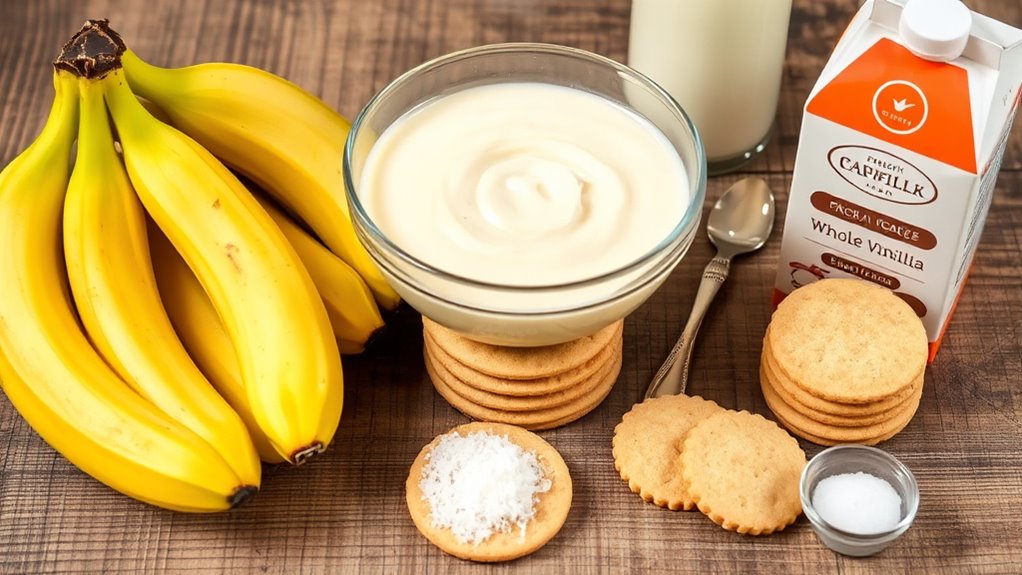
Before you start making Banana Pudding IV, gather all your ingredients carefully. You’ll need 8 ounces of softened cream cheese as the creamy base.
Start your Banana Pudding IV by gathering all ingredients, beginning with 8 ounces of softened cream cheese.
Next, grab a 14-ounce can of sweetened condensed milk to sweeten and thicken the filling. Don’t forget one 3.4-ounce package of instant vanilla pudding mix, which you’ll activate with 2 cups of cold milk.
For that light, fluffy texture, prepare about 12 ounces of whipped topping or Cool Whip—fold half into the pudding and reserve the rest for the topping.
Finally, have on hand a 9×13-inch pan, 12 ounces of vanilla wafers, and 3–4 medium sliced bananas for layering.
Managing these basics will guarantee your Banana Pudding turns out perfect every time—even if you’re starting a new account of recipes.
Preparing the Cream Cheese Mixture
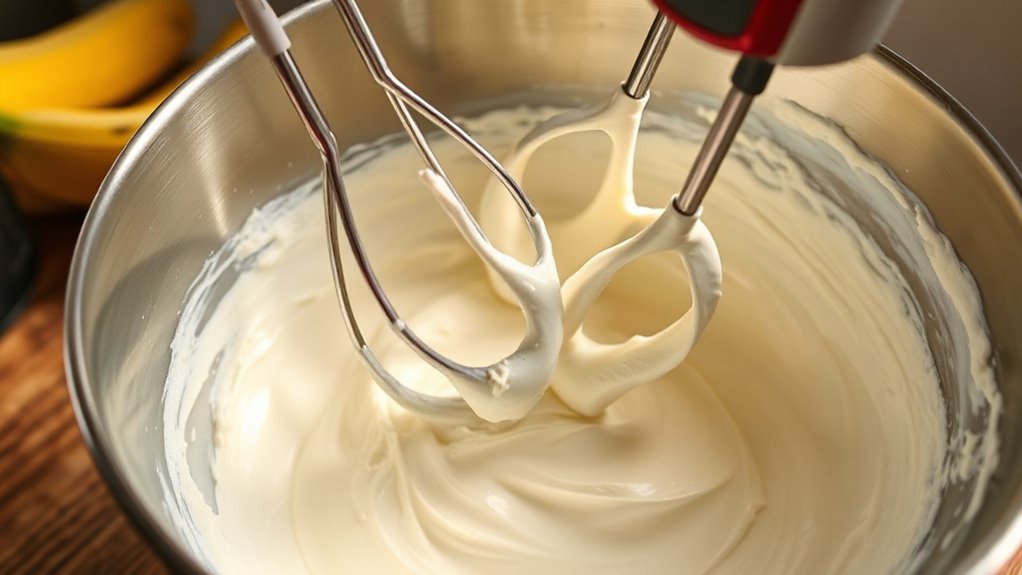
You’ll want to start by beating the softened cream cheese until it’s light and fluffy. This helps remove lumps and adds air for a smooth texture.
As you mix in the sweetened condensed milk and pudding mix, keep the speed moderate. Don’t forget to scrape the bowl to maintain a consistent blend.
Finally, gently folding in whipped topping lightens the mixture without deflating it. This gives your pudding the perfect creamy consistency.
Cream Cheese Texture
Start by softening your cream cheese to room temperature for about 30 to 60 minutes so it whips up smooth and lump-free. Beat it on medium speed for 1–2 minutes until light and fluffy, creating a smooth base for your pudding.
Gradually add sweetened condensed milk, beating until fully incorporated to avoid graininess and control sweetness and thickness. When you mix in the pudding mix, cold milk, and vanilla, beat just until smooth—overmixing can make the texture loose or watery.
Finally, fold in half of the whipped topping gently with a rubber spatula to keep the mixture light and airy, saving the rest for garnish. This careful texture preparation guarantees your banana pudding stays creamy and smooth throughout.
Mixing Techniques
Though it requires some patience, softening the cream cheese to room temperature guarantees you can whip it into a smooth, lump-free base. Beat 8 oz cream cheese at medium speed for 2–3 minutes until fluffy.
Scrape down the bowl, then gradually add one 14 oz can sweetened condensed milk. Start mixing on low speed to avoid splattering, then increase to medium for 1–2 minutes until fully combined.
Next, add one 3.4 oz box instant vanilla pudding mix and 1¼ cups cold milk. Begin mixing on low to dissolve the powder, then beat on medium for 30–45 seconds until thick and smooth.
Stir in 1 tsp vanilla extract. Fold in half the thawed whipped topping gently with a rubber spatula to keep it airy.
Chill the mixture 15–30 minutes before assembling. Easy, right? Just take it step by step, and you’ll have a creamy, dreamy base ready to go!
Combining Condensed Milk and Pudding Mix
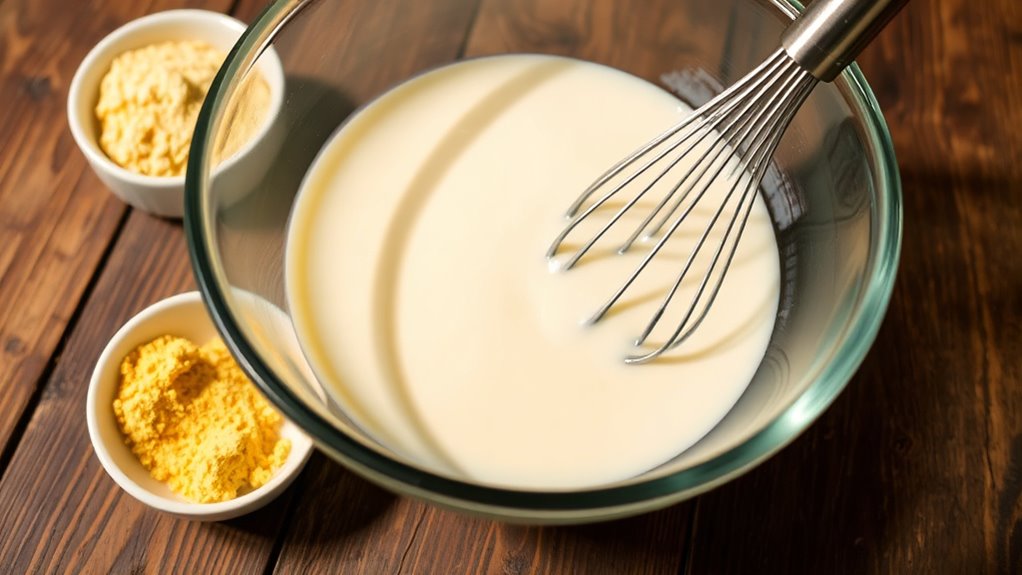
You’ll want to start by mixing one standard box of instant pudding with a 14–15 oz can of sweetened condensed milk for the perfect ratio. Whisk the dry pudding into cold milk or blend condensed milk with cream cheese first to keep the texture smooth and creamy.
Chilling the mixture helps it set fully, giving you that rich, thick consistency Banana Pudding IV is known for. It’s all about that creamy, dreamy texture that makes every bite so satisfying.
Mixing Techniques
Whisk full-fat sweetened condensed milk together with softened cream cheese until smooth to create a rich, lump-free base before adding the dry pudding mix. Then, sprinkle the pudding mix evenly and whisk vigorously for 30–60 seconds to hydrate starches and avoid clumps.
Gradually add cold milk in 1/4 cup increments while whisking until you get a glossy, pourable consistency. Finally, fold in half the whipped topping gently with a rubber spatula to maintain lightness and chill the mixture for at least 30 minutes before assembling.
| Step | Purpose |
|---|---|
| Whisk condensed milk & cream cheese | Prevent lumps, smooth base |
| Sprinkle pudding mix | Even hydration, avoid clumps |
| Add milk gradually | Achieve glossy, pourable texture |
| Fold in whipped topping | Retain lightness, add creaminess |
Ingredient Ratios
After mastering the mixing techniques to create a smooth, lump-free base, it’s important to get your ingredient ratios right for the perfect banana pudding texture. Use one 14 oz can of sweetened condensed milk and one 3.4 oz box of instant vanilla pudding mix with about 2 cups of cold milk.
The condensed milk adds sweetness and body, while the pudding mix thickens the filling quickly without cooking. Adding an 8 oz package of cream cheese boosts richness and stability.
To lighten the dense base, fold in half of an 8–12 oz tub of whipped topping, saving the rest for topping. If your filling feels loose, chill it for 1–2 hours or increase the pudding mix slightly to thicken the mixture.
Texture and Consistency
When you combine sweetened condensed milk with instant pudding mix and cold milk, you create a thick, stable custard that balances sweetness and structure perfectly.
Beat the cream cheese and condensed milk first until smooth to prevent lumps. Then add pudding mix and cold milk.
Dissolving the dry pudding mix into the cold mixture lets the starches hydrate gently, avoiding overcooking. This yields a creamy, mousse-like texture after chilling.
Folding in half the whipped topping lightens this dense base, creating a fluffy consistency. The remaining topping adds an airy contrast on top.
Chill your pudding for at least 2–4 hours so the starches set and flavors meld. This results in a smooth, sliceable filling that holds beautifully between wafer and banana layers.
Adding Cold Milk and Vanilla Extract
Although it might seem simple, adding cold milk and vanilla extract correctly is essential for achieving the perfect banana pudding texture and flavor. Start by measuring about 2 cups of cold whole or 2% milk—cold milk helps the instant pudding mix set quickly and creates a creamy texture.
Pour in 1 teaspoon of pure vanilla extract to enhance the filling’s vanilla depth. Whisk the milk and vanilla just until combined, then immediately whisk in the pudding mix. Keep whisking for about 2 minutes until the mixture thickens and becomes smooth without lumps.
For best results, chill the pudding mixture for 5–10 minutes before folding it into the cream cheese and condensed milk base. This step lets it fully set and avoids thinning your dessert.
Folding in Whipped Topping
Start by gently folding the whipped topping into the pudding mixture using broad, slow strokes with a spatula to keep the texture light and airy. Cut down through the center, sweep across the bottom, and bring the mixture up and over the topping to preserve airiness.
Gently fold whipped topping into pudding with slow, broad strokes to keep the mixture light and airy.
Use only half the whipped topping at first to loosen the denser pudding. Then fold in the remaining half gently for a uniform, light texture without overmixing.
Work quickly but gently at room-chilled temperature; cold whipped topping holds structure better. Stop folding as soon as the streaks disappear—overfolding deflates the topping and makes the filling runny.
If the whipped topping softens too much, just briefly chill the bowl and spatula between folds to maintain volume while combining. This way, you keep that fluffy texture perfect every time.
Layering Vanilla Wafers and Bananas
As you prepare the layers, line the bottom of a 9×13-inch dish with a single, even layer of vanilla wafers. Make sure to cover the surface edge-to-edge to create a stable base for your pudding.
Slice 3–4 medium ripe bananas into 1/4-inch rounds for even layering. Arrange the banana slices directly over the wafers, slightly overlapping to guarantee a continuous layer that won’t shift.
To prevent browning, lightly brush the bananas with a diluted lemon juice mixture before adding pudding.
| Step | Ingredient | Tip |
|---|---|---|
| 1 | Vanilla Wafers | Cover edge-to-edge |
| 2 | Bananas | Slice 1/4-inch thick |
| 3 | Lemon Juice | Brush to prevent browning |
| 4 | Arrangement | Slightly overlap slices |
Spreading the Pudding Mixture Over Layers
Once you’ve arranged the vanilla wafers and banana slices evenly in your dish, it’s time to add the pudding mixture. Spoon dollops of the prepared pudding across the surface to assure even coverage when you spread it.
Use an offset spatula or the back of a large spoon to gently spread the pudding from the center toward the edges, creating a thin, even layer about 1/4 to 1/2 inch thick. Make sure the bananas remain visible but are fully coated.
Work quickly yet gently to avoid mashing the banana slices. If any wafers or bananas get displaced, just lift and reposition them.
Once spread, tap the dish lightly on the counter to remove air pockets. Then chill for at least two hours to let the pudding set and the layers hold their shape.
Topping With Remaining Whipped Cream
Finish off your banana pudding by spreading the remaining whipped cream evenly over the chilled layers. Use an offset spatula or the back of a spoon to create a smooth, even layer about 1/4 to 1/2 inch thick.
Spread the remaining whipped cream evenly over the chilled pudding layers for a smooth, luscious finish.
For a decorative touch, pipe the whipped topping with a large star tip in rows or rosettes, spacing the mounds about 1/2 inch apart to keep it light and airy.
If you plan to store your pudding for several hours, wait to add this topping until just before serving to prevent it from weeping.
For added texture, lightly press a single layer of vanilla wafers or crushed wafers onto the whipped cream, but don’t press too hard to maintain fluffiness.
Chilling and Serving Suggestions
After topping your banana pudding with whipped cream, you’ll want to chill it in the refrigerator for at least 2 to 4 hours—overnight is even better. This resting time helps the cream cheese-pudding mixture firm up and lets the wafers soften just right.
Be sure to cover the dish tightly with plastic wrap to keep the whipped topping smooth and to block any fridge odors. If you need to transport it, chill fully and keep it in a cooler below 40°F.
Just before serving, add a fresh layer of vanilla wafers or crushed wafers for crunch, or garnish with extra banana slices and whipped cream. Serve chilled in 12 portions, and store leftovers covered for up to 3 days, replacing bananas as needed to keep it fresh.
Frequently Asked Questions
Can I Use Fresh Bananas or Frozen Bananas for This Pudding?
You can use fresh bananas for the best texture and flavor in your pudding. Frozen bananas tend to become mushy and watery when thawed, which might affect the pudding’s consistency.
How Long Can Banana Pudding Be Stored in the Refrigerator?
You might think banana pudding spoils quickly, but you can store it in the refrigerator for up to 3 days.
Just cover it well to keep it fresh and prevent the bananas from browning too fast. Easy, right?
Is It Possible to Make Banana Pudding Ahead of Time?
Yes, you can make banana pudding ahead of time. Just prepare it, cover tightly, and refrigerate for up to 24 hours.
This lets flavors meld perfectly, but add fresh bananas right before serving to avoid browning. That way, your pudding stays looking and tasting its best!
Can I Substitute Vanilla Wafers With a Different Cookie?
Yes, you can definitely substitute vanilla wafers with cookies like shortbread, graham crackers, or gingersnaps.
Just choose a cookie that complements the pudding’s flavor and texture, and enjoy your delicious twist on the classic dessert!
What Can I Do if the Pudding Is Too Thick or Too Thin?
If your pudding feels like a dense fog, gently stir in milk to loosen it up.
But if it’s too runny, whisk in a bit more instant pudding mix—watch it thicken right before your eyes!
Conclusion
You might think banana pudding takes too long or is complicated, but this recipe proves otherwise—it’s quick and simple! By layering creamy pudding, fresh bananas, and crunchy wafers, you get a perfect balance of flavors and textures without any fuss.
Just chill it a few hours, and you’re ready to enjoy a classic, crowd-pleasing dessert. Trust me, once you try this easy Banana Pudding IV, it’ll become your go-to treat every time!
This Banana Pudding IV recipe is perfect for any occasion. Whether you’re making a quick dessert for family or a treat to impress guests, it’s straightforward and delicious. The creamy pudding, ripe bananas, and crispy wafers come together beautifully.
So, if you want a dessert that’s both simple and satisfying, give this banana pudding recipe a try. It’s an easy, no-fail way to enjoy a timeless classic that everyone loves.