10 Simple Steps to Make Applebee’s Blue Ribbon Brownie Recipe at Home
You can easily make Applebee’s Blue Ribbon Brownies at home in just ten simple steps. These delicious brownies are rich, fudgy, and perfect for satisfying your chocolate cravings.
Start by gathering all your ingredients so you have everything ready to go.
Next, preheat your oven to 325°F and prepare your baking dish. Whipping egg whites to stiff peaks gives the brownies a light, airy texture that makes them extra special.
Then, blend butter with sugars to create that rich, sweet base everyone loves.
Fold in the chocolate and nuts carefully before pouring the batter into your prepared dish.
Bake until the brownies are set but still moist inside.
And don’t forget to whip up a creamy drizzle to pour on top—it’s the perfect finishing touch.
There’s definitely more to explore if you want to make your treat just perfect!
Key Takeaways
– Gather all ingredients, including wet, dry, and sauce components, for a seamless baking process.
Make sure you have everything ready before you start—it makes things a lot easier!
– Preheat the oven to 325°F and prepare a 9×13-inch baking dish.
Getting the oven hot and your dish ready early on saves time later.
– Beat egg whites until stiff peaks form for a light brownie texture.
This step is key to making your brownies super fluffy and delicious.
– Mix wet and dry ingredients, then fold in add-ins like white chocolate and walnuts.
Be gentle when folding in the extras so you keep that nice texture.
– Bake for 40-45 minutes, then serve warm with a creamy maple sauce drizzle.
Enjoy your brownies right out of the oven with that amazing sauce on top!
Gather Your Ingredients for Success
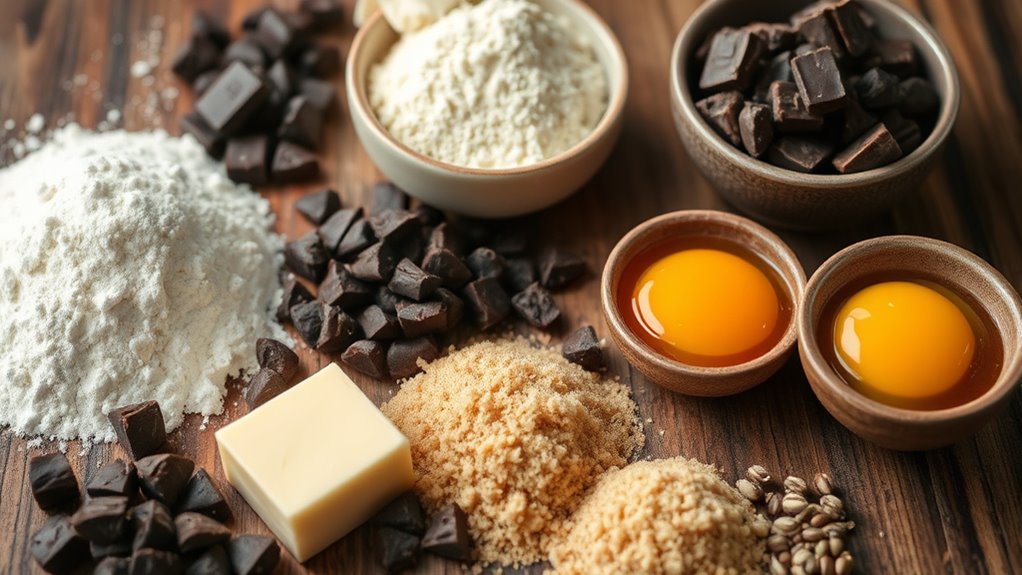
Before you jump into making Applebee’s Blue Ribbon Brownies, it’s essential to gather your ingredients for success. Start with 4 egg whites and 1/2 cup of softened butter.
You’ll need a mix of light brown and granulated sugars—1/2 cup and 1/4 cup, respectively. Don’t forget the dry ingredients: 2 1/4 cups of all-purpose flour, 1 tsp of baking soda, 1/2 tsp of baking powder, and 1/4 tsp of salt.
For richness, grab 1/2 cup of milk, and chop up some white chocolate and walnuts to fold into the batter. Finally, prepare the sauce ingredients: 1/2 cup of softened butter, 1/2 cup of powdered sugar, 1/4 cup of softened cream cheese, 2 tbsp of maple syrup, and 1/4 tsp of salt.
Preheat Your Oven to 325°F
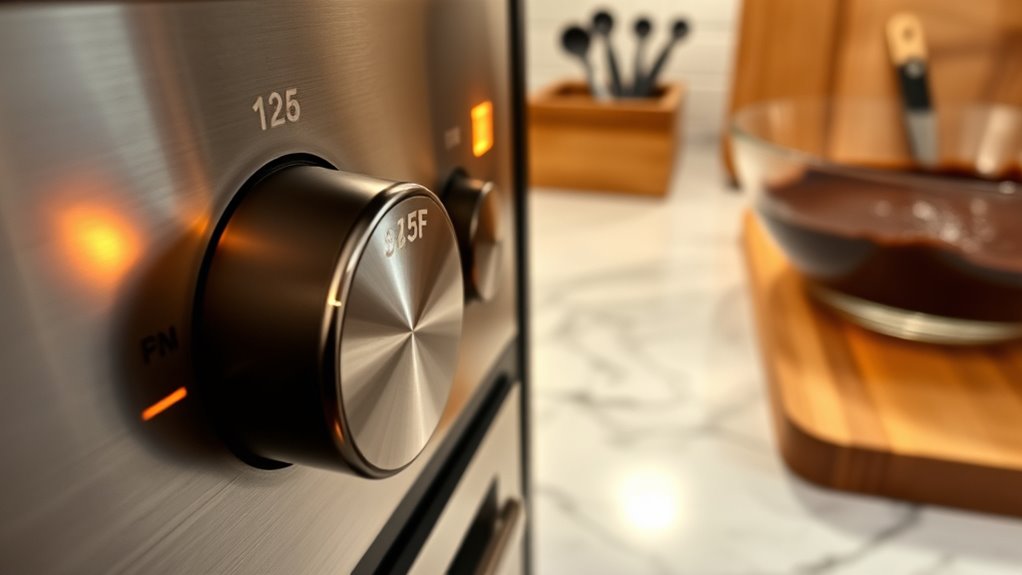
To guarantee your brownies bake evenly and achieve that perfect texture, preheat your oven to 325°F. This temperature is essential for baking, as it allows the brownies to cook through without burning.
Make certain to use an oven thermometer to confirm the accuracy, since some ovens can be off by several degrees. Allow the oven to preheat for at least 15 minutes; this guarantees the best heat distribution throughout.
While you’re waiting, you can prepare your baking dish by greasing it or lining it with parchment paper to prevent sticking. Once the oven’s ready, you’ll be set to pour in your batter and create those delicious, gooey brownies everyone loves.
Happy baking!
Get Your Baking Dish Ready for Easy Cleanup
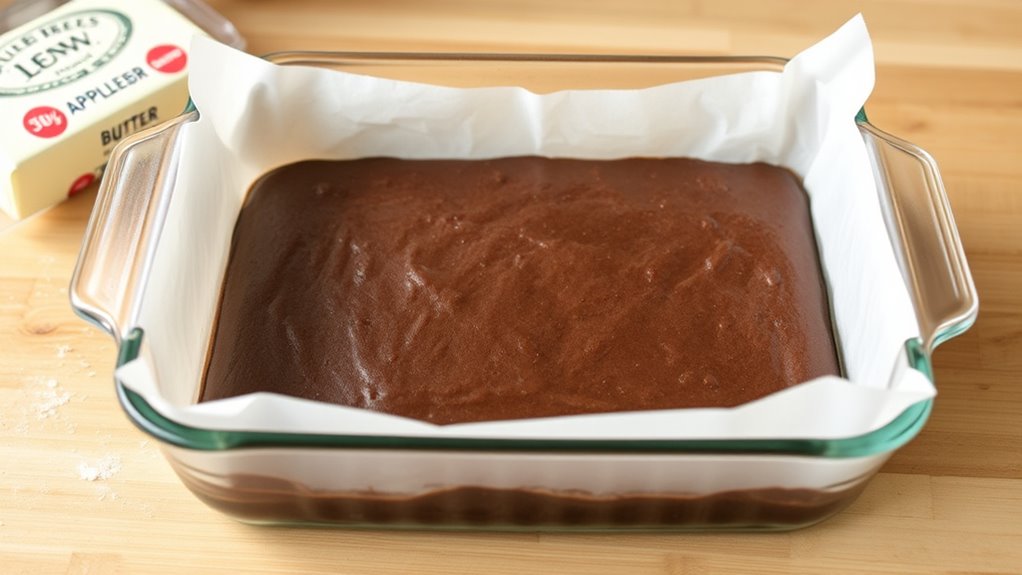
With your oven preheating, it’s time to get your baking dish ready for easy cleanup. Start by greasing a 9×13-inch baking dish to guarantee the brownies come out smoothly.
Next, line the dish with aluminum foil, leaving some overhang for easy lifting later. Don’t forget to spray the foil with non-stick cooking spray to prevent sticking.
Alternatively, you can use parchment paper for a more eco-friendly option. After baking, let the brownies cool completely in the dish before lifting them out using the foil edges for a neat presentation.
| Step | Action | Purpose |
|---|---|---|
| Grease the dish | Use butter or cooking spray | Easy removal |
| Line with foil | Leave overhang | Simple lifting |
| Spray foil | Apply non-stick spray | Prevent sticking |
Whip Egg Whites to Stiff Peaks for Lightness
Whip those egg whites to stiff peaks for a light and airy brownie texture! Start with a clean, dry mixing bowl and beaters, because any residue can stop the whites from whipping properly.
Begin whisking at a low speed to create bubbles, then slowly crank it up to high speed. To keep the egg whites stable and help them puff up, toss in a pinch of salt or a few drops of lemon juice.
Start whisking slowly to create bubbles, then increase speed. A pinch of salt or lemon juice will help stabilize the egg whites.
Keep beating until the egg whites form peaks that hold their shape when you lift the beaters. That’s your sign that you’ve got stiff peaks! Just watch out for overbeating—if the mixture looks grainy or starts to separate, it’s too stiff to mix in well.
Now you’re ready to enjoy that fluffy goodness in your brownies!
Blend Butter and Sugars for a Flavorful Base
To create a delicious base for your brownies, start by softening the butter until it’s easy to blend. Combine light brown sugar and granulated sugar for the perfect balance of sweetness.
Mix them until smooth and creamy. This sets the stage for a rich flavor that’ll really elevate your dessert.
Perfecting Butter Consistency
Achieving the perfect butter consistency is essential for a rich brownie base. Start with softened butter at room temperature; this guarantees it blends smoothly with the sugars, creating a creamy texture.
Use a hand mixer or stand mixer to beat the butter and sugars together until the mixture is light and fluffy. This process incorporates air, which helps your brownies rise beautifully.
Aim for a 1:1 ratio of light brown sugar to granulated sugar for the ideal balance of moisture and sweetness. Beat the mixture for at least 2-3 minutes to dissolve the granules and enhance the flavor.
Don’t forget to add vanilla extract at this stage. It enriches the buttery base and really elevates your brownie batter!
Choosing the Right Sugars
Choosing the right sugars is essential for crafting the perfect brownie base. Use a combination of light brown sugar and granulated sugar to achieve that rich, caramel-like flavor you’re after.
Light brown sugar adds moisture and a hint of molasses, enhancing your brownies’ taste and texture. When blending the softened butter with the sugars, make certain it’s creamy and well-combined for a uniform batter.
The proportions of sugars can affect sweetness and chewiness, so aim for a balanced mix for the best results. Mix the sugars with the butter until fluffy; this incorporates air and helps create a lighter brownie texture.
Following these steps guarantees your brownies will be deliciously decadent every time!
Combine Dry Ingredients for Structure
As you sift together the flour, baking soda, baking powder, and salt, you’re laying the foundation for your blondies. This step’s essential for guaranteeing an even mixture that prevents clumping.
The flour provides the necessary gluten structure, while the baking soda and baking powder act as leavening agents, giving your blondies that light, airy texture. Mixing the dry ingredients separately helps with better distribution when you combine them with the wet ingredients.
Fold in Chocolate and Nuts for Extra Flavor
When you fold in chocolate chunks and nuts, you’re elevating the flavor and adding delightful texture to your brownies. The creamy white chocolate brings richness, while walnuts or pecans add a satisfying crunch.
Make sure to distribute everything evenly for a burst of flavor in every bite! It’s the little touches like these that really take your brownies to the next level.
Flavor Enhancements
To elevate the flavor of your Applebee’s Blue Ribbon Brownies, folding in chopped white chocolate and your choice of nuts can make a world of difference. The rich creaminess of the chopped white chocolate enhances the overall flavor profile, making each bite more indulgent.
Adding walnuts or pecans brings a crunchy texture and nutty flavor that perfectly complements the sweetness of the blondie. Opt for high-quality chocolate chunks to deepen the chocolate flavor even further.
For an extra layer of taste, consider lightly toasting the nuts before folding them into the batter; this enhances their natural oils and flavor. Not only will these additions elevate the taste, but they’ll also create visual appeal with their contrasting colors and textures.
Texture Variations
Incorporating chocolate and nuts not only enhances the flavor but also adds delightful texture to your Applebee’s Blue Ribbon Brownies. For added richness, fold in chopped white chocolate chunks and walnuts into the brownie batter before baking.
The nuts provide a satisfying crunch that complements the creamy sweetness of the blondie base. Aim for a balance in texture by ensuring the chocolate and nuts are evenly distributed throughout the batter, so you get a consistent bite.
You can also experiment with different types of nuts, like pecans or almonds, to create unique flavor profiles. Just be careful not to overmix the batter after adding these ingredients, as this can lead to a denser final product. Enjoy!
Pour Batter Into the Prepared Dish
Carefully pour the prepared brownie batter into a greased 9×13 baking dish, spreading it into an even layer. Use a spatula to guarantee the batter reaches the corners for uniform baking.
Once spread, gently tap the dish on the counter to release any air bubbles trapped within.
| Step | Action | Purpose |
|---|---|---|
| Pour | Pour into a greased dish | Prevents sticking |
| Spread | Use a spatula | Guarantees even baking |
| Tap | Tap on counter | Releases air bubbles |
Keep an eye on the batter level, making sure it doesn’t exceed the rim to prevent overflow during baking. Now you’re ready for the next step!
Bake Until Perfectly Set and Gooey
Baking your brownies at the right temperature is essential for achieving that perfect gooey texture. Keep an eye on the timing; too long in the oven and you risk losing that delicious center.
Check for doneness by looking for a set edge with a slightly soft middle—this is where the magic happens! Just remember, it’s all about that balance between set and gooey.
Baking Temperature Importance
To achieve the perfect gooey texture in your Applebee’s Blondie Brownies, setting the oven to 325°F is essential. This specific baking temperature guarantees a delightful center while preventing dryness.
Keep an eye on your brownies—overbaking can ruin that ideal gooey consistency. Use a toothpick to check doneness; it should emerge with a few moist crumbs.
Here’s a quick reference for baking:
| Baking Stage | Temperature | Texture |
|---|---|---|
| Preheat | 325°F | Ready to bake |
| During Baking | 325°F | Soft and gooey |
| Overbaking Alert | Above 325°F | Dry and crumbly |
| Final Check | 325°F | Perfectly set |
Cover with foil if edges darken too quickly, guaranteeing your brownies stay gooey throughout!
Timing for Optimal Gooeyness
While you’re keenly awaiting that delicious batch of Applebee’s Blue Ribbon Brownies, timing becomes essential for achieving the perfect gooeyness. Follow these tips for ideal results:
Bake at 325°F for 40-45 minutes to keep the center slightly underbaked. Use a toothpick; it should come out with a few moist crumbs for that gooey texture.
Allow the brownies to cool in the pan for at least 15 minutes before cutting—this helps them set. If the edges darken too quickly, cover the pan with foil to avoid overbaking.
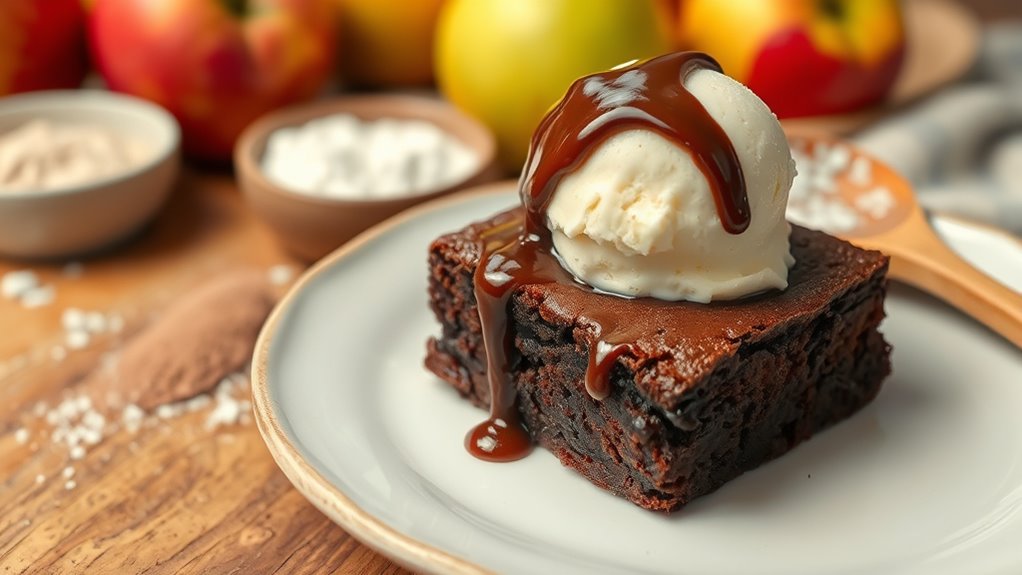
Serve warm, drizzled with sauce and topped with ice cream for a truly indulgent experience. The right timing makes all the difference in your Applebee’s Blondie Brownie adventure!
Checking for Doneness
After you’ve mastered the timing for ideal gooeyness, it’s time to check for doneness. To do this, insert a toothpick into the center of your brownies; it should come out with a few moist crumbs. This indicates that you’ve achieved that rich, chewy texture.
Bake your brownies for about 40-45 minutes at 325°F, making sure the edges are set while the center stays a little jiggly. If the edges start to darken too quickly, just cover them with foil to prevent burning.
Once done, let the brownies cool in the pan for at least 10-15 minutes. This step helps them continue to set and develop their gooeyness. And hey, dust with powdered sugar before serving for an extra touch!
Make a Creamy Sauce to Drizzle Over Brownies
Creating a creamy sauce to drizzle over your Applebee’s Blue Ribbon Brownies elevates the dessert to a whole new level of indulgence. This rich, maple-flavored sauce perfectly complements the chewy Applebee’s Blondie Brownie.
Here’s how to make it:
- Combine 1/2 cup softened butter and 1/2 cup powdered sugar in a mixing bowl.
- Add 1/4 cup softened cream cheese and 2 tablespoons of maple syrup.
Blend until thick and smooth, making sure there are no lumps. For a warm drizzle, just microwave the sauce for about 40 seconds.
Feel free to garnish with chopped walnuts for a nice crunch! This sauce turns your brownies into a decadent treat you’ll want to share—or maybe keep all to yourself!
Frequently Asked Questions
Can I Substitute Egg Whites With Whole Eggs?
Yes, you can substitute egg whites with whole eggs. Just remember that using whole eggs adds more fat and moisture, which might change the texture slightly.
How Long Should I Let Brownies Cool Before Serving?
Let your brownies cool for about 20 to 30 minutes before serving. This allows them to set properly, making slicing easier and enhancing their flavor.
You’ll enjoy them warm or at room temperature for the best experience! Just give them a little time to cool, and you’re good to go.
What Type of Chocolate Is Best for Brownies?
Think of chocolate as the heartbeat of your brownies. Dark chocolate’s rich flavor enhances depth, while semi-sweet balances sweetness perfectly.
Choose quality chocolate, and you’ll create a dessert that sings with every bite. It really makes all the difference!
How Can I Make Brownies Gluten-Free?
To make brownies gluten-free, substitute regular flour with almond flour, coconut flour, or a gluten-free flour blend.
Make sure to check that all other ingredients, like chocolate and baking powder, are also gluten-free.
This way, your brownies will turn out just as delicious without any gluten worries!
Can I Freeze Leftover Brownies for Later?
Yes, you can freeze leftover brownies for later! Just wrap them tightly in plastic wrap or foil, then place them in an airtight container.
When you’re ready, thaw them in the fridge or at room temperature. Enjoy!
Conclusion
Now that you’ve mastered Applebee’s Blue Ribbon Brownies, you can impress friends and family with your baking skills. It’s pretty cool to whip up a dessert that tastes just like the restaurant version!
Did you know brownies were invented in the United States in the late 19th century? This classic dessert has evolved into so many variations over the years. But your homemade brownies capture that rich, gooey delight perfectly every time.
So, go ahead and dig in! Enjoy every bite, knowing you’ve created a delicious treat that’s been loved for generations. Making Applebee’s Blue Ribbon Brownie recipe at home is a fun way to bring that iconic flavor right into your kitchen. Happy baking!